

Introduction: How to Remove Broken Glow Plugs


The aluminum head 4 valve diesels are notorious for seizing glow plugs. Apparently the plugs don't seat properly at the combustion chamber end. This allows carbon to get packed in around the barrel. Over time the plugs become glued into place. The narrow neck between the hex nut and the threaded shaft isn't up to the task of untwisting the plug and it snaps off. The problem has nothing to do with the threads sticking, though the aluminum steel combination can't be helping.
If you have a broken off glow plug, you are faced with a choice:
A: Remove the head and take it down to a machine shop to have the plug machined out
-- OR --
B: Make a simple puller to yank out the plug.
This page describes how to do (B)
Step 1: Tools, Caveat & Initial Work
Tools:
- vice grips
- drill motor
- 1cm drill bit (13/32" is just right, 7/16" might be too big)
- M6 x 1.0 Tap and drill set
- hardened M6 x 1.0 bolt, at least 6cm long
- hardened M6 nut
- assortment of washers
- a 13mm X 3/8" standard depth socket
- patience, lots of patience, heads are very expensive replacement parts
< no picture for this step ... sorry >
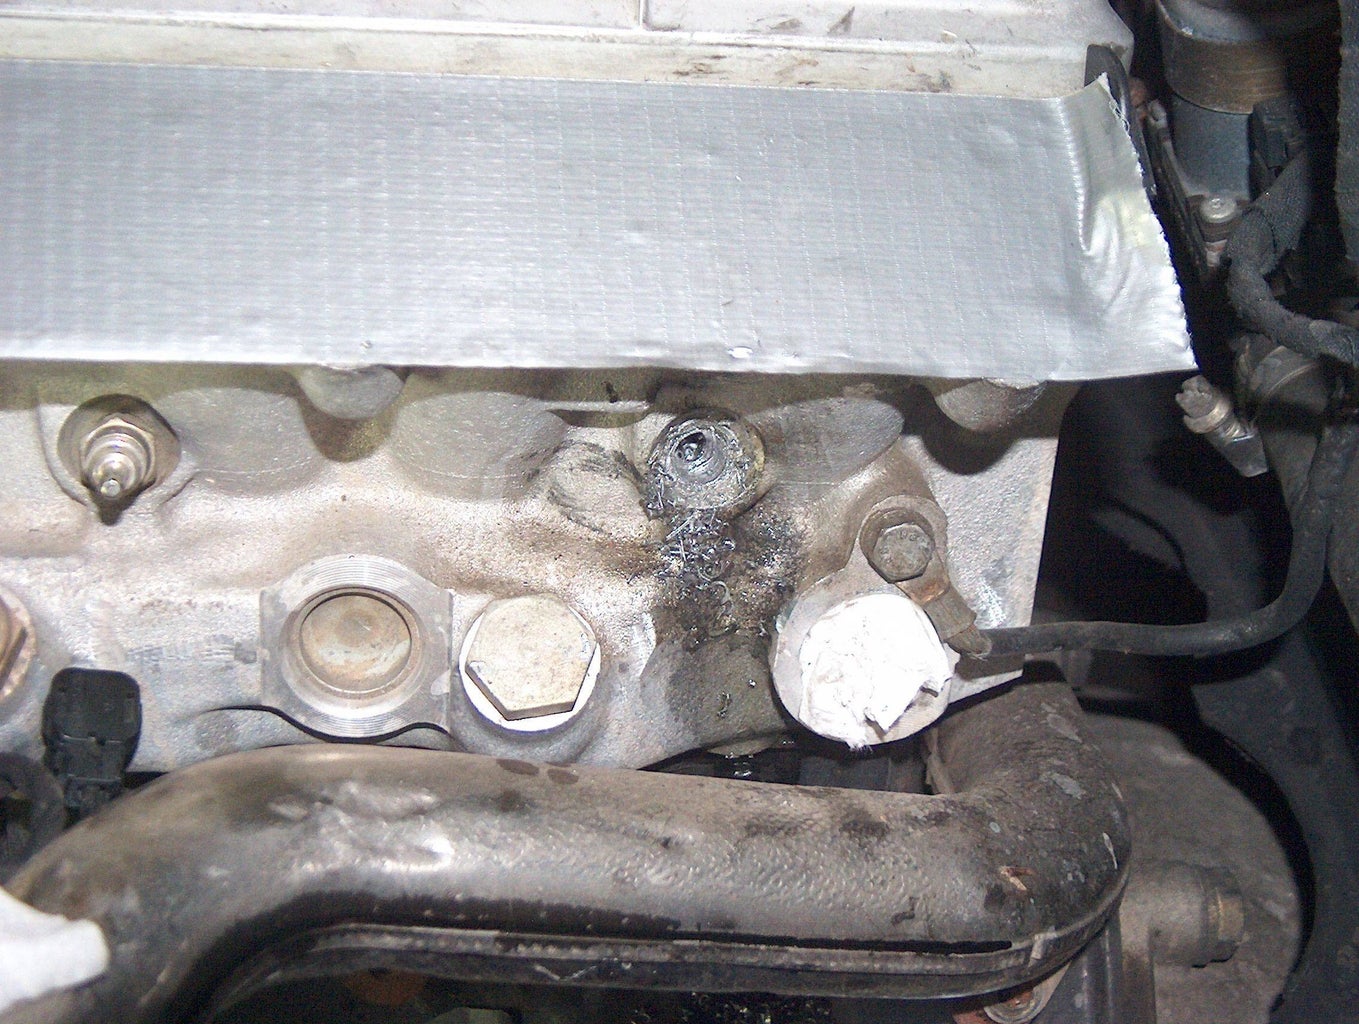
Step 2: Freeing the Threads
Drill out the threaded portion of the plug. Use a 1cm/.4" drill bit to drill the first 15mm of the snapped off plug. This gets you through the threaded portion of the plug. Now the plug can be pulled straight out, rather than needing to be turned. If you drill straight along the axis of the plug you will leave the threads of the plug in the head. The head will be undamaged. Blow out the chips.
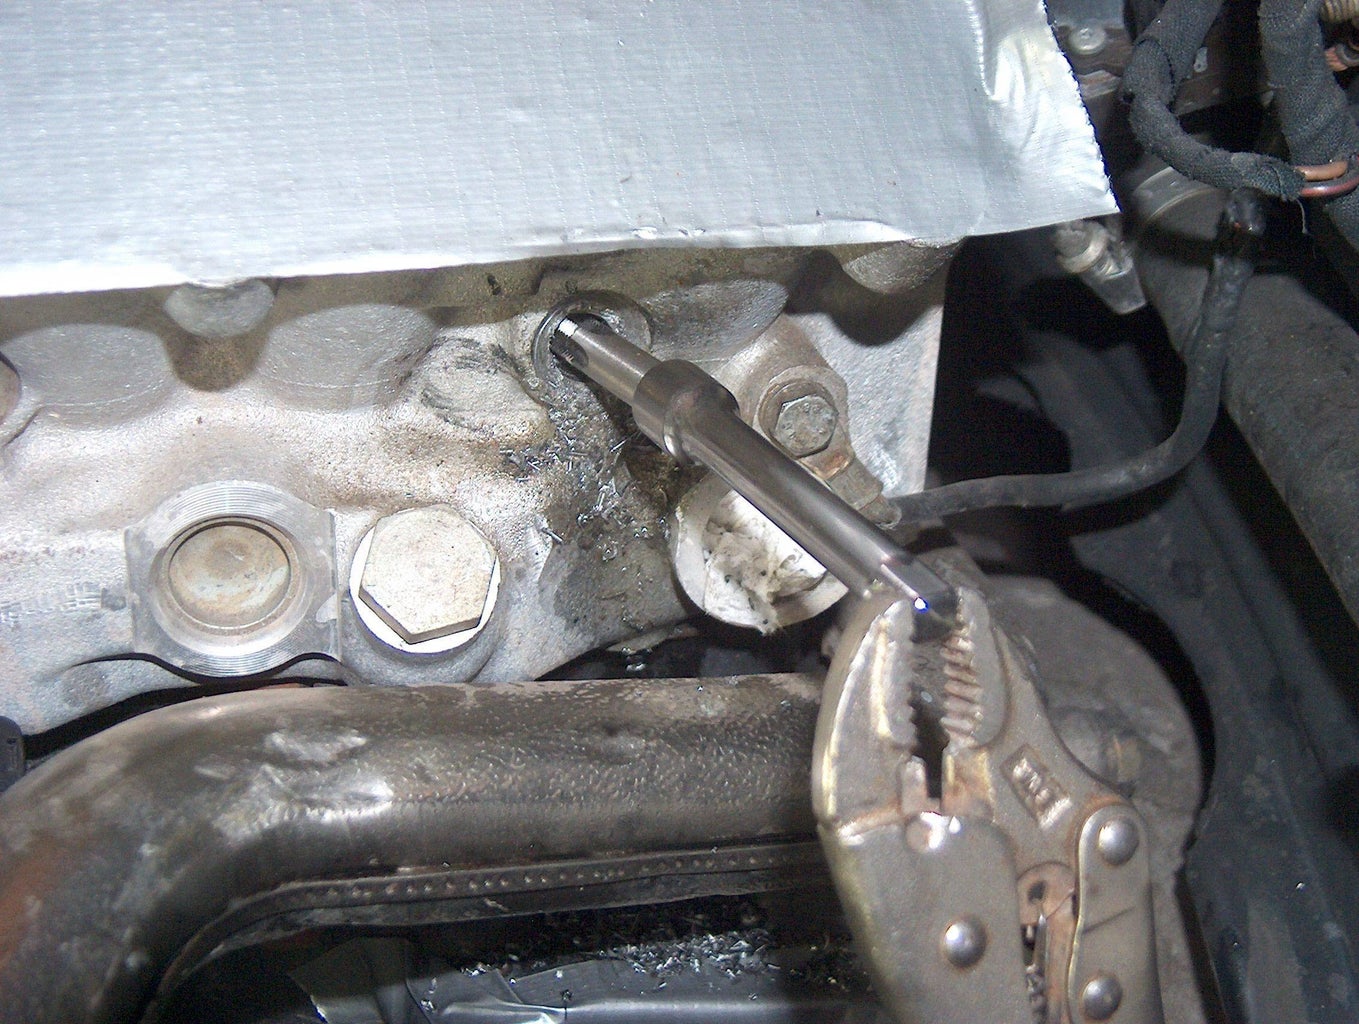
Step 3: Drilling the Body
Drill out the hollow part of the plug with the 5mm drill from the M6 Tap set. Go in at least 35mm and not more than 45mm, as measured from the surface of the head. Blow out the chips.
(All units measured for 24 valve OM606 engine)
Step 4: Tapping the Body
Use a M6x1.0 tap to make threads on the inside of the glow plug body as far in as the tap will go smoothly. Whatever you do, don't break the tap in there. Take your time. Blow out the chips. (picture shows larger tap, use a M6 for this step)
(Again, measurements relate to the OM606 24V)
Step 5: Building the Puller
Thread the M6 nut onto the M6 bolt. Then stack some washers on to the bolt and thread it as far as it can go into the (now threaded) glow plug. Just get it snug, no real force is required.
Step 6: Pull the Plug
Turn the nut clockwise so that it gets further away from the bolt head. This will force the plug out of the head. The first real resistance will be firm. After the grip of the carbon gunk is broken it will move easier. Then it will stop moving. This means that the plug is jammed up against the washers. Unscrew the puller and pry out any bits (thread rings, etc) that are easily removable.
Reassemble the puller with a 13mm x 3/8" socket instead of the washers. The hollow formed by the socket will allow the plug to move further out of the head.
Step 7: Success!
When the bolt head starts to turn, you will have pulled the plug out far enough that you can yank it out by hand. This is what you should see:
Step 8: Cleanup & End Result
Suction out the chips. Then, insert some wadded up tissue paper into the hole. Now you can clean up or repair the threads. If you were careful the threads should be good and you can install a new plug. If the threads are damaged, install a Time-Sert or Heli-coil (M12x1.25 x 15mm). Remember to ream out the glow plug hole (Klann KL-0369-13)
As an experiment, I've chosen to coat the entire body of the plug with Hylomar HPF. Aside from sealing the nose and threads this sealant is fairly temperature stable and may fill up the space that would otherwise fill up with carbon. We'll see in 50Kmiles or so.


