
10 Easy Fingerboard Tricks for Beginners
Skateboarding and fingerboard tricks are always fun and worth learning. With so many tricks out there, it can be hard to choose which one to
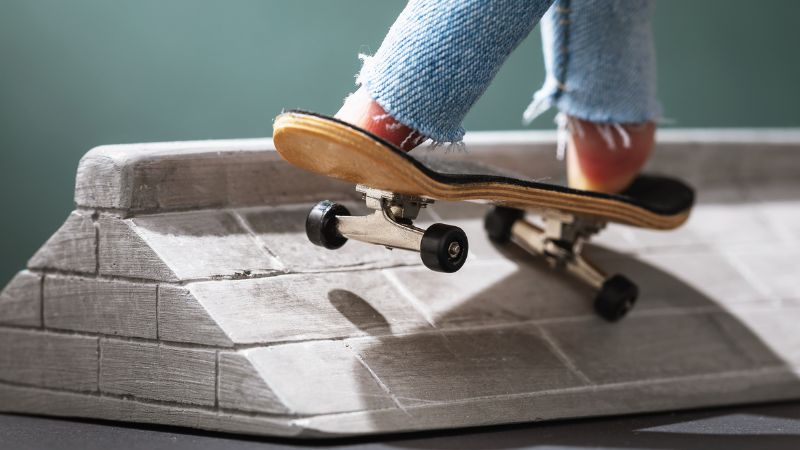
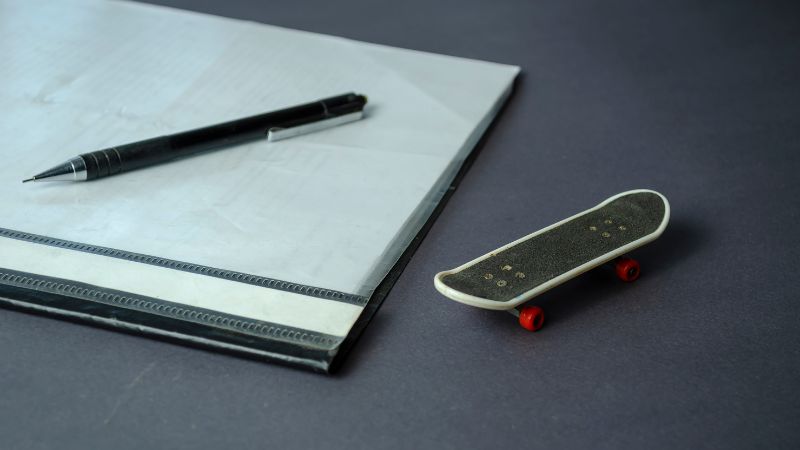
Ever since I discovered fingerboarding, the scaled-down cousin of skateboarding, I’ve been hooked. There’s something truly mesmerizing about executing intricate tricks with just my fingers on these miniature skateboards.
But what really adds to the excitement is the DIY aspect – building my own ramps and skate parks. It’s a blend of creativity and skill that’s both challenging and rewarding.
Whether you’re just starting out or you’ve been at it for a while, I’m excited to share this journey with you.
Let’s dive into the process of crafting your very own fingerboard ramp, tailored to suit both novices and seasoned builders alike.
In my fingerboard adventures, I’ve realized that the right materials and tools are the backbone of any great ramp. Let me take you through my personal checklist of essentials:
For the building blocks, I like to keep my options open. I usually have a stash of cardboard for quick and easy designs, foam board for a bit more durability, and polystyrene when I’m feeling ambitious. For those truly lasting creations, nothing beats wood, and for the ultimate ramp, I go for concrete.
Now, for the tools – my trusty scissors are always at hand, and I can’t stress enough how handy a hot glue gun is. Sandpaper is a must for smoothing out those rough edges. And, of course, I always have a collection of paints and various decorating supplies to give my ramps that personal flair. Each tool and material brings its own charm to the build, and I love mixing and matching them depending on my project’s needs.
When it comes to designing the ramp, I always take a moment to ponder what kind of ramp I’m in the mood to create. Sometimes it’s the classic mini ramps that catch my fancy, perfect for a casual session. Other times, I aim for the thrill of halfpipes or the challenge of crafting a spine. It’s all about what fits my current skill level and the space I have available.
I often sketch out a few designs, playing around with the size and shape, and considering how complex I want to make it. There’s a certain thrill in mapping out a new project, imagining how each curve and angle will come to life. It’s like a puzzle, fitting my vision into the practicalities of space and ability. Whether it’s a simple ramp for a chill fingerboard session or a more intricate setup for honing skills, the planning stage is where my ideas start to take flight.
Building fingerboard ramps is an exciting mix of artistry and craftsmanship. Let me share with you the way I approach making different types of ramps, adding my own twists and tweaks along the way:
Cardboard ramps for tech deck
Foam and wood ramps for tech deck
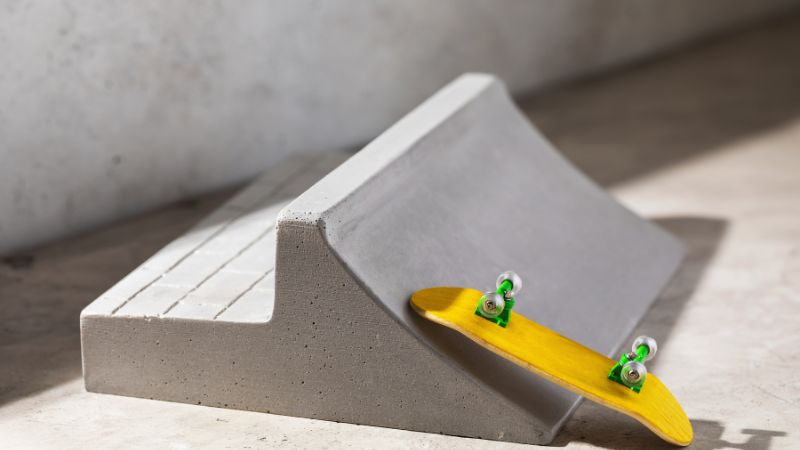
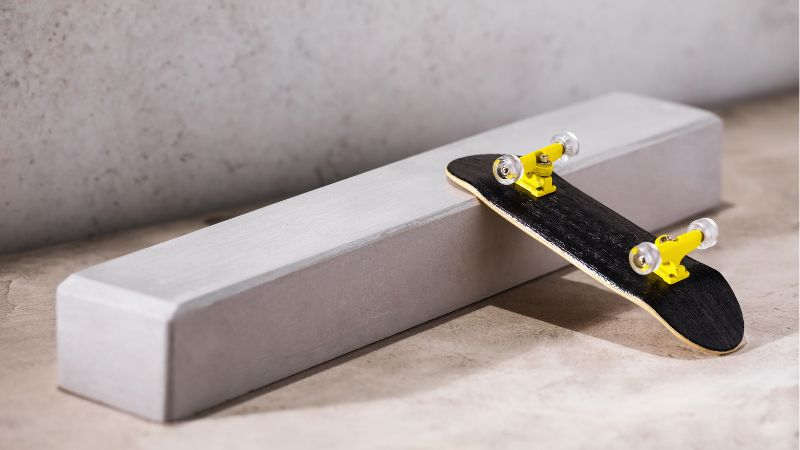
Concrete ramps for tech deck
Advanced Building Tips
Creative Ideas
Each type of ramp brings its fun and challenges. From the simple yet versatile cardboard ramps to the more permanent and sturdy concrete ones, there’s always something new to learn and try.
And the best part? Seeing your creation come to life and enjoying a session of fingerboard on a ramp that’s uniquely yours!
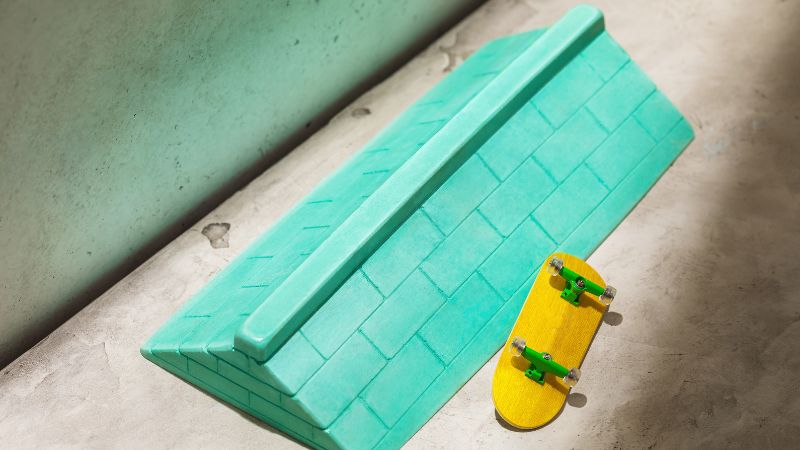
After I’ve built my ramp, it’s all about making it truly mine. I often grab my paints and brushes to give it a splash of color. Sometimes, I go for a graffiti-style look, other times, something more minimalistic. Adding decals is another one of my favorite ways to personalize it – they can really make the ramp pop.
I also like to think about functionality with a creative twist. Adding features like handrails or stairs not only increases the complexity of tricks I can perform but also gives the ramp an impressive, professional look. It’s amazing how a few small additions can transform a simple ramp into a miniature skate park.
A key part of my ramp-building process is ensuring everything is safe and sturdy. I regularly check the ramp for any loose parts or damages, making sure to repair them promptly. It’s crucial to maintain its durability, especially after a lot of use. A well-maintained ramp not only ensures safety but also extends its lifespan.
The journey of a DIY fingerboard ramp is filled with creativity, challenges, and a lot of fun. From choosing materials to adding those final decorative touches, each step is a chance to inject a bit of your personality into the project.
Whether you’re just starting in the world of fingerboarding or you’re an experienced enthusiast, creating your ramp is a rewarding experience that enhances your skills and adds a unique flair to your fingerboarding sessions.

Skateboarding and fingerboard tricks are always fun and worth learning. With so many tricks out there, it can be hard to choose which one to

Hey there fellow fingerboard enthusiasts! If you’re like me, you’re always looking for ways to personalize and improve your fingerboard setup. One fantastic way to

Handboarding, also known as fingerboarding, has risen tremendously in popularity over the past decade. But along with the fun comes inherent risks that handboarding enthusiasts

Hand boarding, also known as fingerboarding, has exploded in popularity over the past decade, becoming a global phenomenon and community. For the uninitiated, hand boarding
Ever since I discovered fingerboarding, the scaled-down cousin of skateboarding, I’ve been hooked. There’s something truly mesmerizing about executing intricate tricks with just my fingers

Skateboarding and fingerboard tricks are always fun and worth learning. With so many tricks out there, it can be hard to choose which one to
Hey there fellow fingerboard enthusiasts! If you’re like me, you’re always looking for ways to personalize and improve your fingerboard setup. One fantastic way to

Handboarding, also known as fingerboarding, has risen tremendously in popularity over the past decade. But along with the fun comes inherent risks that handboarding enthusiasts