KUNGSLEDEN: 7 DAYS ALONG THE TRAIL

A GUIDE TO HIKE FROM ABISKO TO NIKKALOUKTA
Wether you’re a hiking nerd, a big fan of Scandinavia or just love nature in general — chances are high you’ve already heard about the world famous Kungsleden. Translated as the “King’s Trail” this 440 kilometer long trekking route leads through some of the prettiest regions Sweden has to offer. Divided into the northern and the southern parts, it can make you having a hard time choosing the stages that fit you and your preferences the best. Here I combine a bunch of informations I collected & experiences I made along the so called prettiest and most famous route of the trail.
This blog post is structured as follows:
GETTING THERE | ROUTE | NAVIGATION | HUTS & CAMPING | SEASON & WEATHER | PACKING LIST | FOOD

GETTING THERE
BY TRAIN
Heading all the way up north with the railway is definitely the most comfortable one, I’d say. I mean; you just hop onto the night train and wake up with the Swedish Lapland passing by the windows. For your journey with the Swedish rail company SJ you can choose between different options; from just seats to first class private compartments. We chose to reserve beds in the 6-bed compartments, which can be compared best with a very small hostel dorm room I’d say. Most importantly: Seat or bed — you need to do a reservation beforehand. Costs depend on your preferred way of traveling.
I recommend to check the interrail website regularly, they offer their global passes at reduced prices several times per year.
Of course traveling by train is more or less doable depending where you’re located. Here’s my route of train rides for example:
Ulm — Hamburg: 10h (thanks to massive delays haha)
Hamburg — Kopenhagen: 7h
Kopenhagen — Stockholm: 5h 18m
Stockholm — Abisko: 16h 57m
Yes, those were a lot of hours. Especially the last ride was very long. But let me break that down a bit. You can easily split your journey and add some short visits in the cities along your way. First we spend some hours in wonderful Copenhagen. We then entered the train in Stockholm at around 6pm. The first few hours were all about sitting in the 6-bed couchette cabins, eating, talking with fellow travelers and preparing the beds. As we obviously didn't have anywhere to go to, we slept in. After putting the beds away and having a little breakfast we mostly enjoyed the window views. At around 11am we arrived at our final destination. So don't let those number fright you too much haha. Also, big pro argument for taking the train: Nature will thank you & it’ll ease your conscience.
NOTE: The station you wanna go to start the hike from Abisko is not called Abisko Östra Station but the one more further called Abisko Turiststation. If you wanna hike the other way around you first need to head to Kiruna & take the bus towards Nikkaloukta from there.

My favorite thing during the train ride: Breathing in the fresh air & admiring the passing landscapes.
BY PLANE
As I said, of course it’s not doable for everyone to head up north by train, especially if you’re located outside of Europe or even further south than me. But even if you’re heading to Sweden by plane I recommend you to have a look into the options of adding a little ride on the night rain to your route. For example a fellow traveler on our way told us that she arrived at the Stockholm Airport & went up to Kiruna with the night train.
A direct connection to Kiruna Airport probably would be the ideal option, because this is the closest international airport to the trail head. From there you’ll also either need to take the bus to Nikkaloukta or the train to Abisko. So in the end you’ll get at least a bit of the train ride experience :)

OUR ROUTE
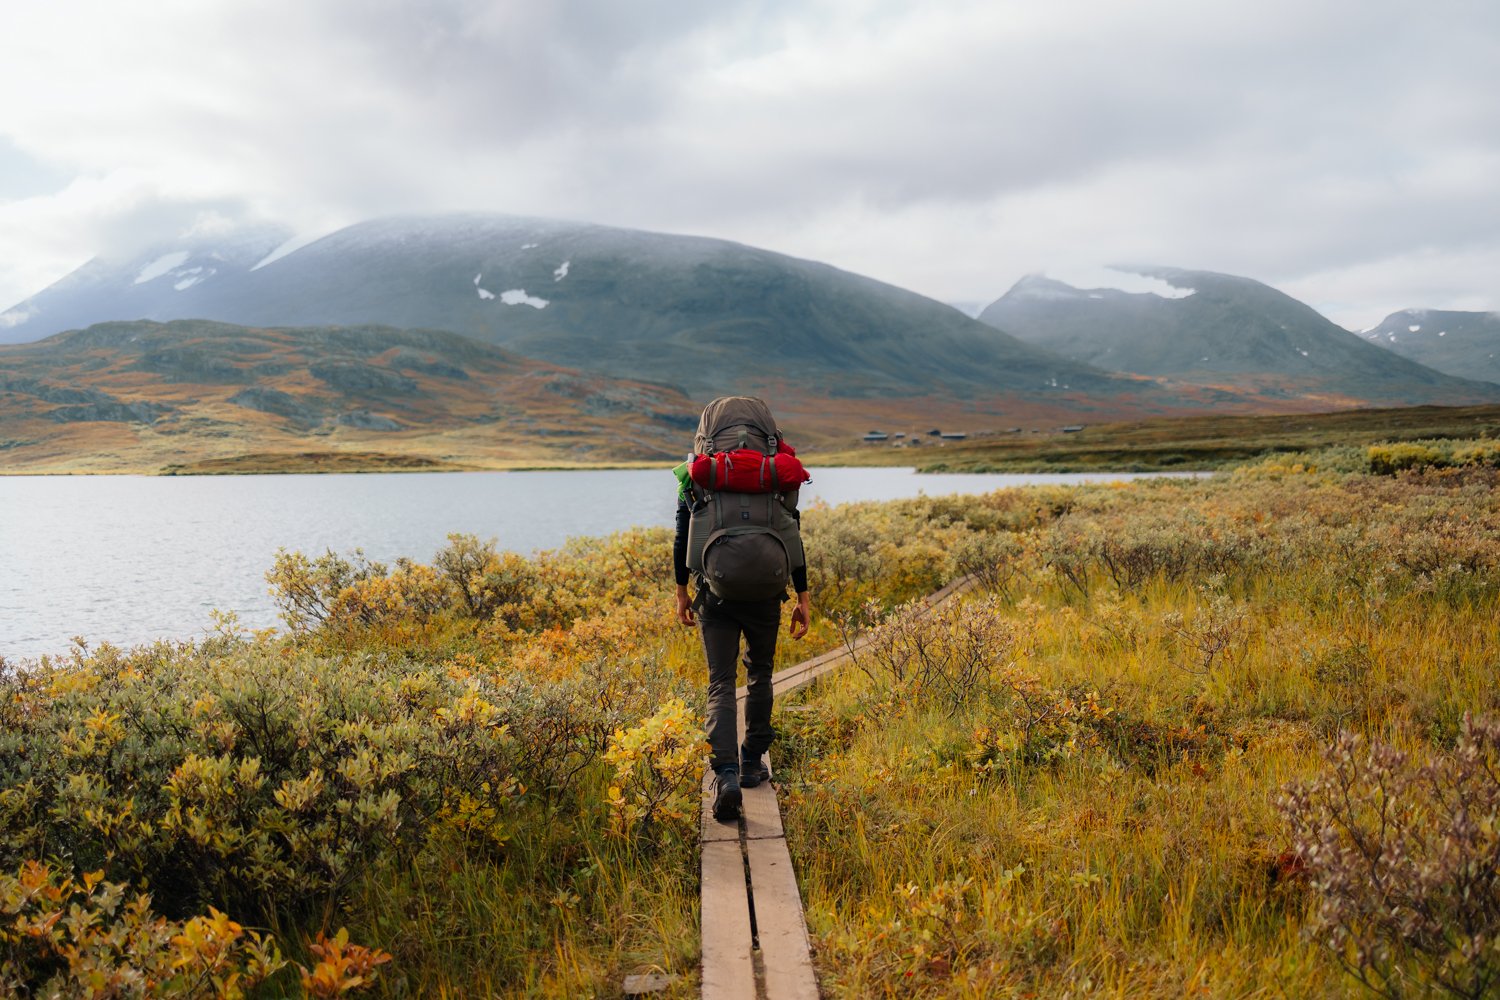
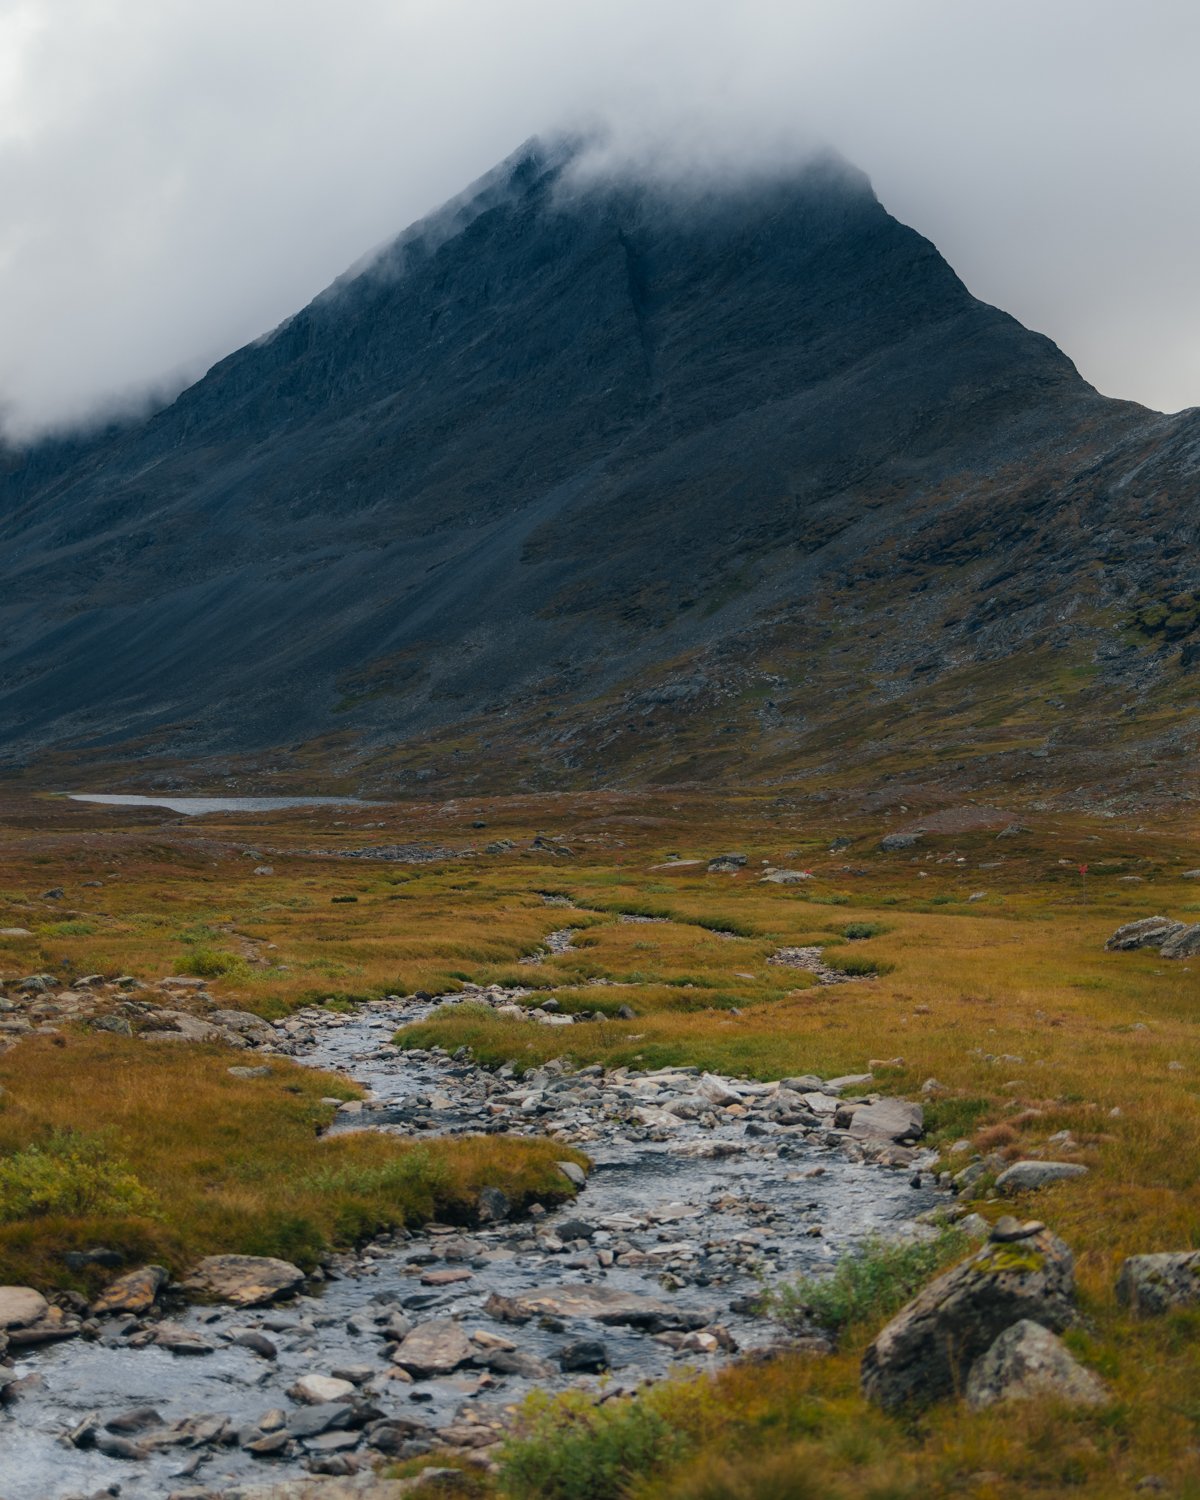
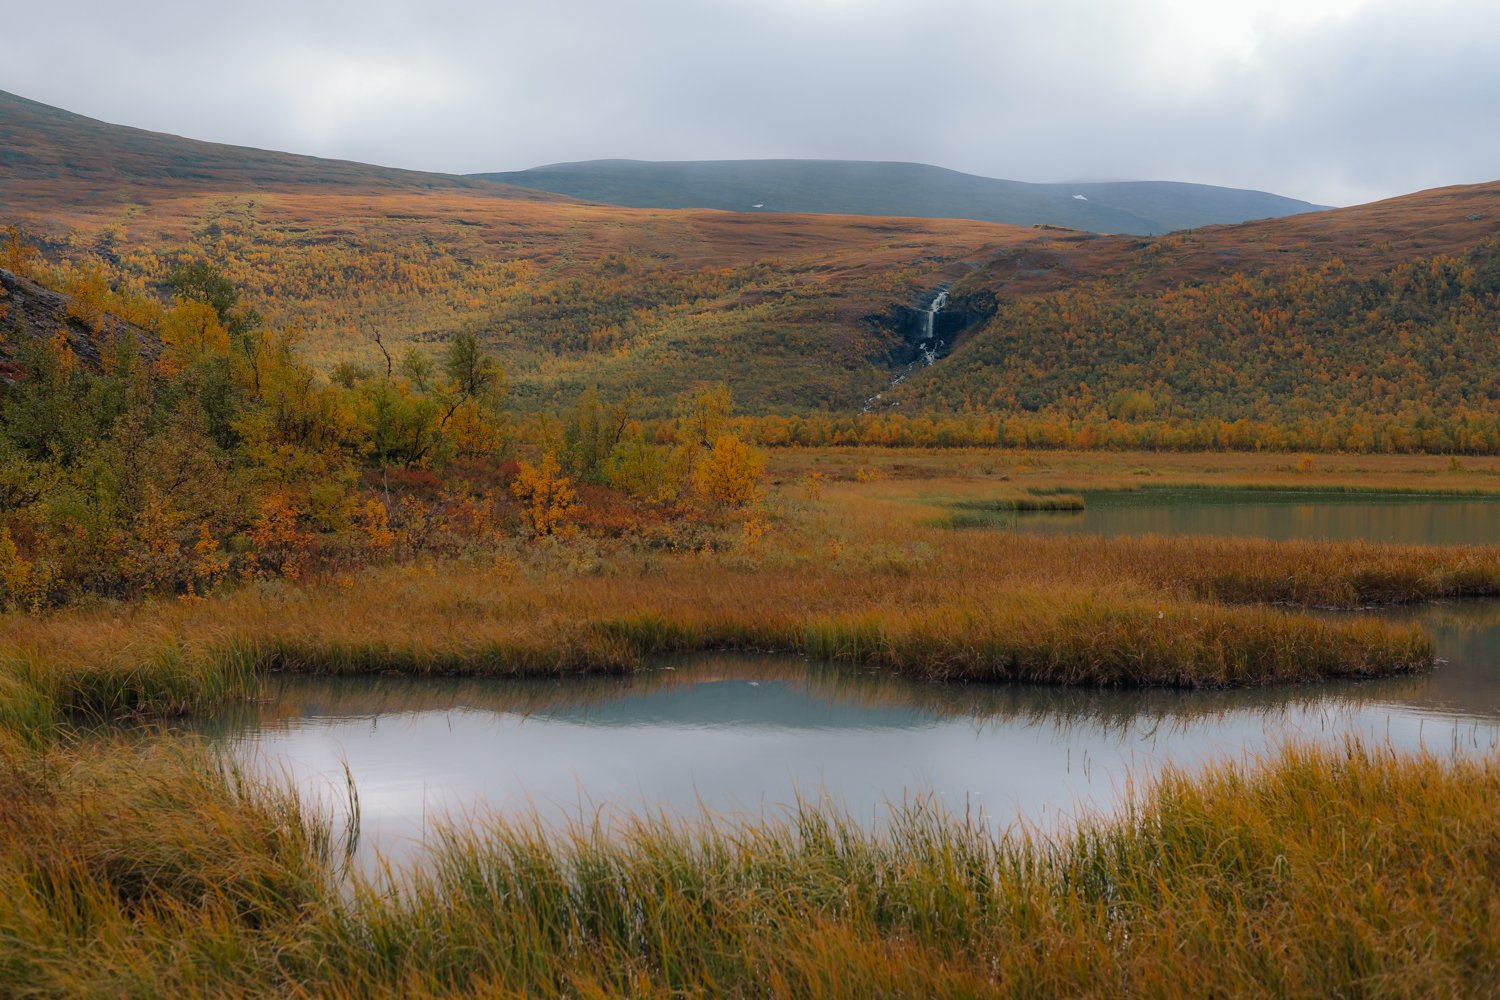
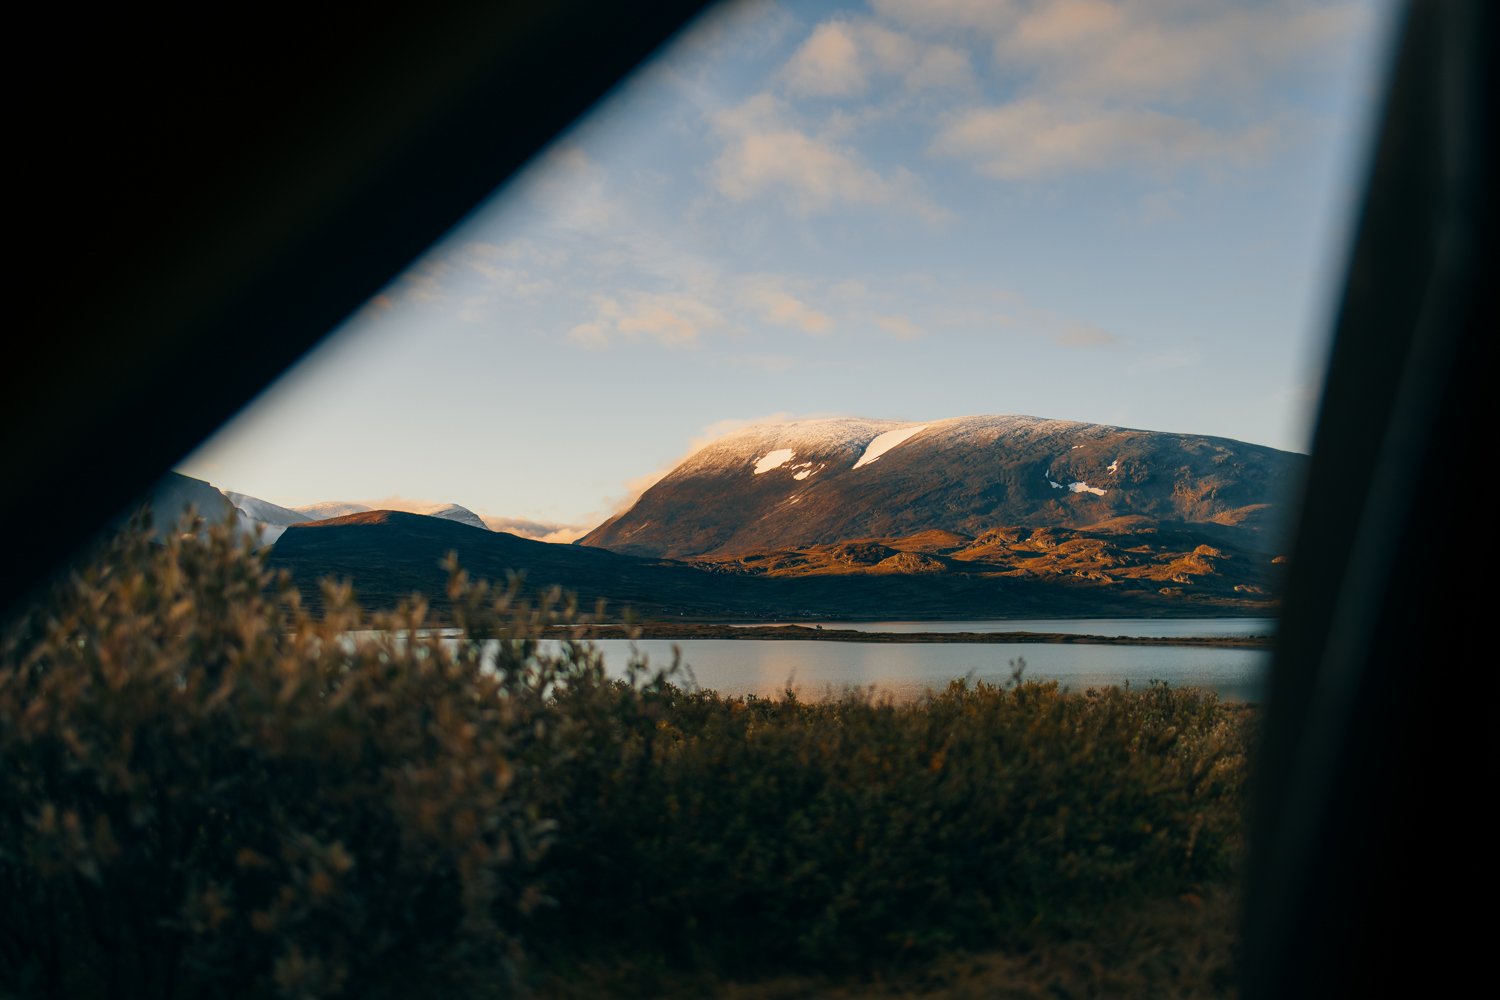
Sooo apparently the whole 400+km long Kungsleden isn't doable within seven days. Depending on the time you wanna spend on the trail you’ll need to choose your route individually. We started in Abisko and headed towards Nikkaloukta. That’s the most famous route. I’ll not describe every day in detail as this blog post gets too long anyway. Also I don't wanna share too many pictures because I loved seeing the majority of those landscapes for the very first time with my own eyes — and I don't wanna take that away from you. But I’ll add some informations that might come in handy.

OUR ROUTE
I created this little map, so you’ll get a good idea & overview about the route + its different stages.
red: bigger mountain stations
orange: smaller huts
blue: enoks boat departure
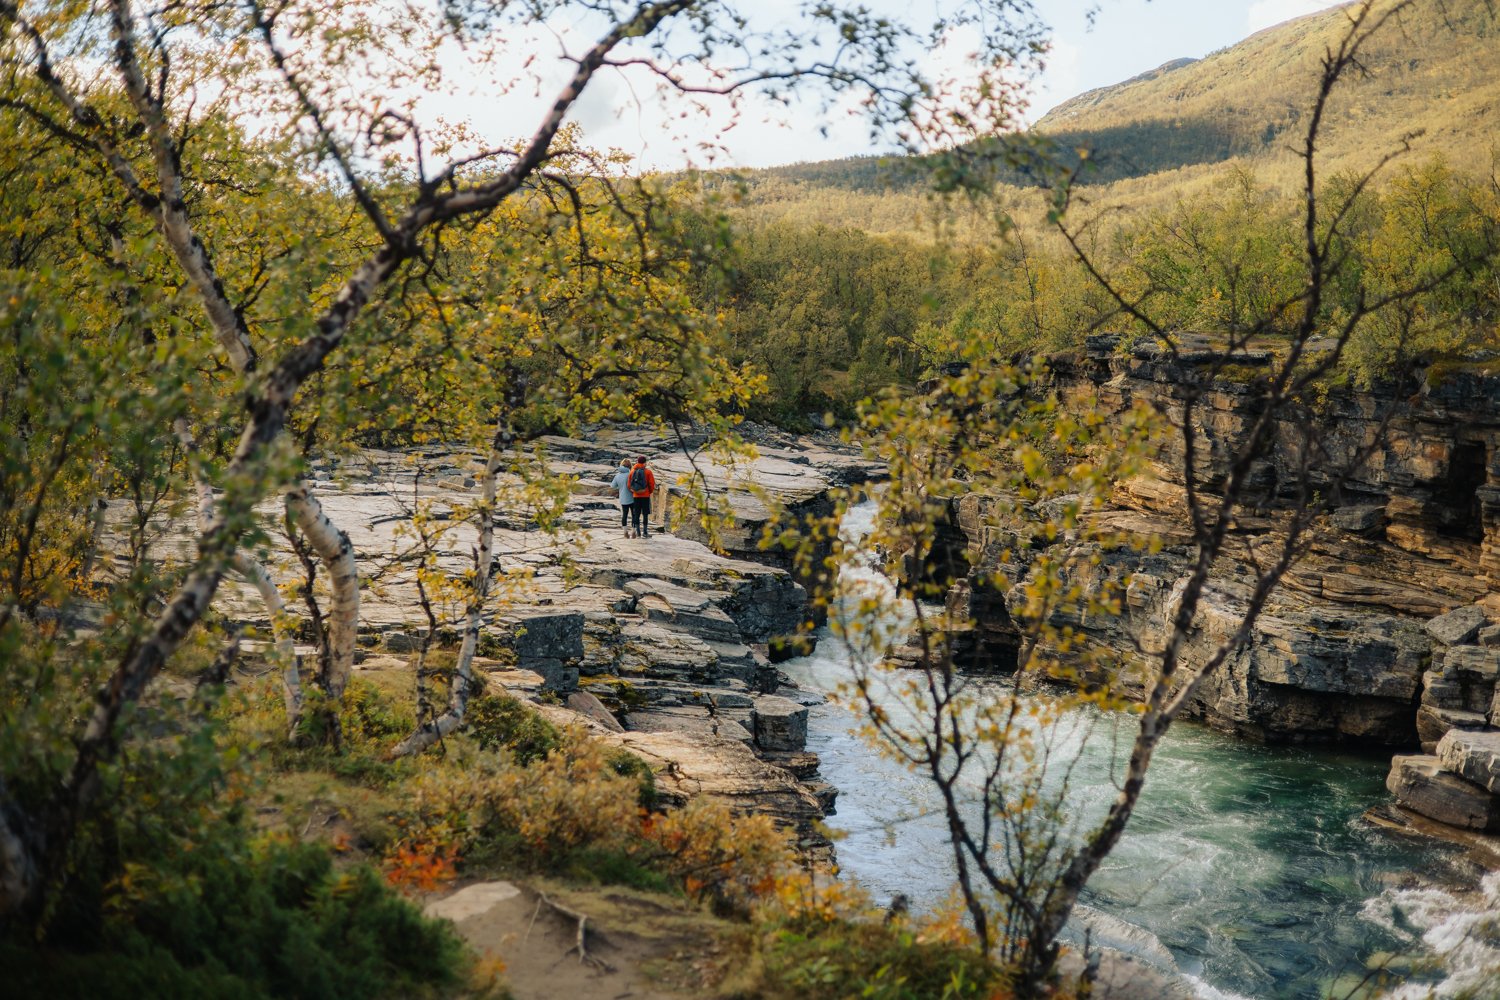
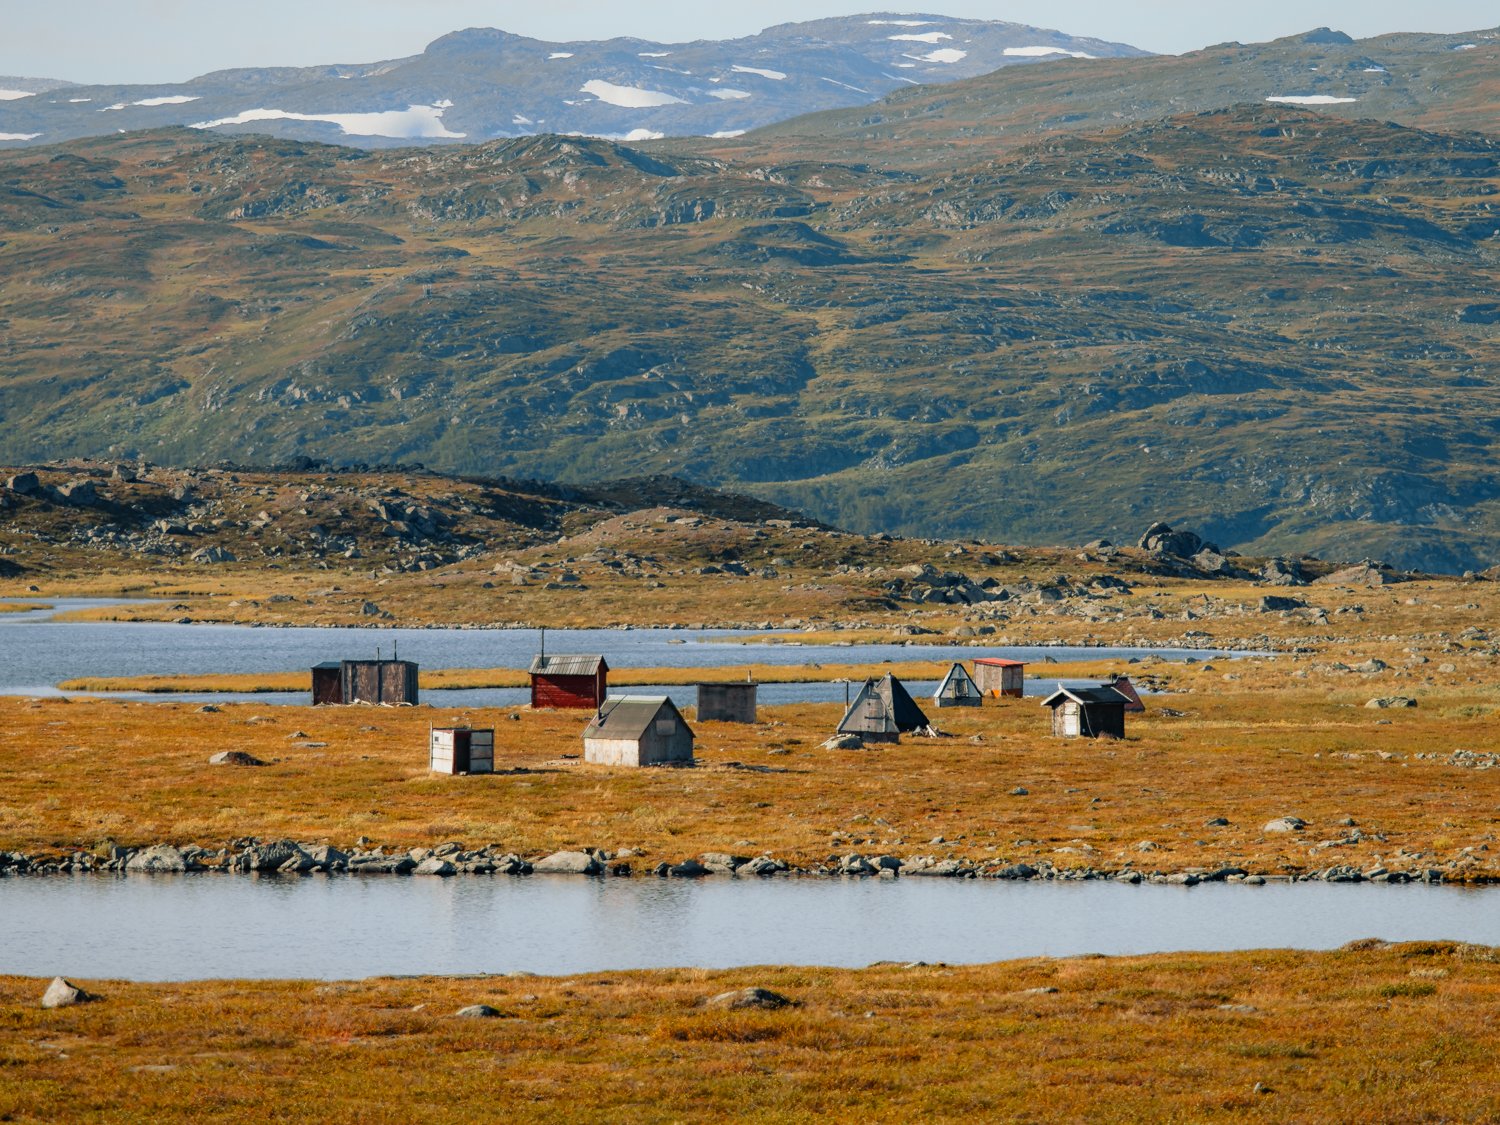
So, starting at Abisko you’ll stumble across the Abisko Mountain Station — a big hut with loads of beds and a camp ground. Depending on the time you arrive you can either start the hike right away (more on that later) or you stay for a night. They also have one of the bigger shops we came across, so take your time to check if you forget to pack anything. From dehydrated food to hiking poles, rain jackets, cutlery to maps, souvenirs and photo books — they have it all (maybe a bit more pricey than usual). We arrived in the afternoon, so we just stayed here to get a map, use the wifi for some last minute planning & to use their shower for 70 SEK/7€ each. Expensive but so worth it.
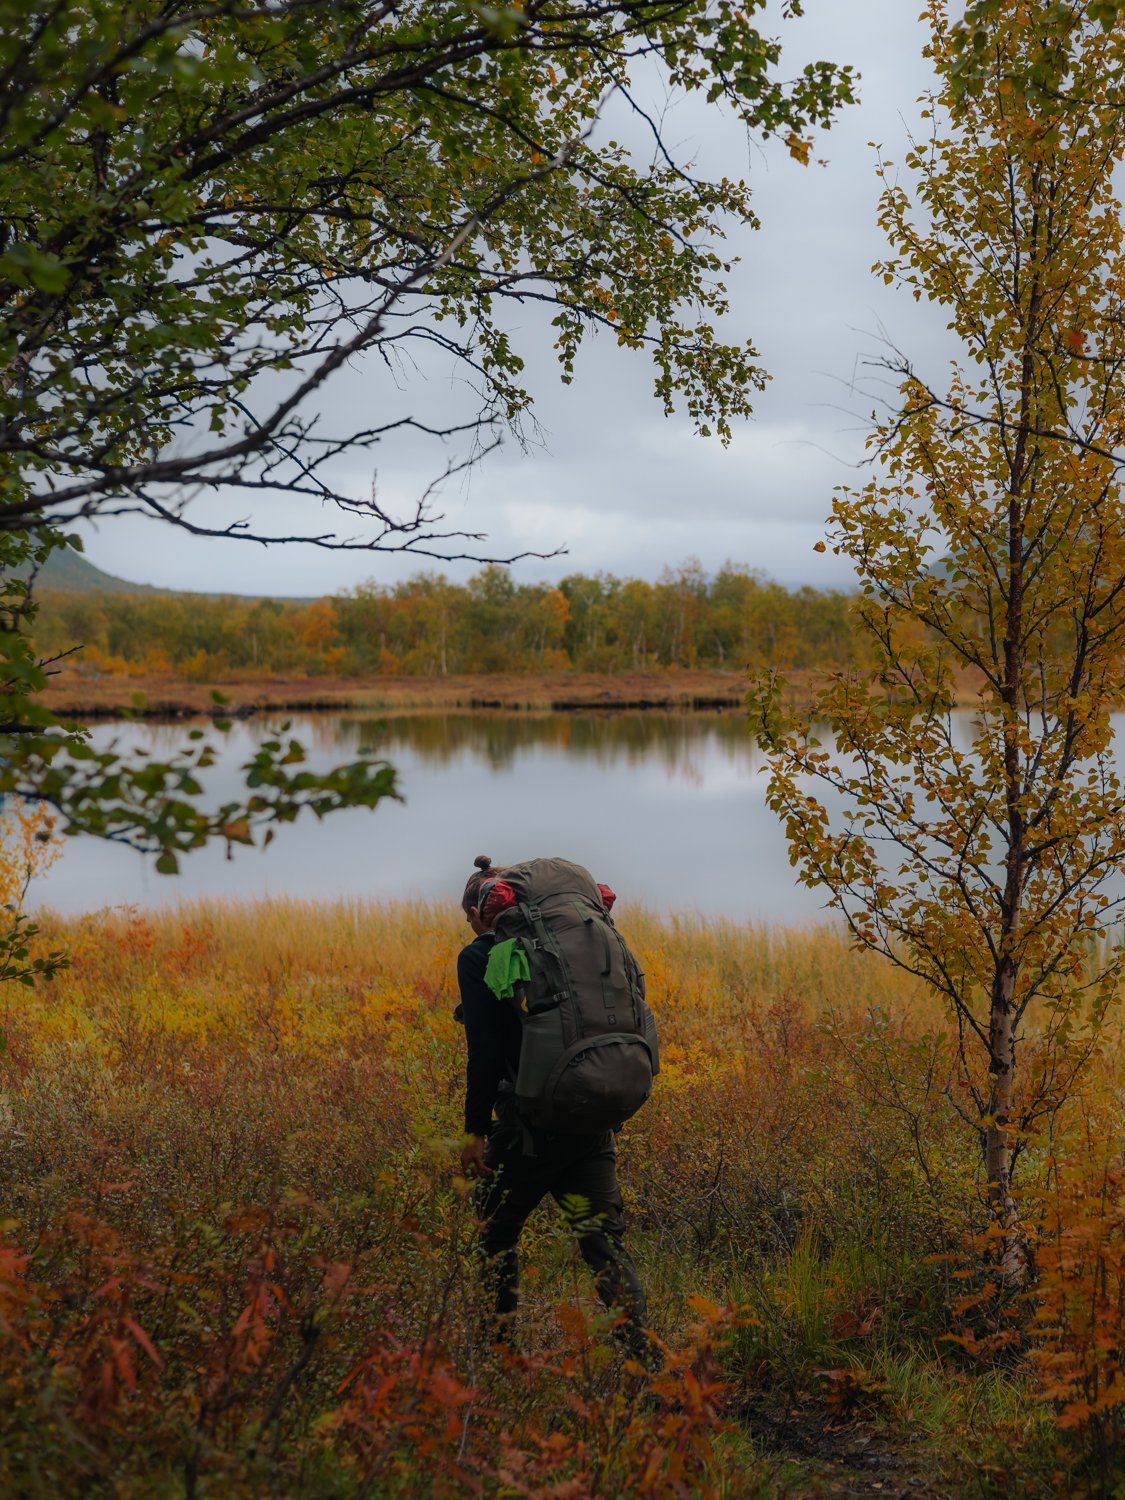
DAY 1
Abisko → Abiskojaure | 14 km — 4 h
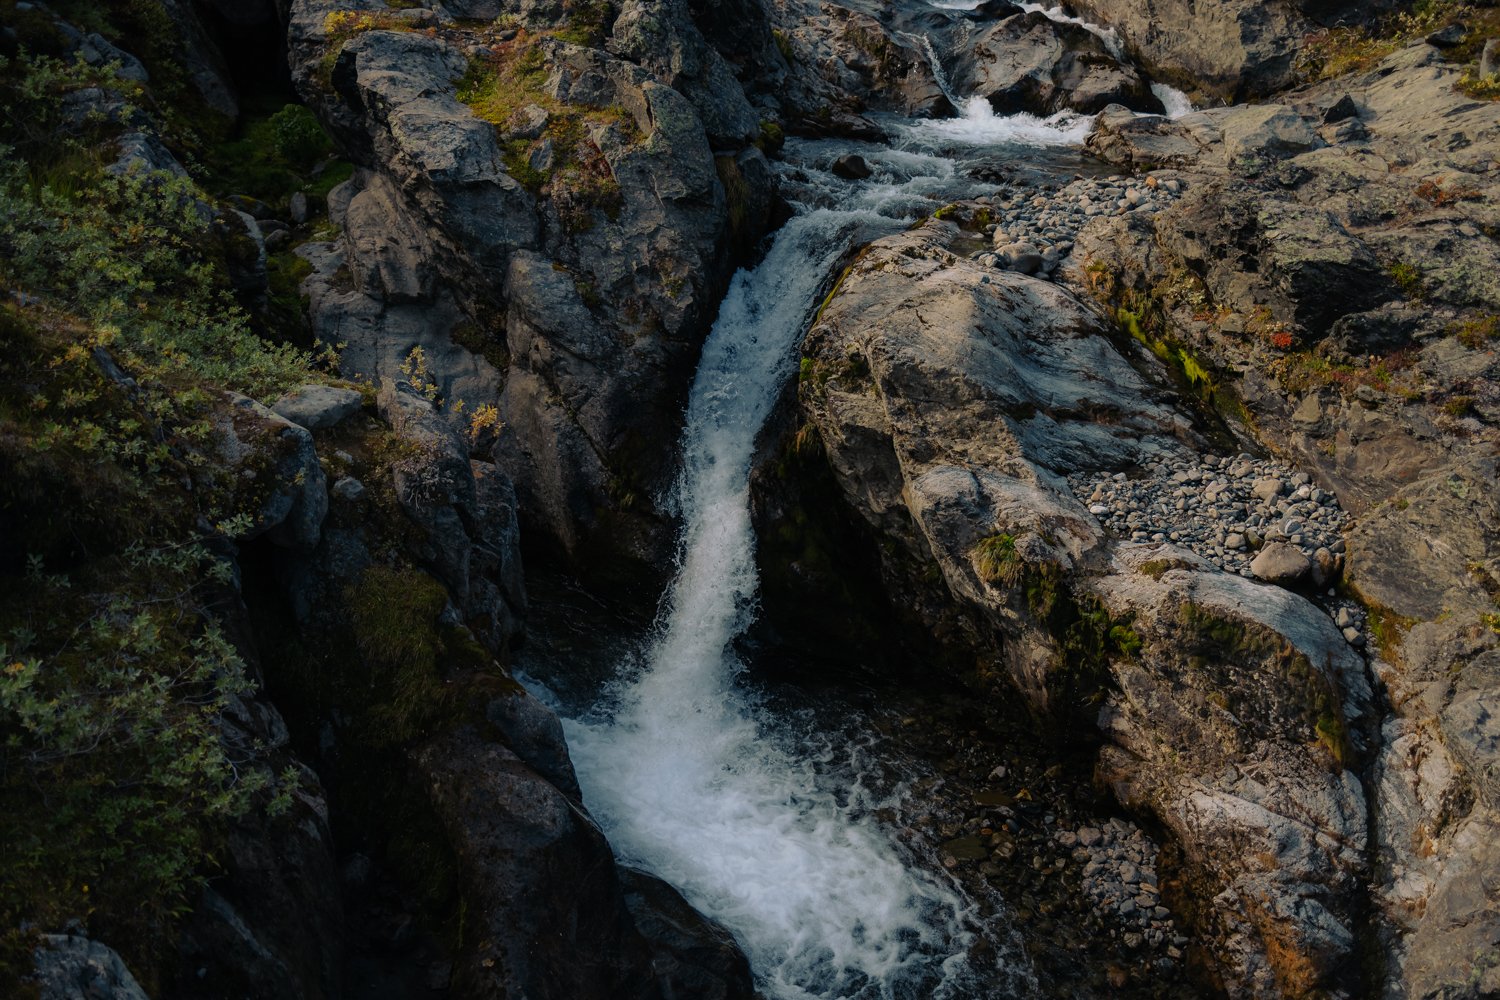
During this day you come across a beautiful canyon right at the start. Remember that you start the hike in the middle of Abisko National Park. Rules here are a bit different, so you either camp at the first designated camp ground (with a bunch of as good as new toilets, yeah!) not too far away from the trail head — or close to the Abiskojaure like we did.
Water sources: Loads!
Terrain: Easy & flat.
Toilets along the way: Yes.
Shop at hut: Yes, bigger one.
DAY 2
Abiskojaure → Alesjaure | 20 km — 6,5 h
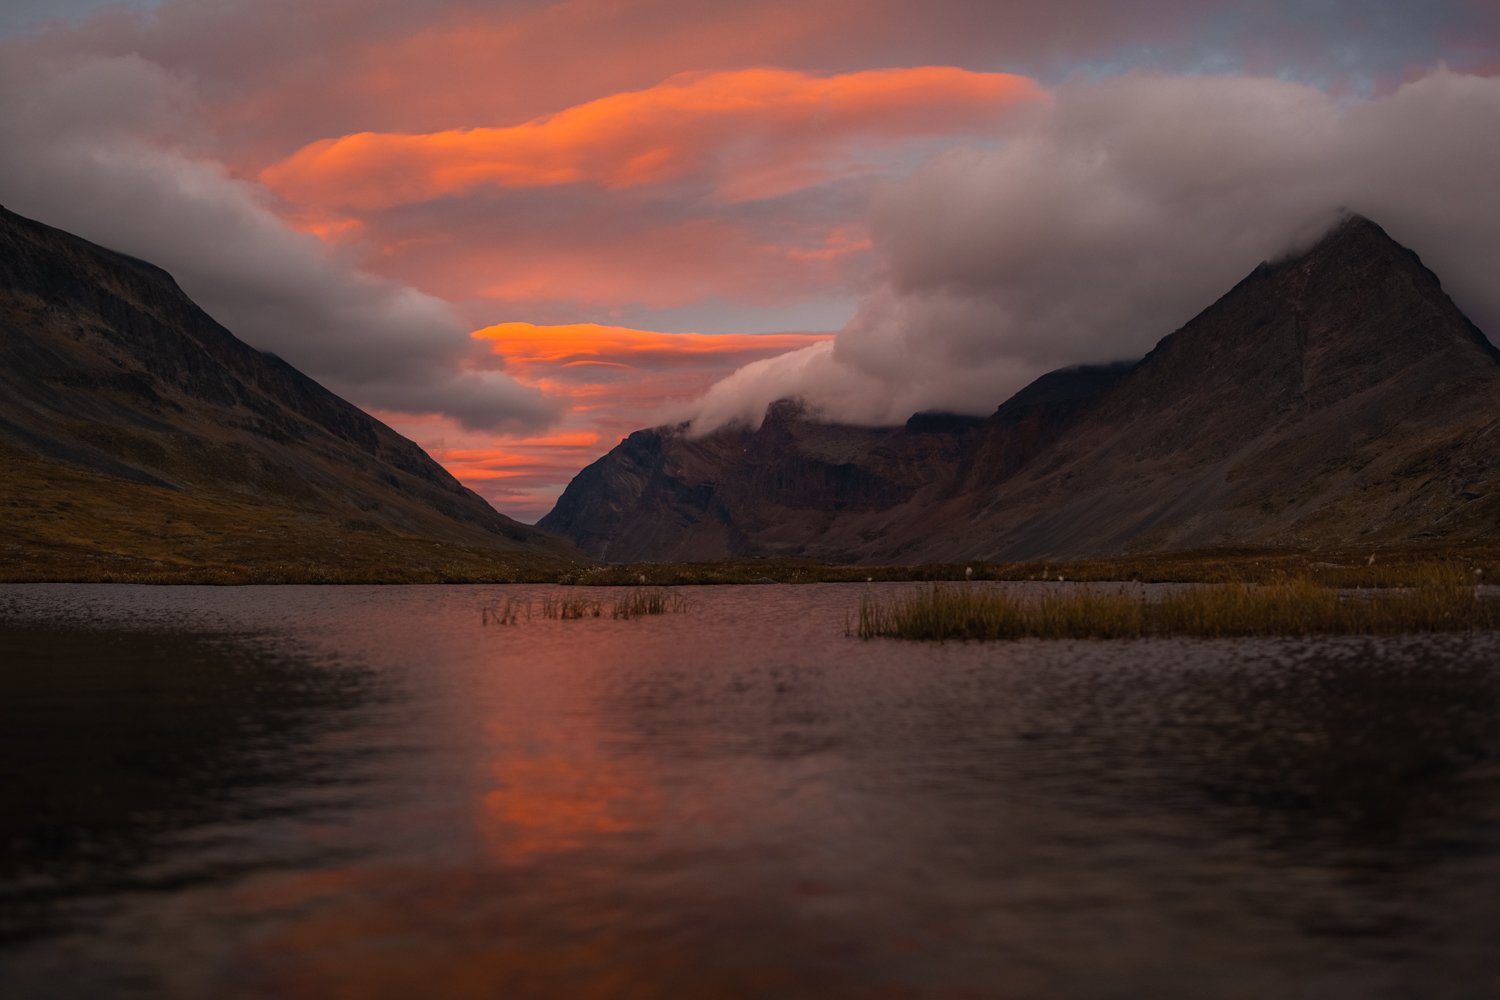
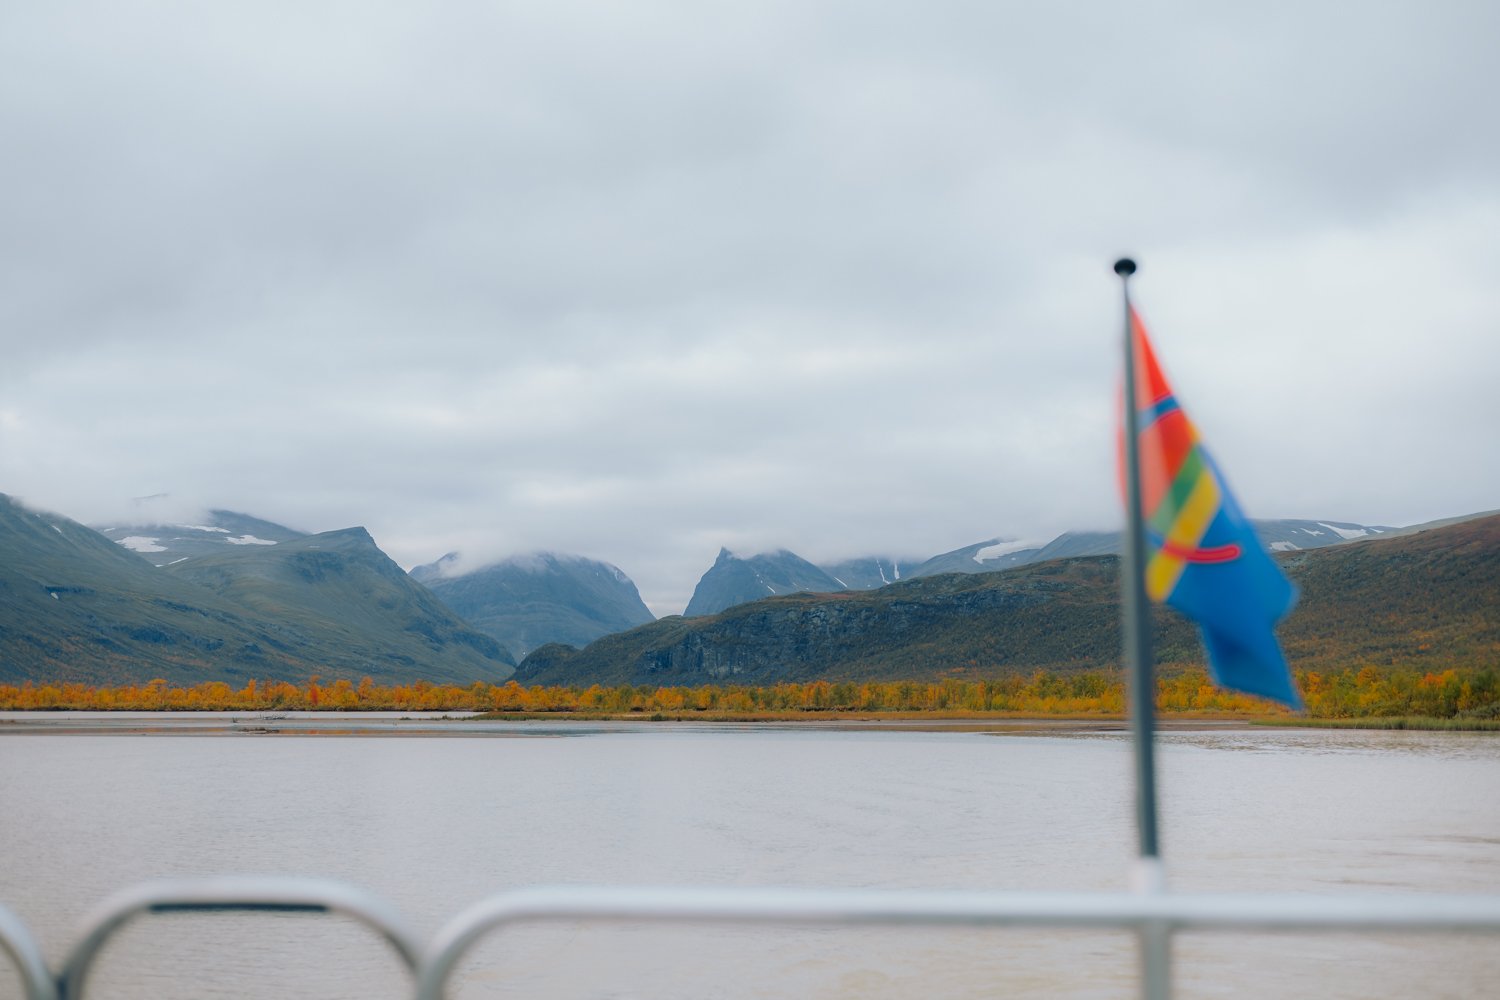
This stage felt like it would never end haha. We still weren't used to our heavy backpacks and so this amount of kilometers was hard. In total we had a lot of breaks, so in the end we didn't quite make it to Alesjaure but stayed about 3 kilometers away from the hut instead. The day ended with a beautiful view over the lake and a pretty neat pink sunset. Btw, during this stage you can skip a few kilometers by taking a boat straight to the hut. It’s a bit pricy tho. Also it wasn't operating anymore when we came by. During the high season there’s a fix time table but also a walkie talkie to call them for an extra ride.
Water sources: Not really, better fill up at the river before the steeper part.
Terrain: Bit steeper, about 400 meters in height.
Toilets along the way: Yes at the designated campground outside the national park, but it’s a stinky one.
Shop at hut: Yes, smaller one.

DAY 3
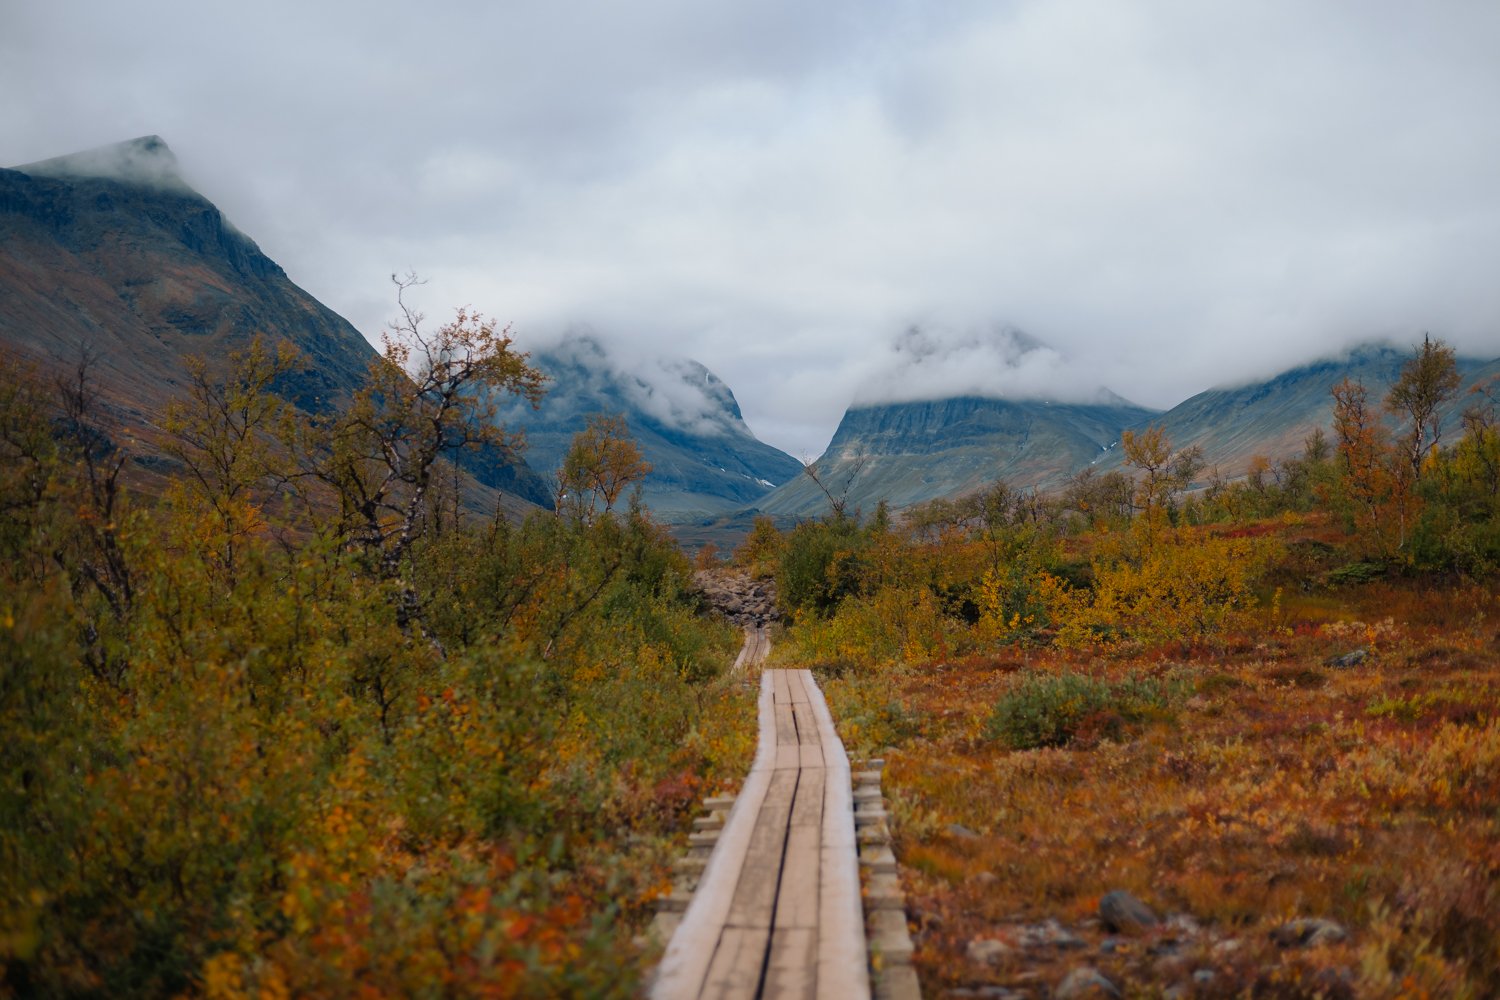
Alesjaure → Tjäktja | 13,5 km — 4,5 h
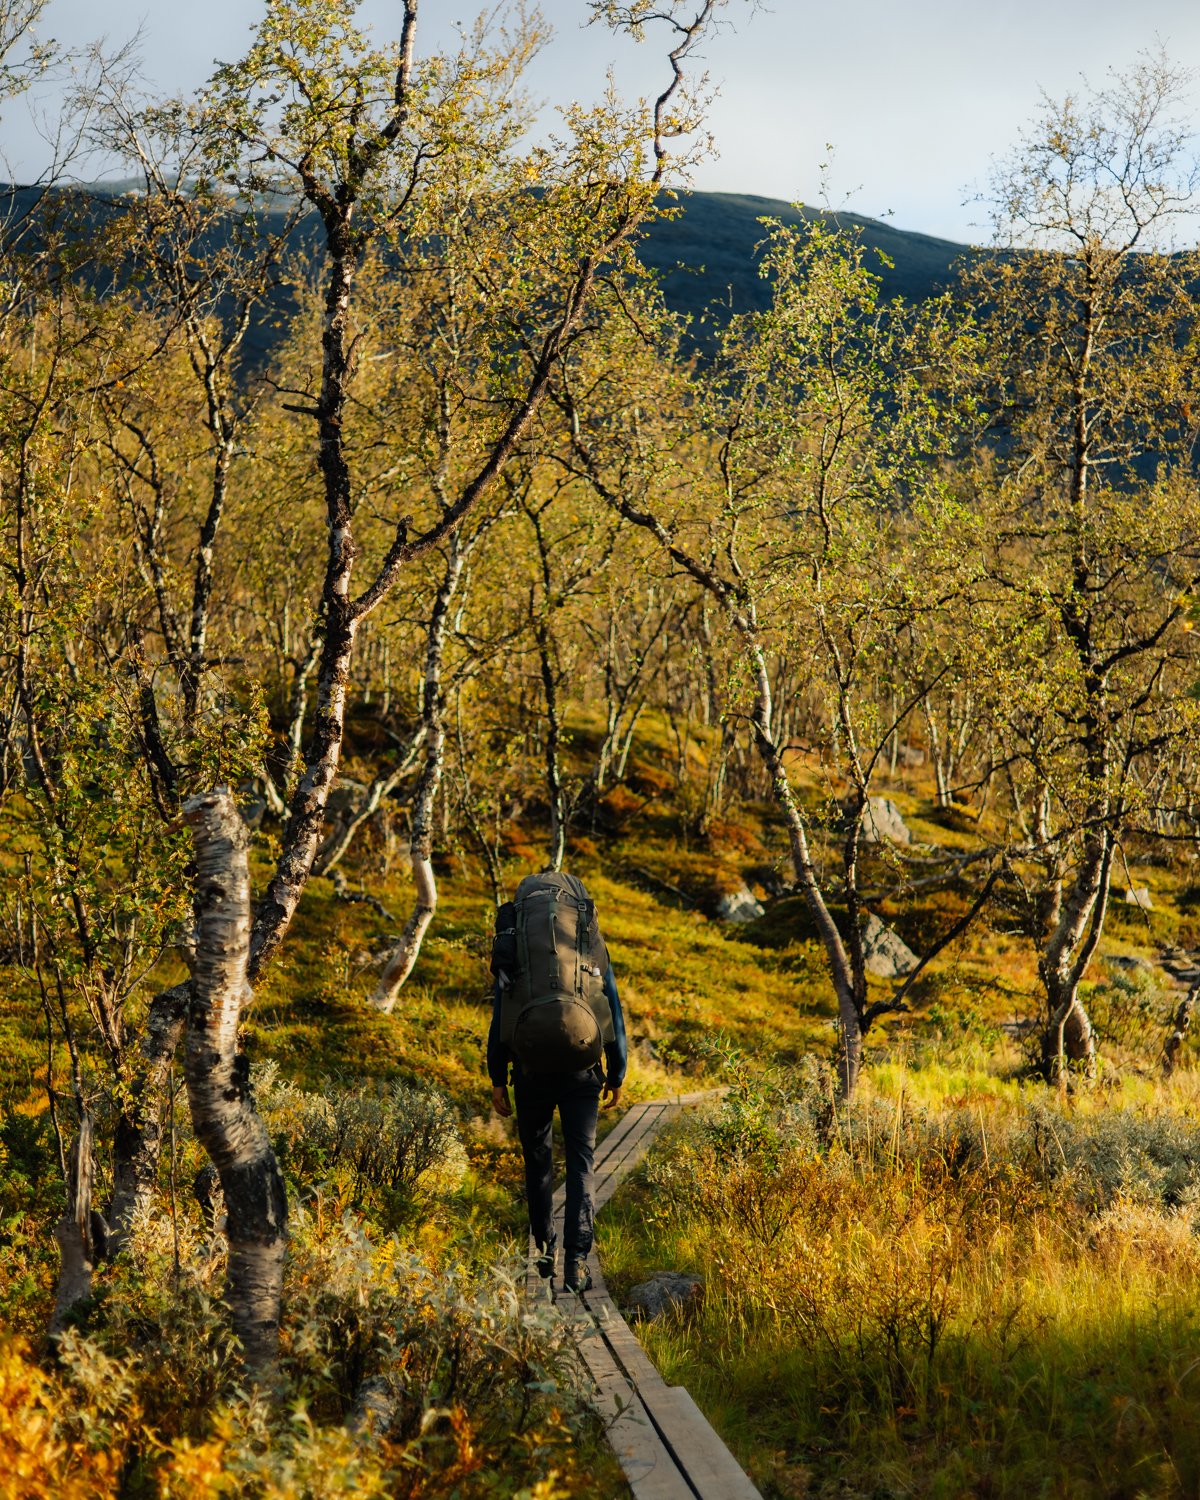
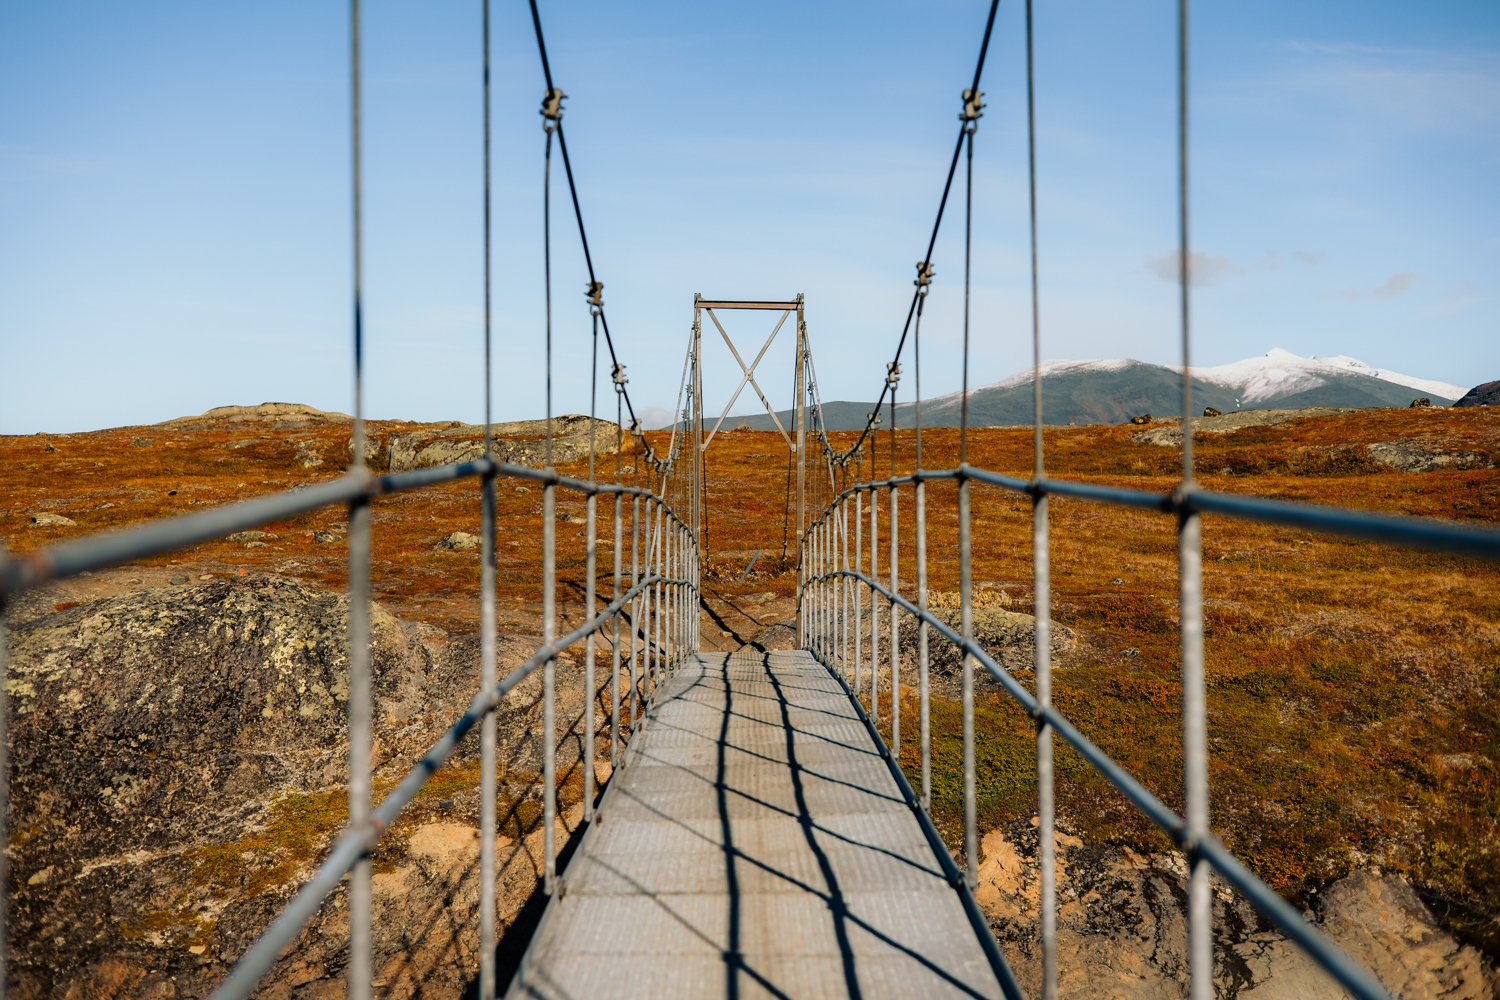
So, because of our lazy legs the day before we actually had a total amount of 16,5 kilometers instead. We stopped by at the Alesjaure hut, bought some potato chips & had a little chat with the host (who never saw the northern lights up here before — can you imagine?). Close to the hut there’s also a little Sami village, loved all those colorful houses. The trail that day consisted of loads of boardwalks, bridges as you mostly follow the river & cross several streams.
Water sources: Loads!
Terrain: Repeatably up & down + loads of boardwalks.
Toilets along the way: Yes.
Shop at hut: No.

DAY 4
Tjäktja → Sälka | 12,6 km — 4 h
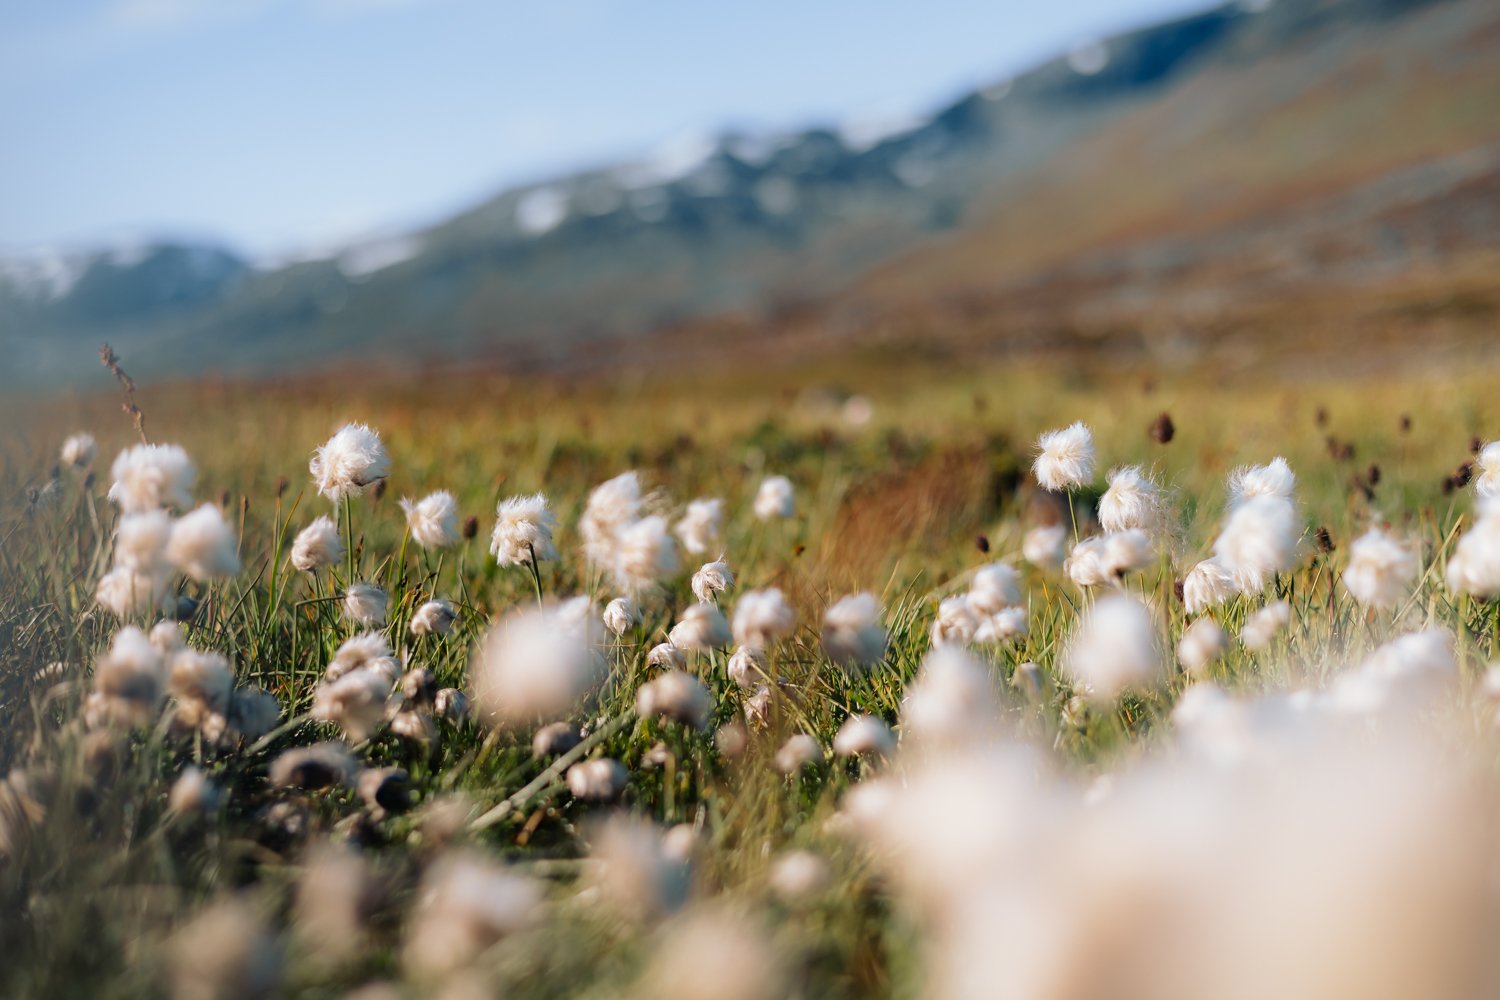
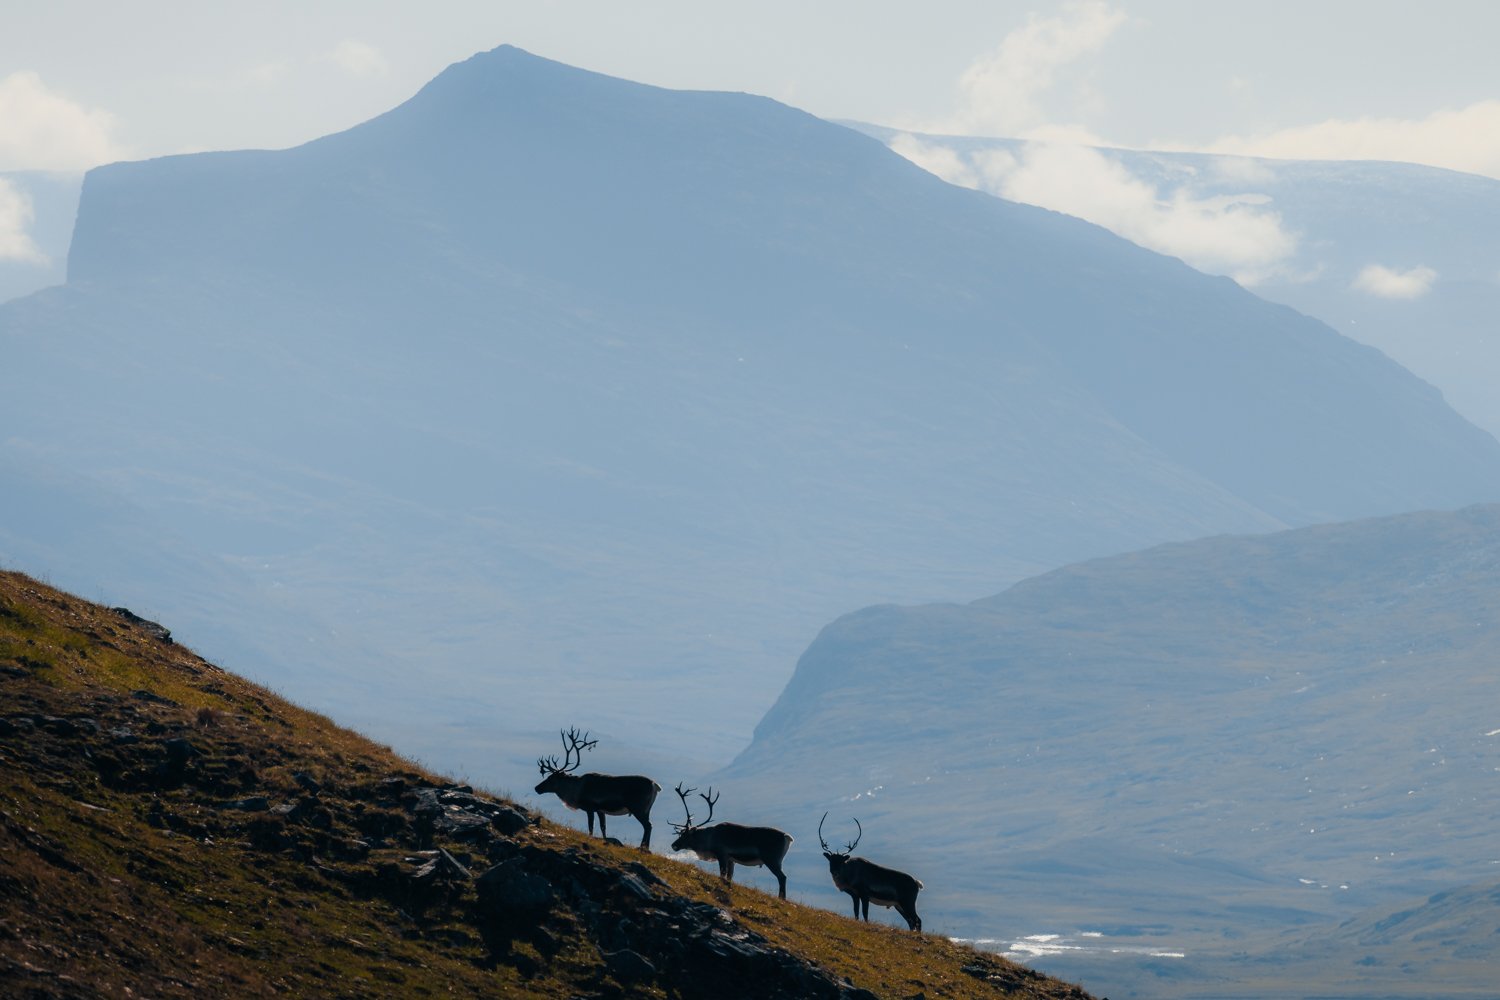
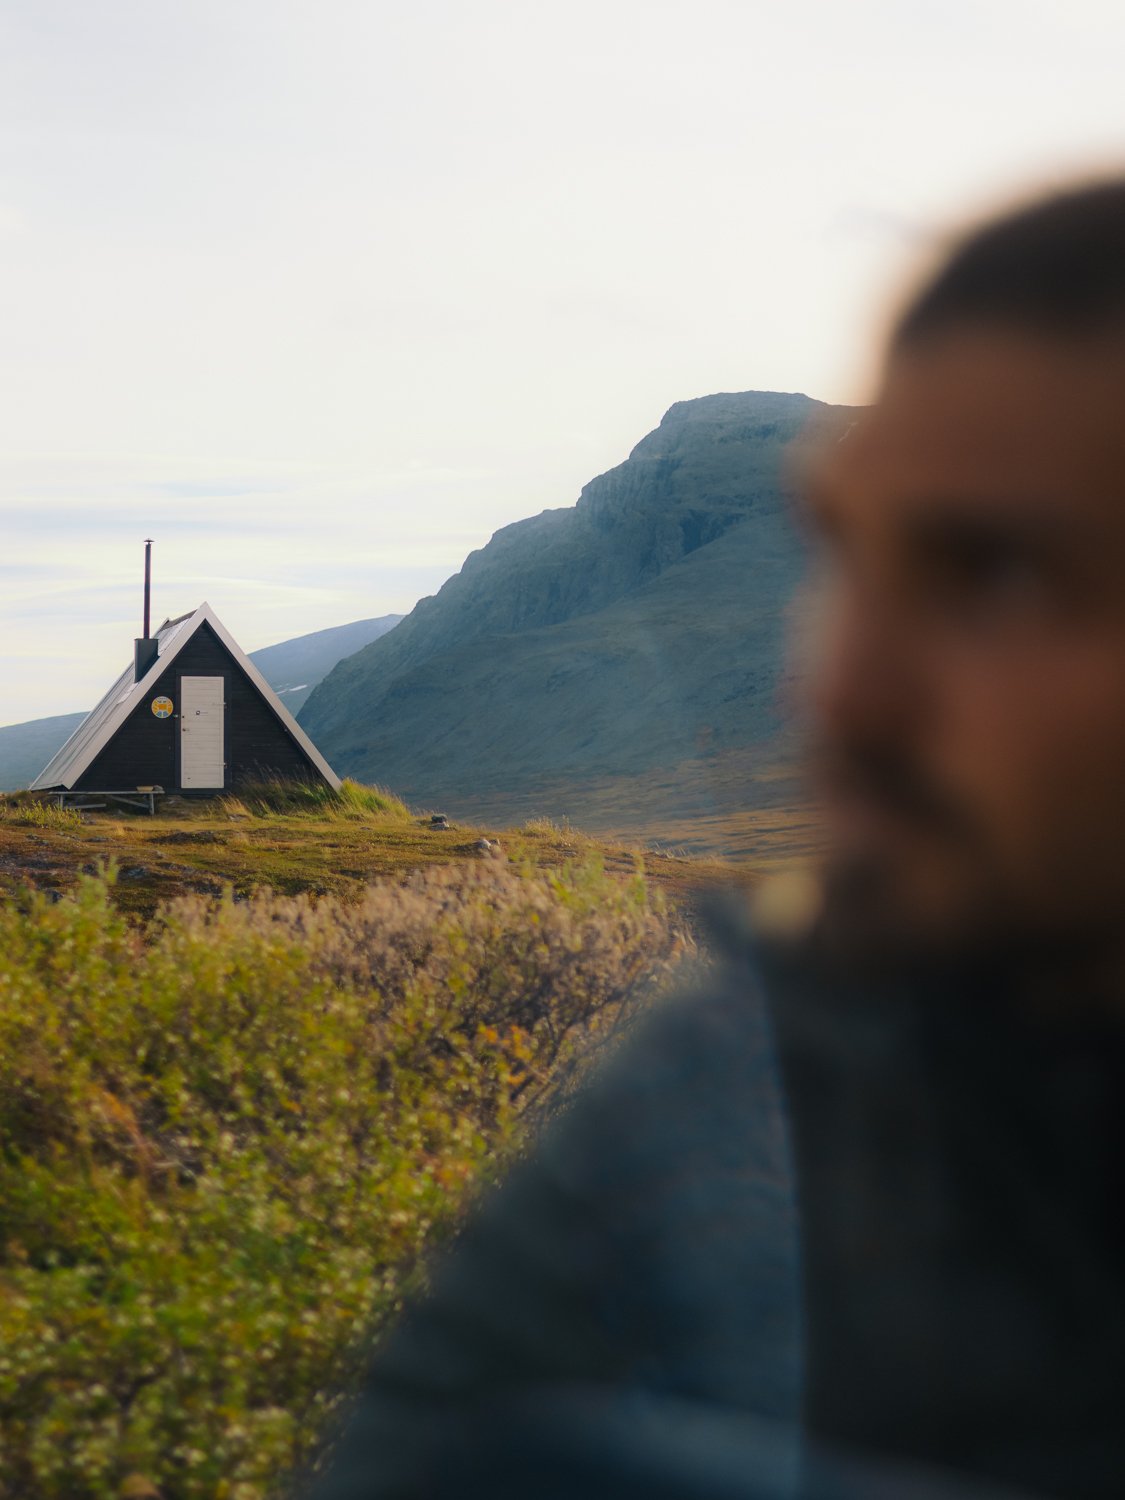
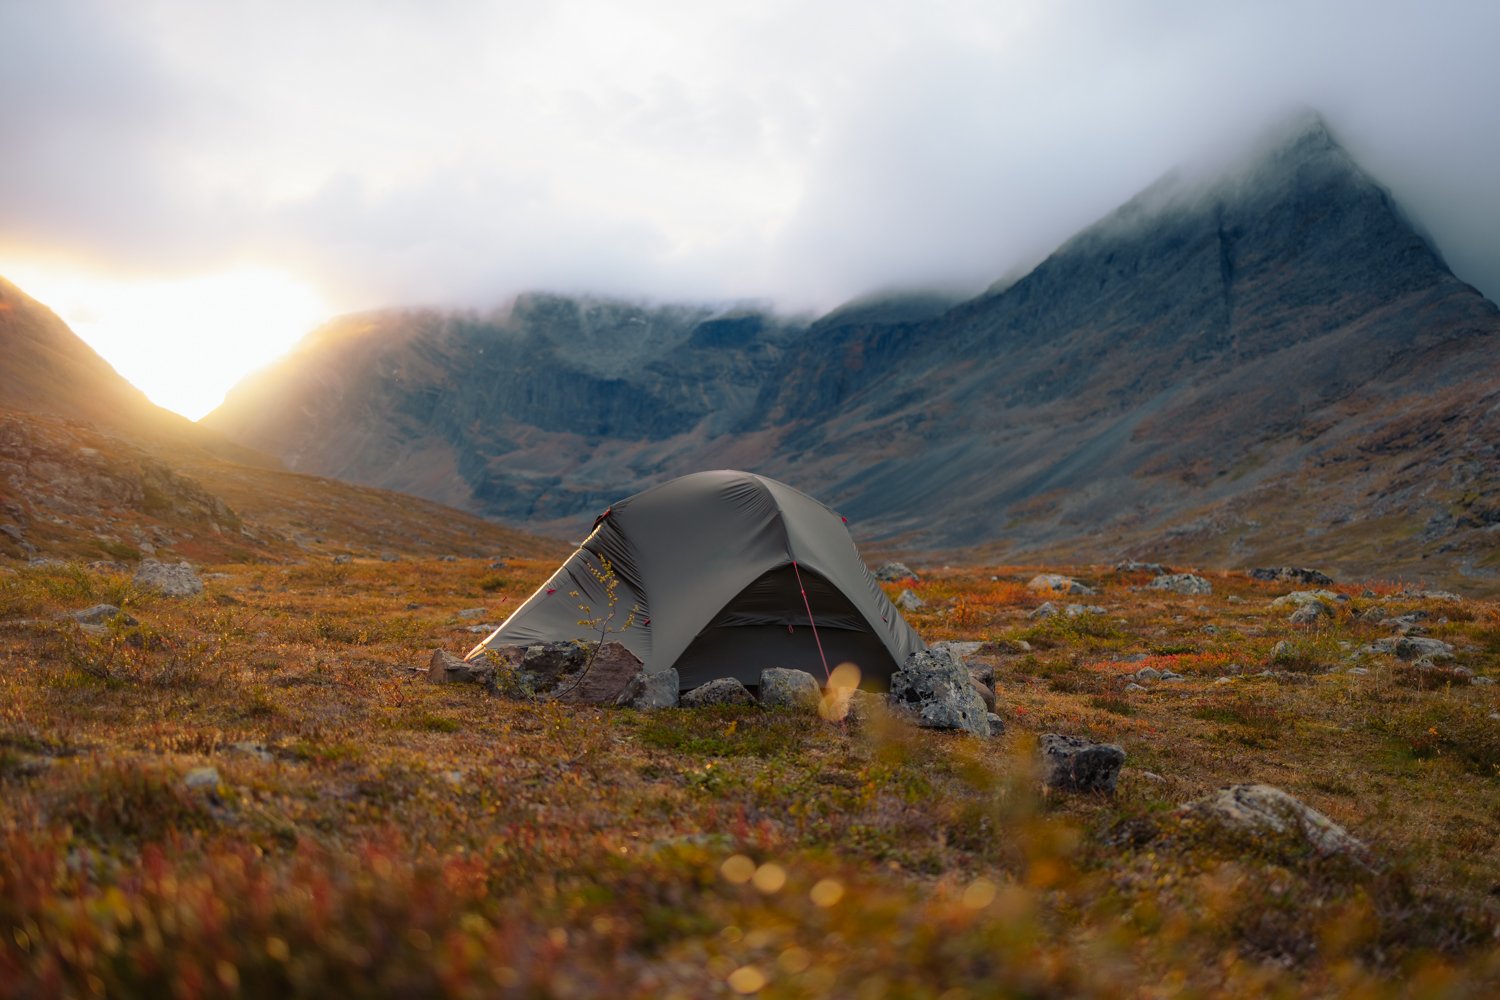
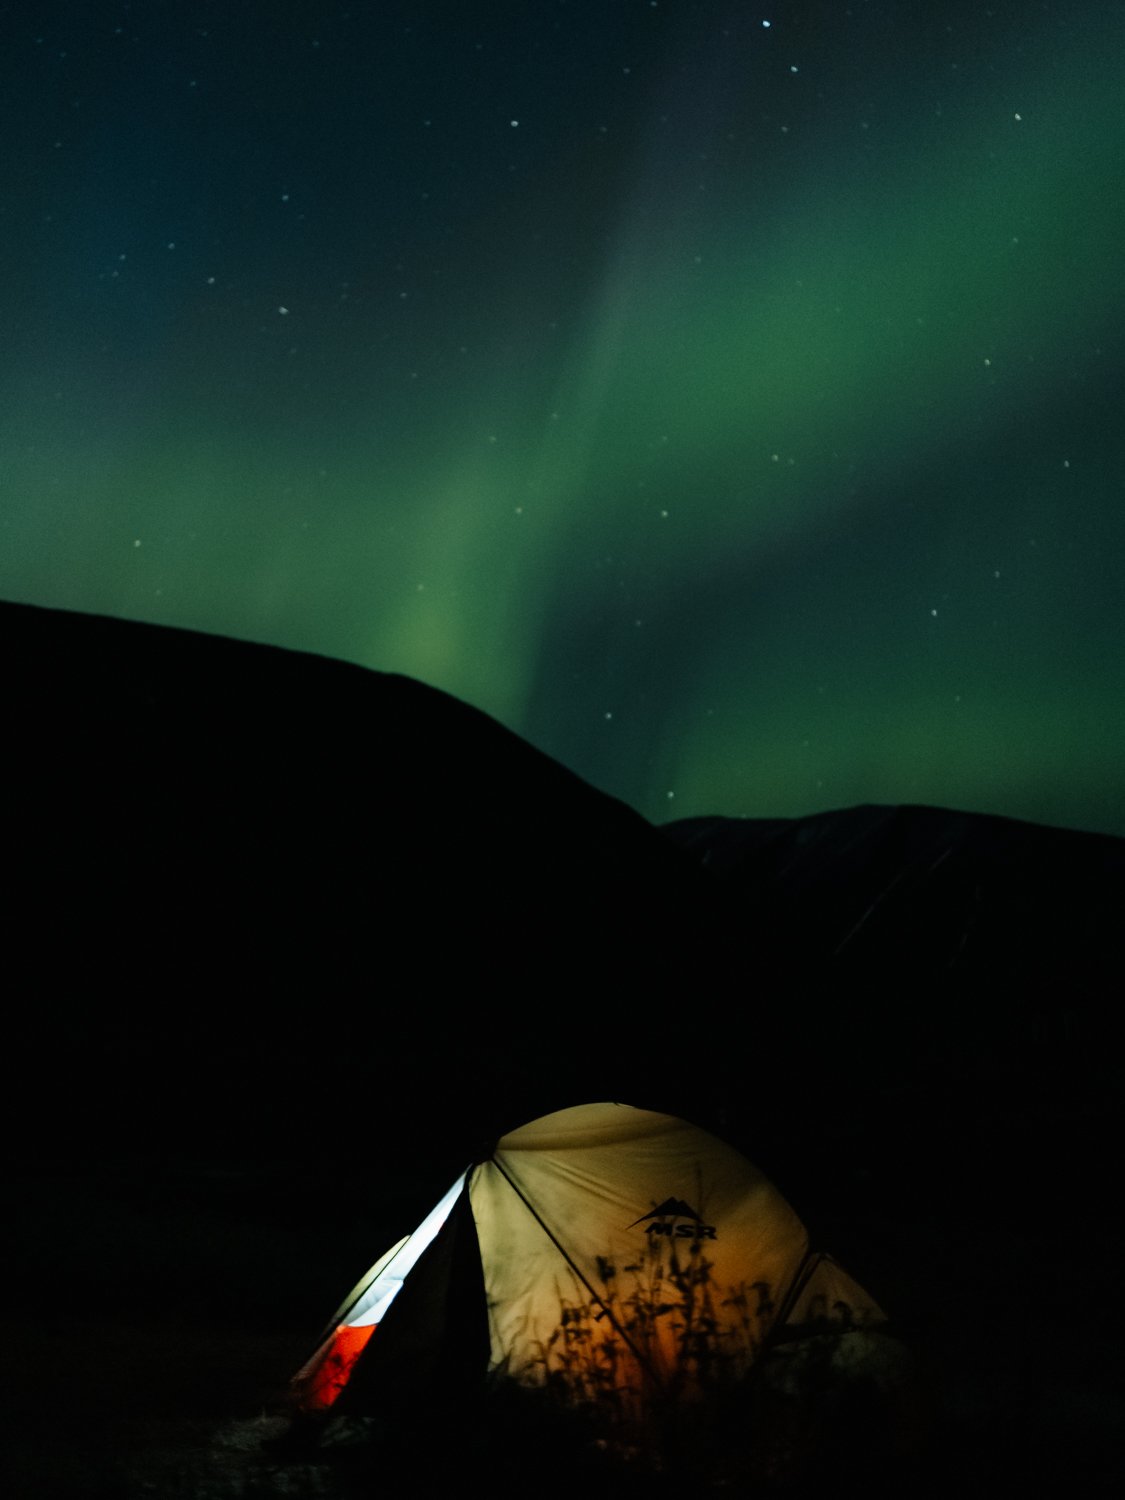
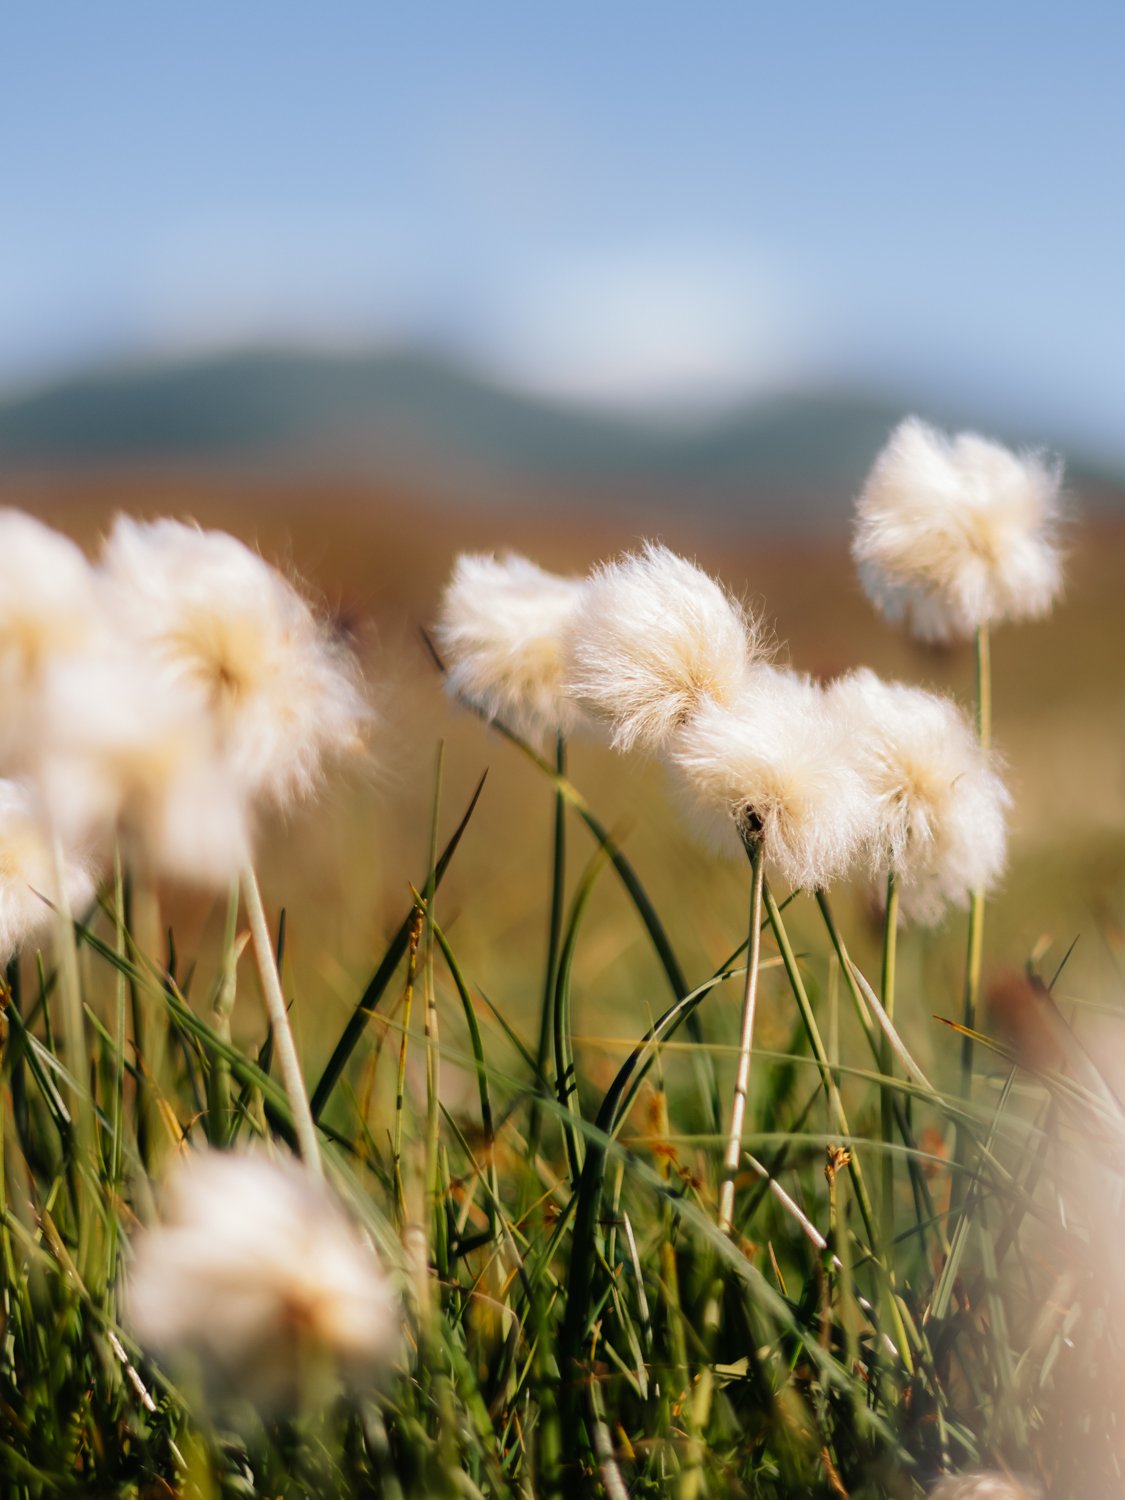
One of my favorite stages! The first part towards the mountain pass was covered with fluffy cotton grass. It was followed by a pretty view into the valley which was even better with this little reindeer family we came across. At the top of the mountain pass there’s a little unmanned hut & a toilet. It’s actually more of a shelter, with space for about max. five people I’d say. Our actual goal, the Sälka hut, is located along a cute little stream, loved our camp spot here. During the night we also saw the prettiest intense northern lights, which definitely added to that.
Water sources: As soon as you reached the valley behind the pass.
Terrain: Short steeper section as you hike the mountain pass. Only 120 meters in height tho.
Toilets along the way: At the unmanned hut on top of the pass.
Shop at hut: Smaller one.
DAY 5
Sälka → Singi | 11,7 km — 3,75 h
During this stage we left Kungsleden. We actually didn't sleep at Singi & just had a lovely little chat with the host. Instead we continued further up the mountain pass and picked a good bunch of blueberries along the way. Up there are about two or three very good and even camp spots right at the shore of the first bigger lake you come across. But keep in mind that it can be very windy. Better ask for the weather forecast at Singi before deciding to camp up there. We had some real struggles to set up our tent, but the views were gorgeous.
Water sources: Loads!
Terrain: Mostly easy & relatively flat — only 80 meters in height.
Toilets along the way: Yes, at a tiny unmanned hut.
Shop at hut: No.
DAY 6
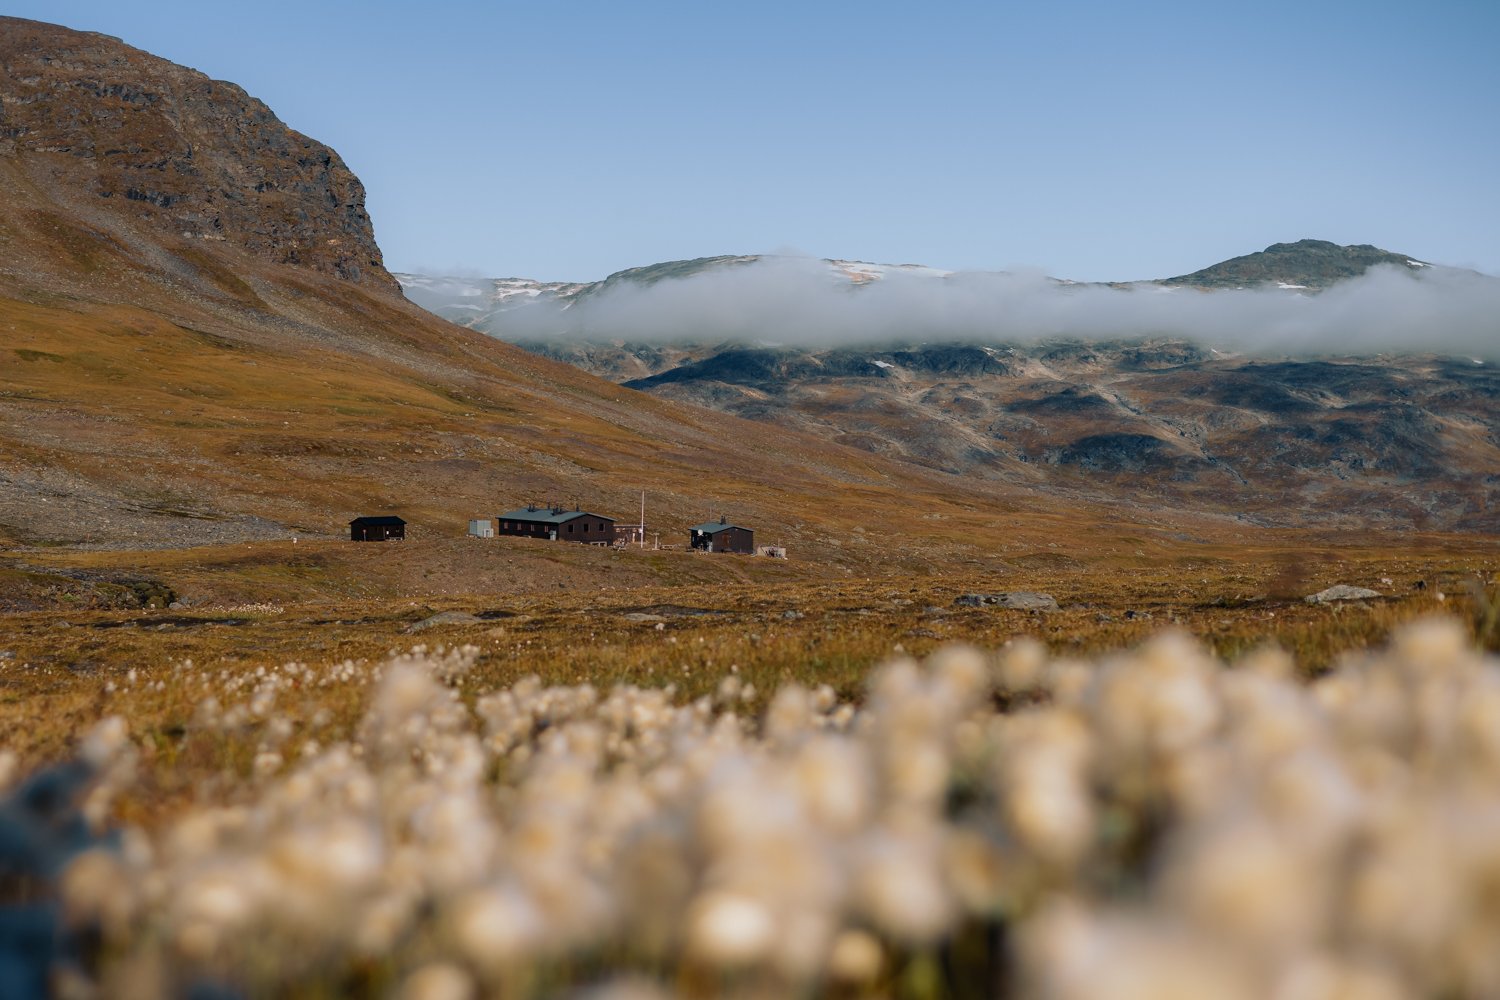
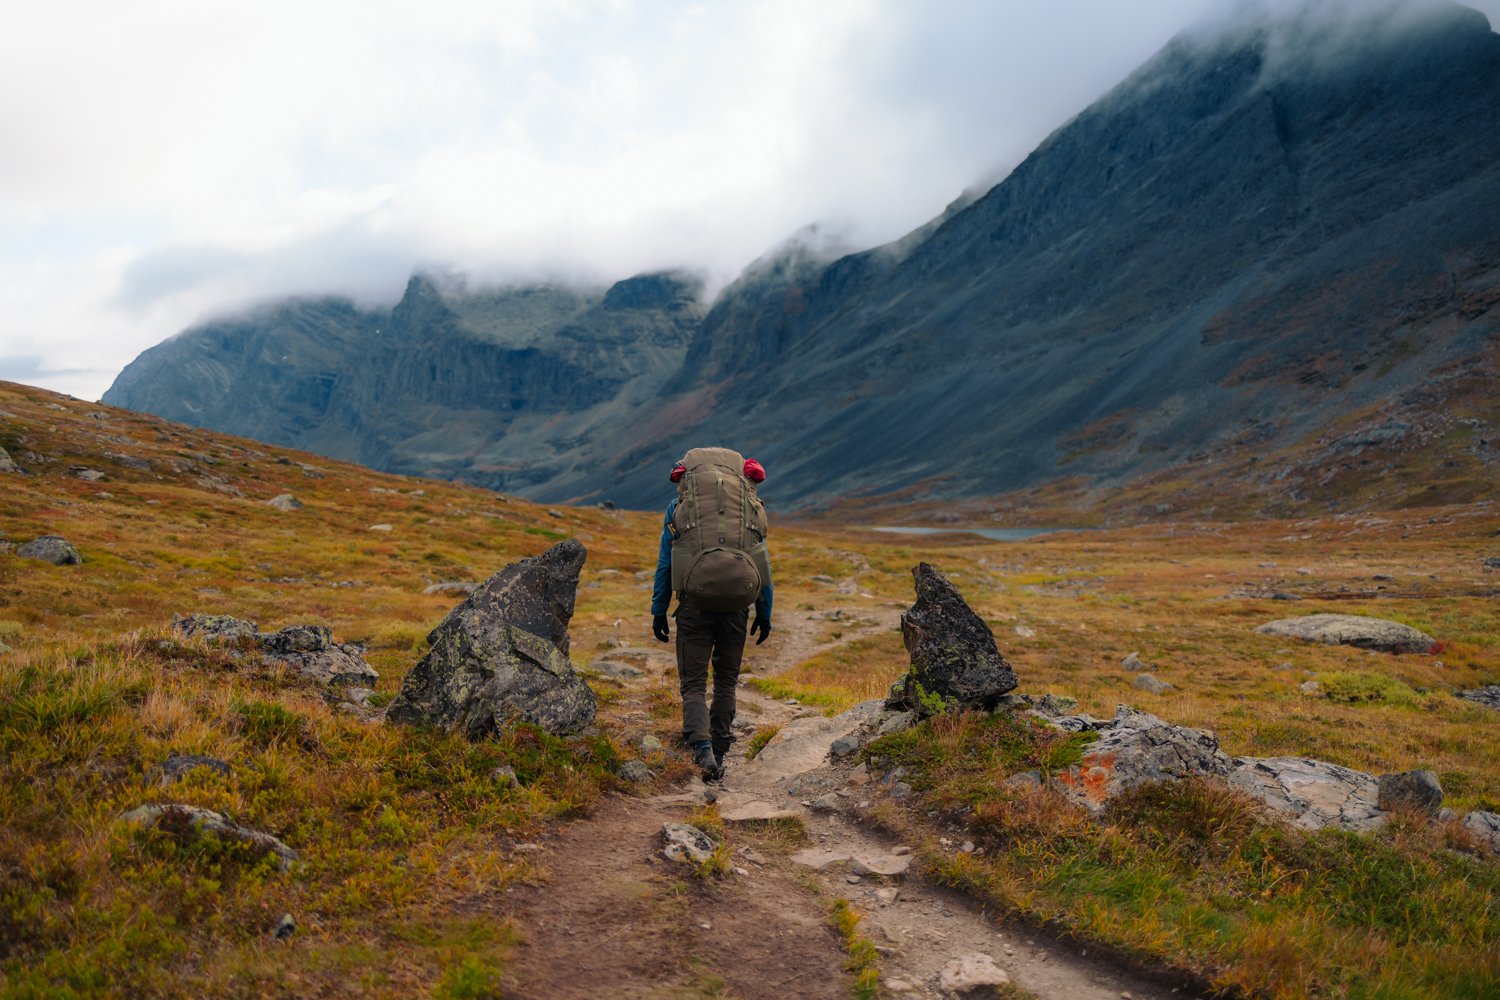
Singi → Kebnekaise Mountain Station | 15 km — 5 h
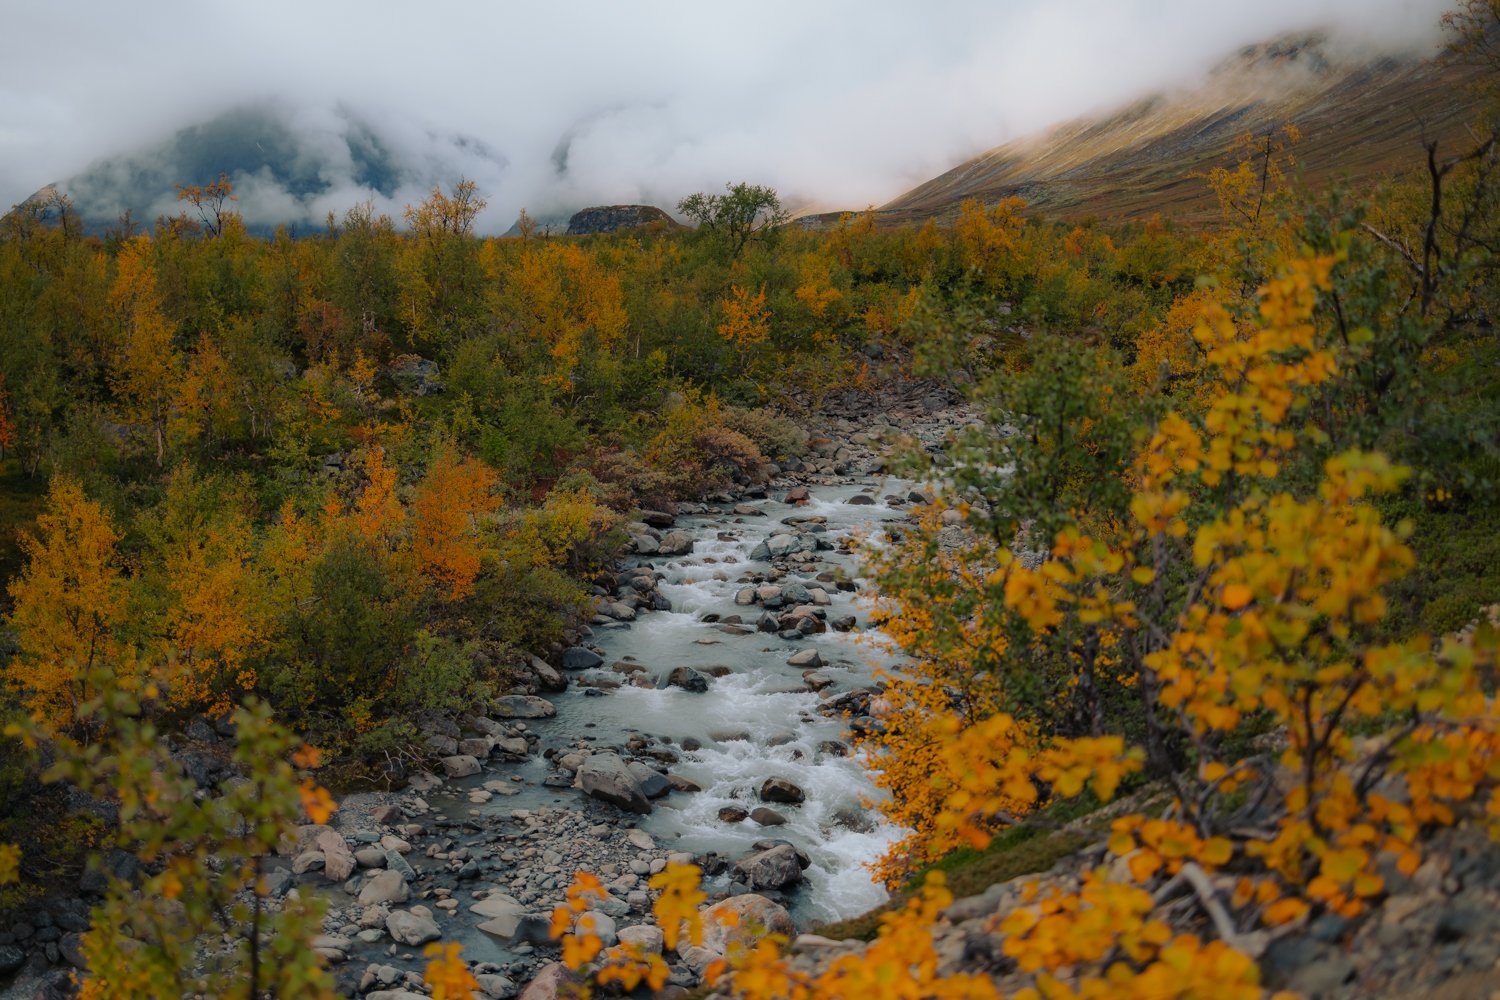
Definitely the most dramatic landscapes of the trail. Those mountains were far from everything I imagined to see up here in Swedish lapland. Again, our stage was just a bit shorter as we camped on top of the mountain pass. So we continued our way along the narrow valley. I don’t really know if it was because of my hurting foot but I definitely underestimated the length of this stage. After the valley opens up you probably will see more people than the days before. That’s because the area around the mountain station is also filled with day tourists, climbers and people who wanna ascend Kebnekaise.
Water sources: Few, better fill up as soon as you cross little streams.
Terrain: Steeper at first, then its a constant up & down until you reach the wide and open field. Last steeper section towards the Station.
Toilets along the way: Nope.
Shop at hut: Yes, big one. And even a restaurant, electricity and wifi!
DAY 7
Kebnekaise Mountain Station → Nikkaluokta | 17,5 km — 5,5 h
The last day. I don’t wanna lie — this was my most hurtful experience in the outdoors ever. During the last two days my Achilles tendinitis expanded and these 17km felt like hell. Gladly you can skip about 6km by taking a boat, which costs 40€/$ nowadays. Sadly ENOKS restaurant was already closed, just like the “street” food stands around. Close to Nikkaloukta there’s a cute little red wooden church — if you’re interested in that. But I bet you’ll be just as happy to finally reach the Nikkaloukta Sarri AB like me haha.
Water sources: More in the beginning.
Terrain: Easy, but a constant up & down. Pretty views at first but in the end pretty boring, I’m sorry.
Toilets along the way: At Enoks restaurant or close to the boat dock.
Shop at the campground: Yes + restaurant.

NAVIGATION
We bought a map of the region, just in case. Additionally I’d recommend to plan the route beforehand with apps like Komoot, maps.me or so + downloading the maps, as you won’t have any connection out there. In general it’s super easy to navigate just by following the trail + the signs. I’d even say you cannot really get lost if you follow the main trek.
I’d also recommend to share your travel plans with several people beforehand. Remember you won’t have any connection out there. So tell people about the dates you should arrive at your final destination. Alternatively there are books in the cabins to write your travel plans and next stages in, but yeah, I’d rather go with informing close friends or family. We didn't have a SOS device or GPS tracker with us. If you have one — take it with you.

HUTS & CAMPING
FREEDOM TO ROAM
The so called allemansrätten gives everyone the right to roam around and camp in nature with basically no or very few restrictions, like private gardens or cultivated land. You're also allowed to pick (non protected) berries and mushrooms and so swim in every lake you come along. Of course, this freedom should always be treated as a privilege.
ABISKO NATIONAL PARK
In National Parks the rules can be a bit different. In Abisko National Park for example it is not allowed to pitch a tent or make a bonfire wherever you like. Here you can only choose between the three designated camp sites: At Abisko Turiststation, around Abiskojaure Fjällstuga — or at Nissanjåkka which lays next to the river somwhere in the middle between those two. If those don't fit into your travel plans; there’s another designated camp site about one kilometer further from Abiskojaure, just right outside the National Park.
CAMPING
So outside the National Park of Abisko, you can literally feel free to roam and camp. The good thing here: You're not the first ones here, so the perfect dry and flat patches for tents have already been found by others beforehand. Watch out for short and flat grass, it probably won't take you that long to find a place to sleep.
If you stick to the our daily stages of hiking, I can recommend to pitch your tent close to the huts, because here the land is mostly more dry than in the middle of nowhere along the board walks or more comfortable than along the mountain passes, covered by bigger and smaller stones.
TOILETS
We all love us some long drops, latrines, holes in the ground filled with loads stinky stuff — right? Well, the alternatives to that are hiding behind every little bush or bigger rock you can find in the endless and wide valleys of lapland... If you prefer to relief yourself elsewhere than in latrines, there are a few things to remember:
Keep a big distance to any open water sources & camp sites.
Digging a tiny hole is key. Bring a little shovel if you prefer.
Bring toilet paper that's easily biodegradable. Big no to wet wipes! They take ages to decompose.
Always cover your stinky business & toilet paper afterwards
Fellow people with periods: You can get rid of your period products in the little bins inside the latrine houses at the huts, pls don’t leave them in nature.
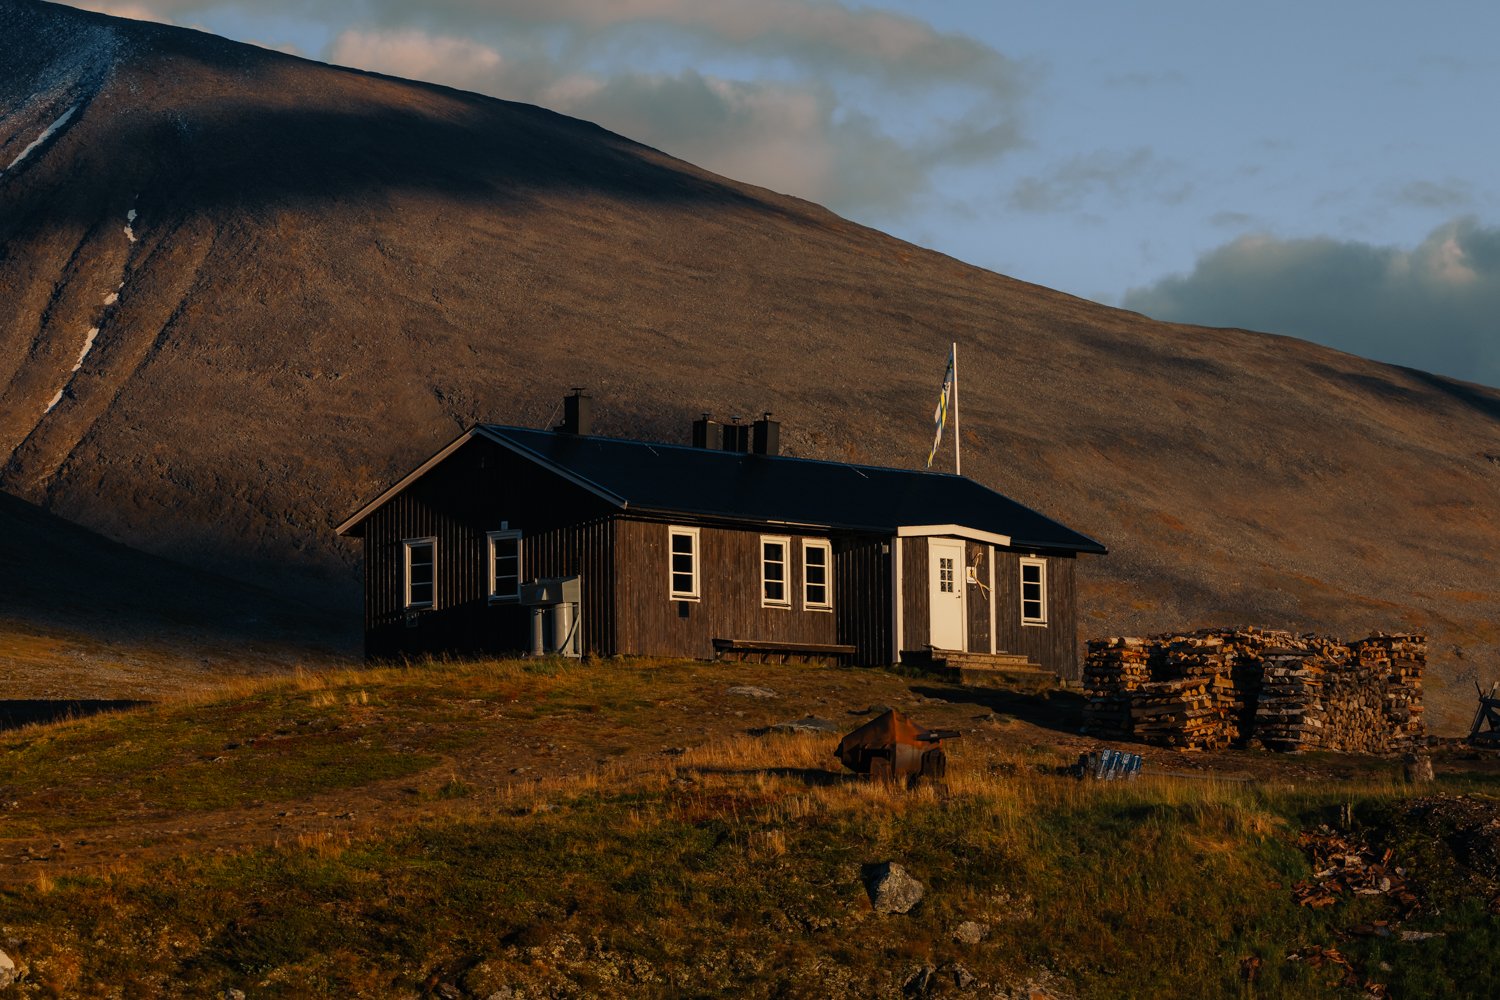
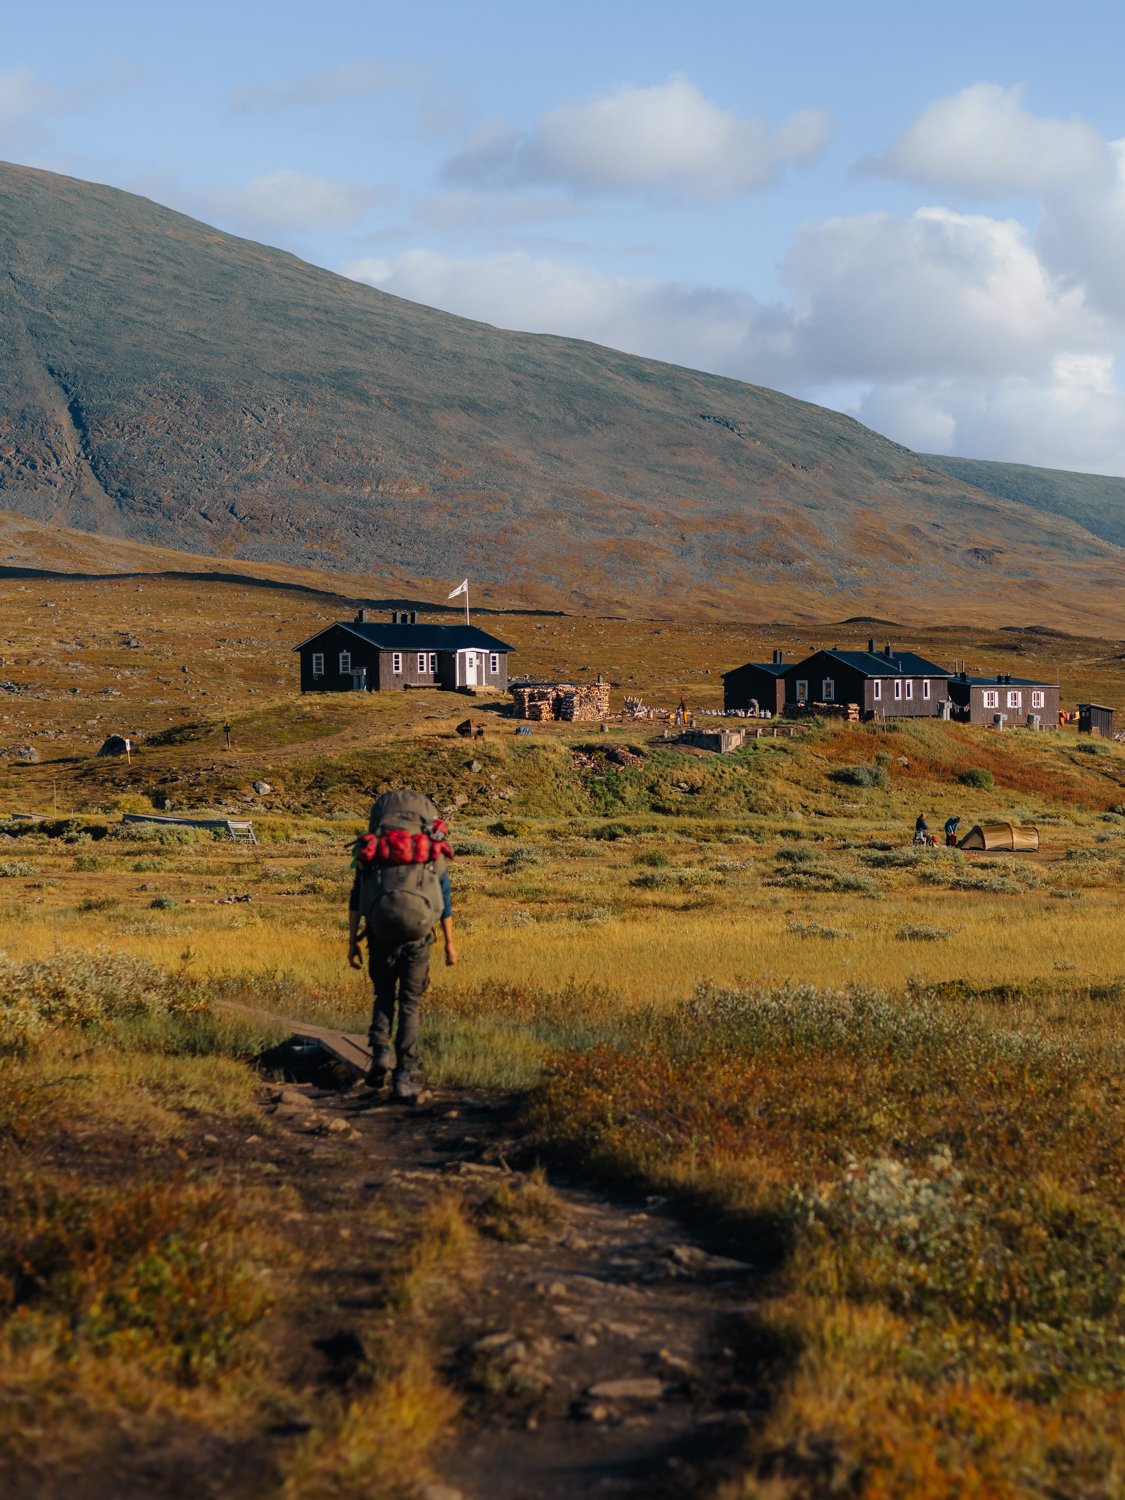
HUTS
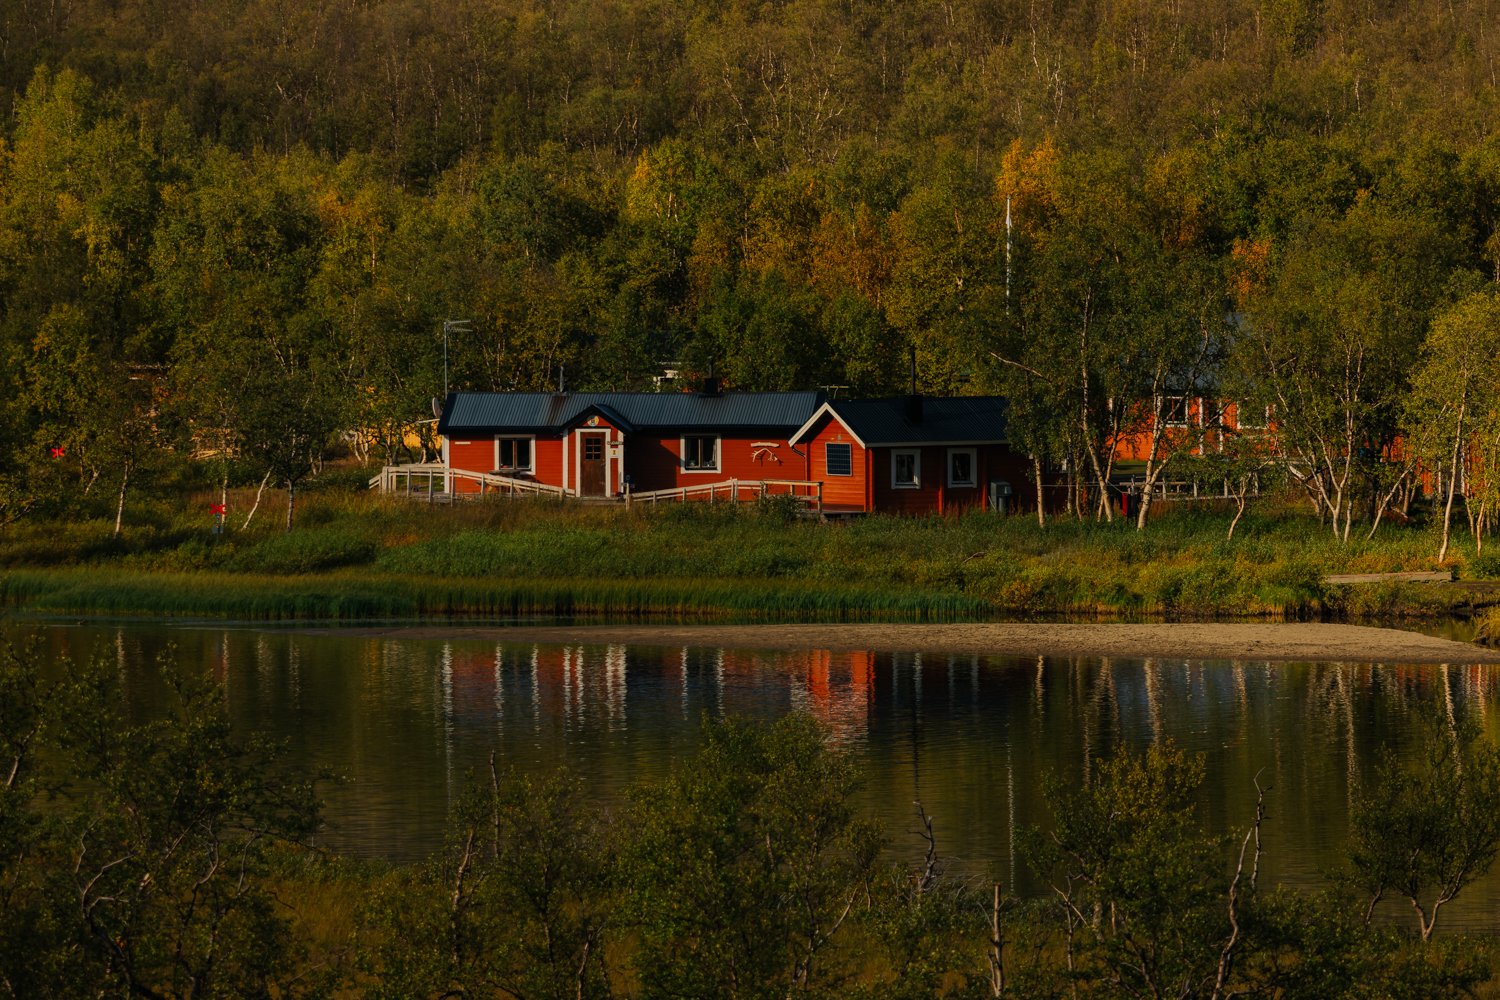
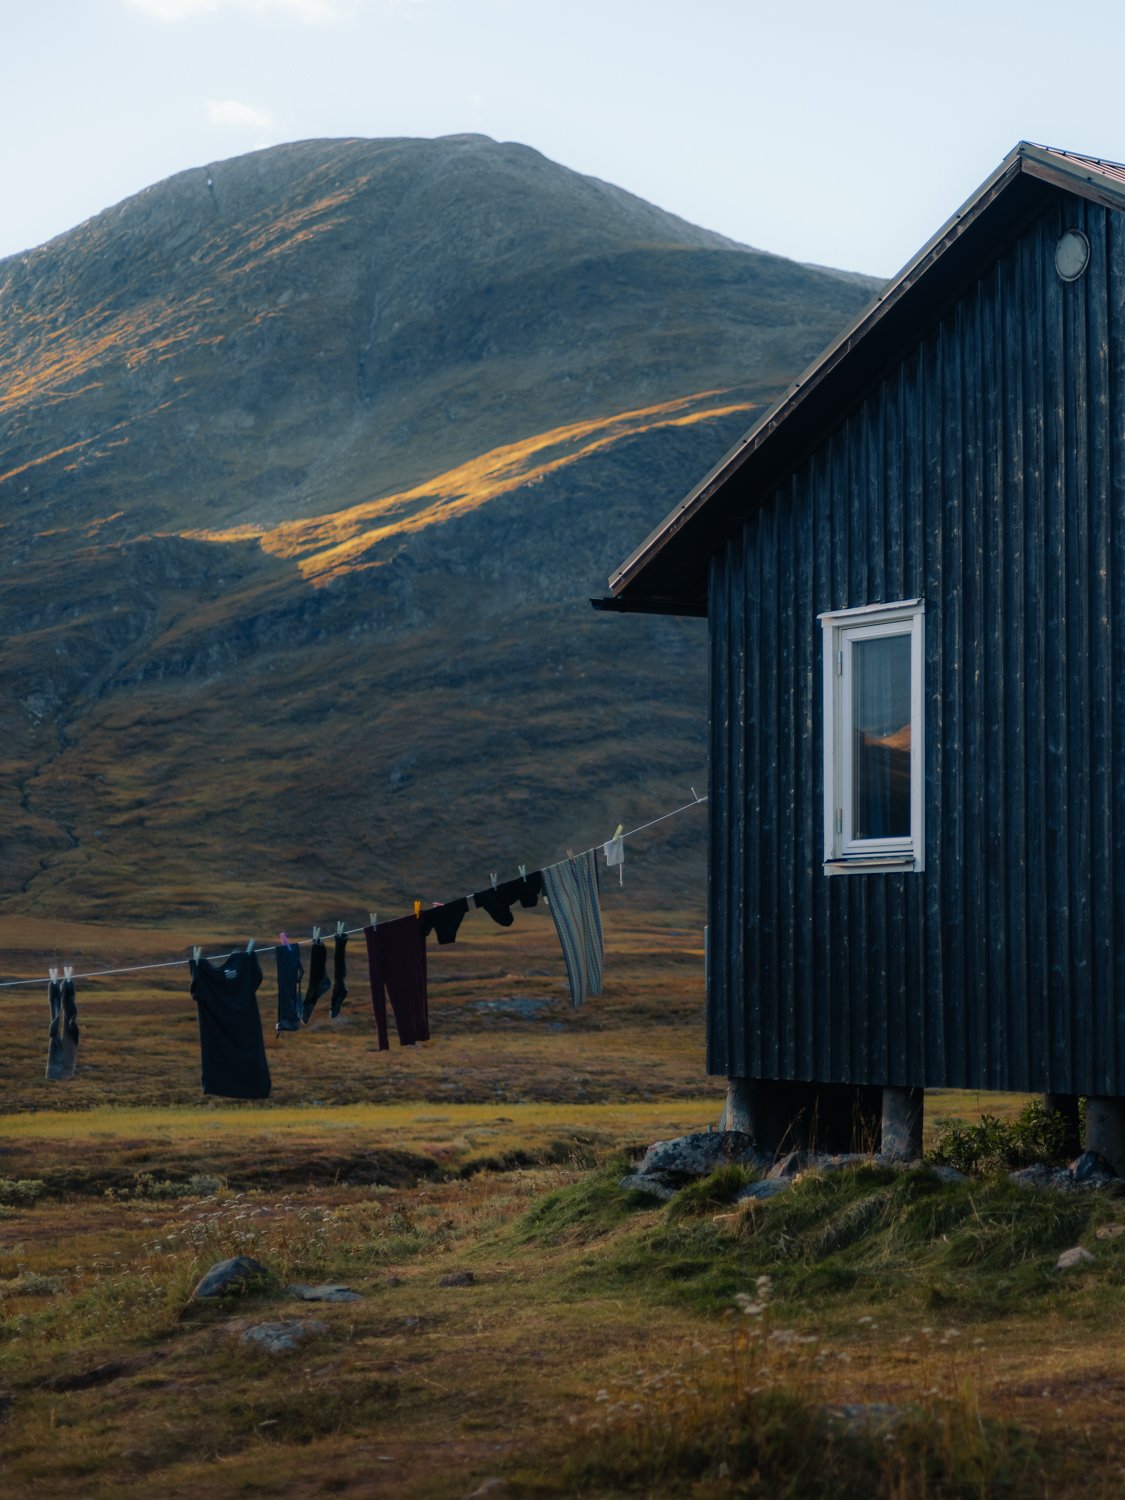
Speaking about huts. In Sweden they’re called fjällstuga which can be translated as mountain cabin. Some are prettier than others but they all are located at some of the most beautiful locations we came by. There are smaller and bigger ones but because we’re in Sweden all of them have their own sauna. Their opening dates can vary each year, here is a list for 2023.
Sleeping there costs approximately 500SEK / 50€ / $50 a person/a night. Remember that during peak season you definitely must book beforehand! Paying this fee allows you to have access to a comfy bed, a warm kitchen & the mentioned sauna. No hot running water, no electricity tho.
You can also pay around 350SEK / 35€ to just pitch your tent close-by and to use the heated kitchen to cook. If you just wanna use their toilets or hop into their kiosks (more on that later) it’s free of course. A few of them even offer some actually really fair priced coffee, tea or hot chocolate.
Payment with card is possible & preferred, even in the middle of nowhere.
KIOSKS
Not all of the huts have their own little kiosk. Here you can find more details about if they have one — and if yes, there’s also a detailed list with their range of products.
Abisko Mountain Station — Big shop, perfekt for getting everything you might forgot at home. From hiking poles, stuff to fix broken equipment, or clothes to lightweight food, maps, cutlery,…
Abiskojaure, Alesjaure & Sälka — Small selection of basic sanitaries such as toilet paper, period products and so on. There’s food like noodles, oats, crisp bread, soups, chips or vegan taco mince (really happy they actually have some vegan stuff as well haha, tasted quite nice).
Kebnekaise Mountain Station — Shop & assortment is a bigger one, just a bit smaller than in Abisko.
Remember: Neither of these huts have a regular connection with civilization. Getting restocked isn't that easy for them, so better don't rely them — especially not food-wise.

SEASONS & WEATHER
WEATHER FORECAST
While planning to hike for several days you always have to be prepared for the worst case scenarios. Within and along the mountains of the Swedish Lapland those could be various. A sunny and almost hot day can be followed by a stormy and freezing cold night. Cloudless skies now don't necessarily mean there isn't a possibility for rain in the next valley and within the next hour. My biggest fear was: What if the rain holds on for longer? If you ask yourself the same, I can now calm your anxious mind a bit. The good thing: thanks to the mountains up there, the area isn't that rainy! Up here they actually don’t have that many rainy days — which also makes the region around Abisko to the best location in the world to watch out for northern lights!
Weather can be pretty local up there, which means the forecast for one hut could totally differ from what the other huts have to expect. That's because they're mostly up to 20 kilometers apart — or even located at very different height levels. What they all have in common: They can provide you with information about the current weather forecast of the day & the day after. We checked it every time we came by one, it just feels safer. And most of the hosts are open for little chats + happy to share other recommendations.
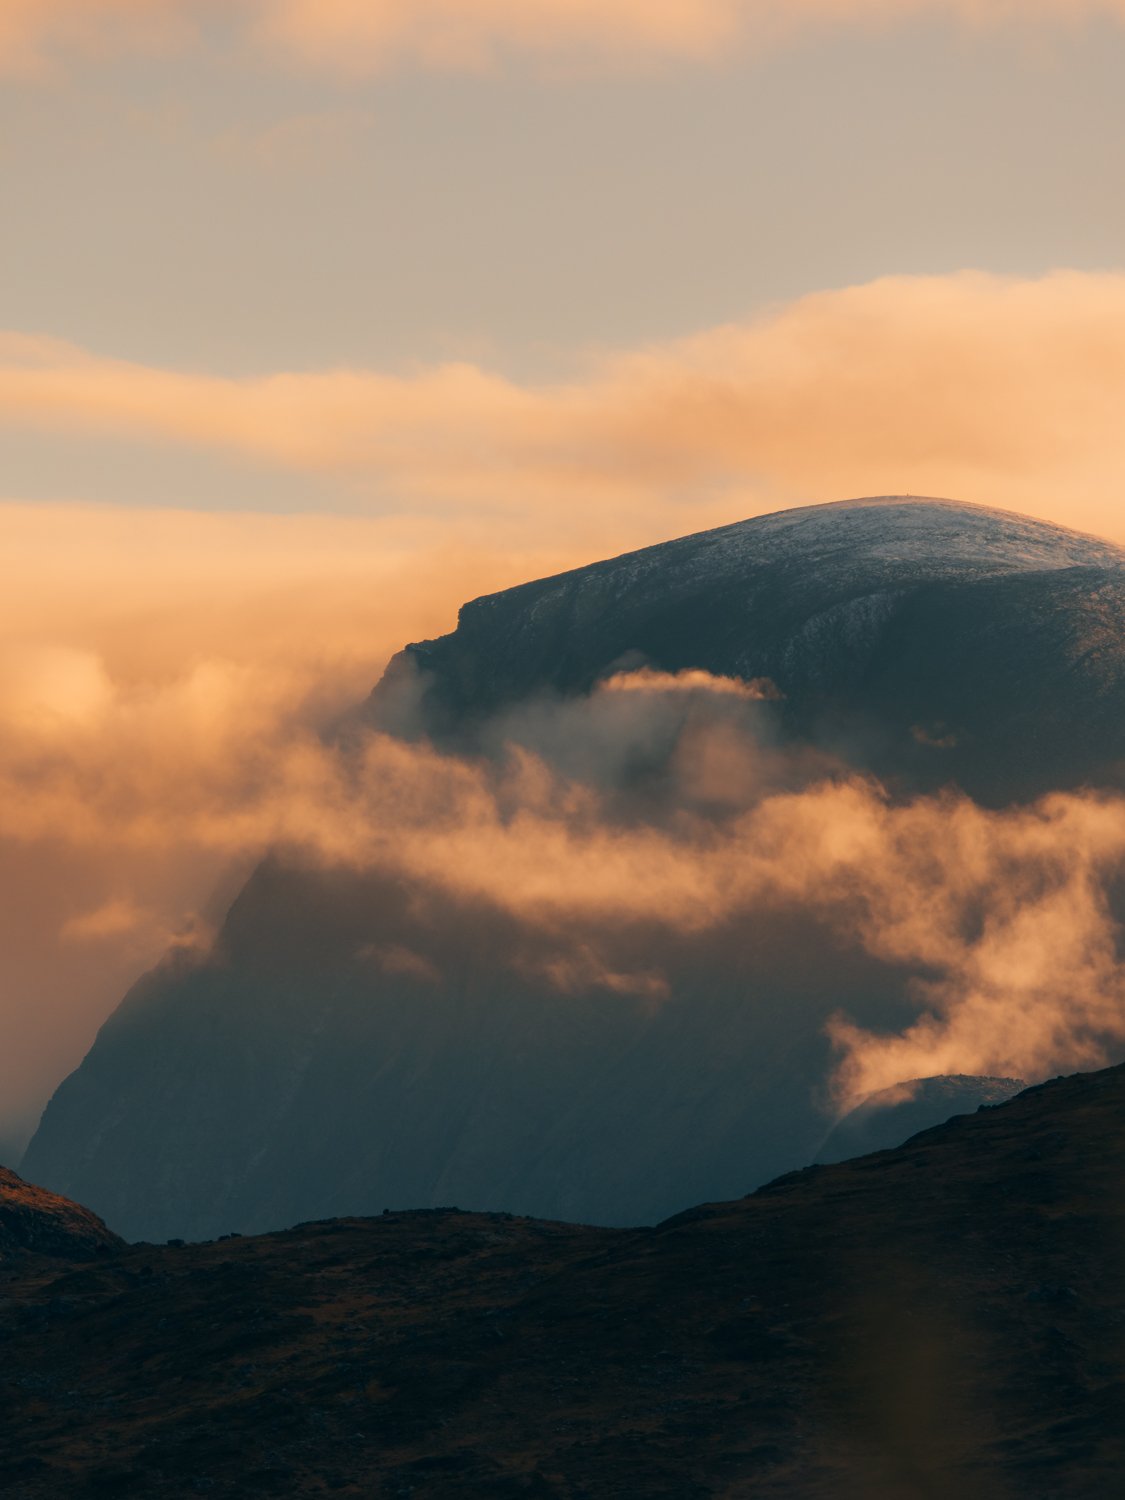
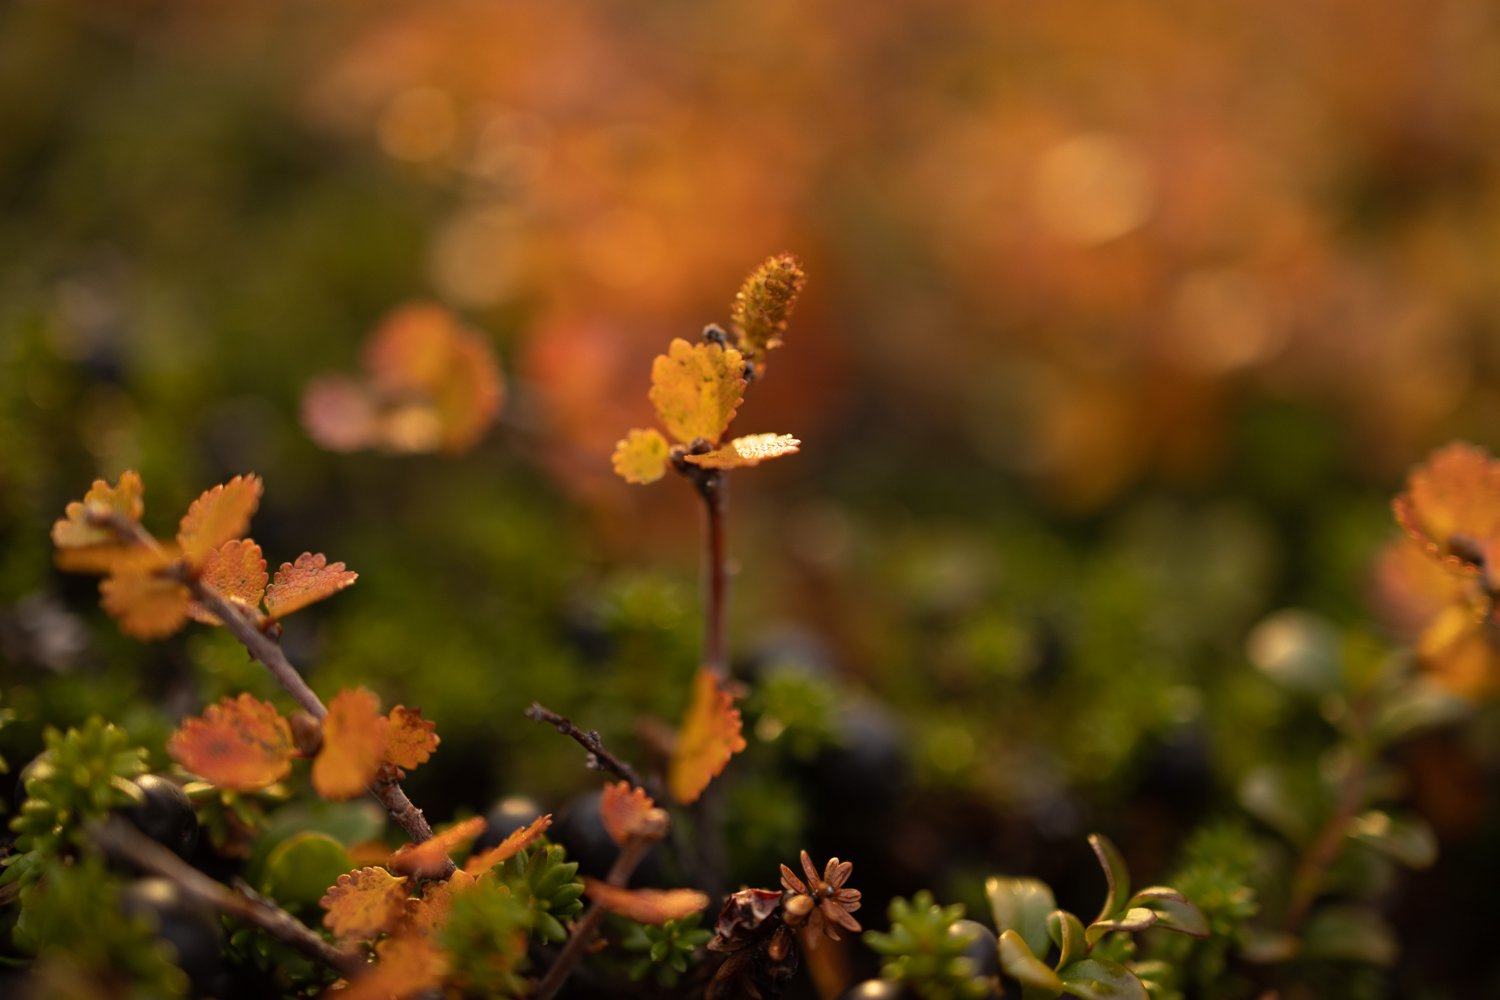
AUTUMN
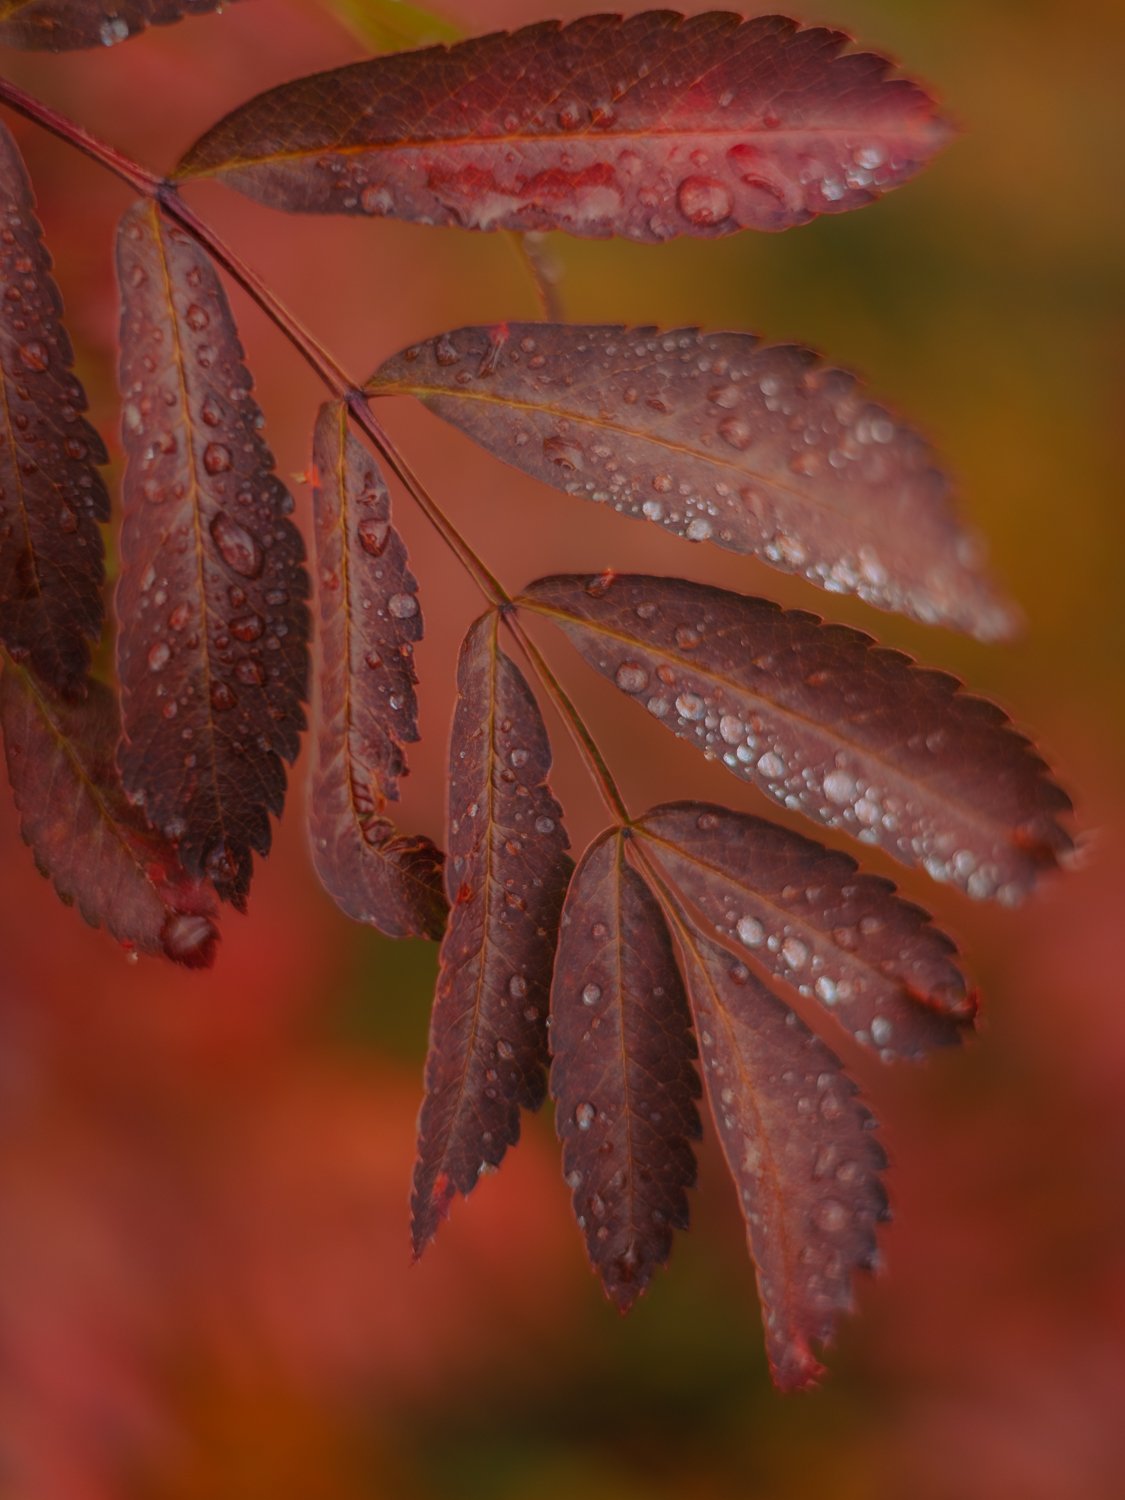
As I’ve only once hiked along Kungsleden and it’s been autumn during that time, I can only talk about that season. And I have to say, I was quite surprised by the different states of autumn we came along during those many kilometers. At some points it almost looked like winter is just around the corner, while other parts were colored in beautiful reds and oranges. Then, during a big amount of days, the warm sunlight, blooming grasses and flowers made it feel like summer hadn't left yet. And proofed me right in the decision of bringing my sunglasses. Long story short, here are my personal…
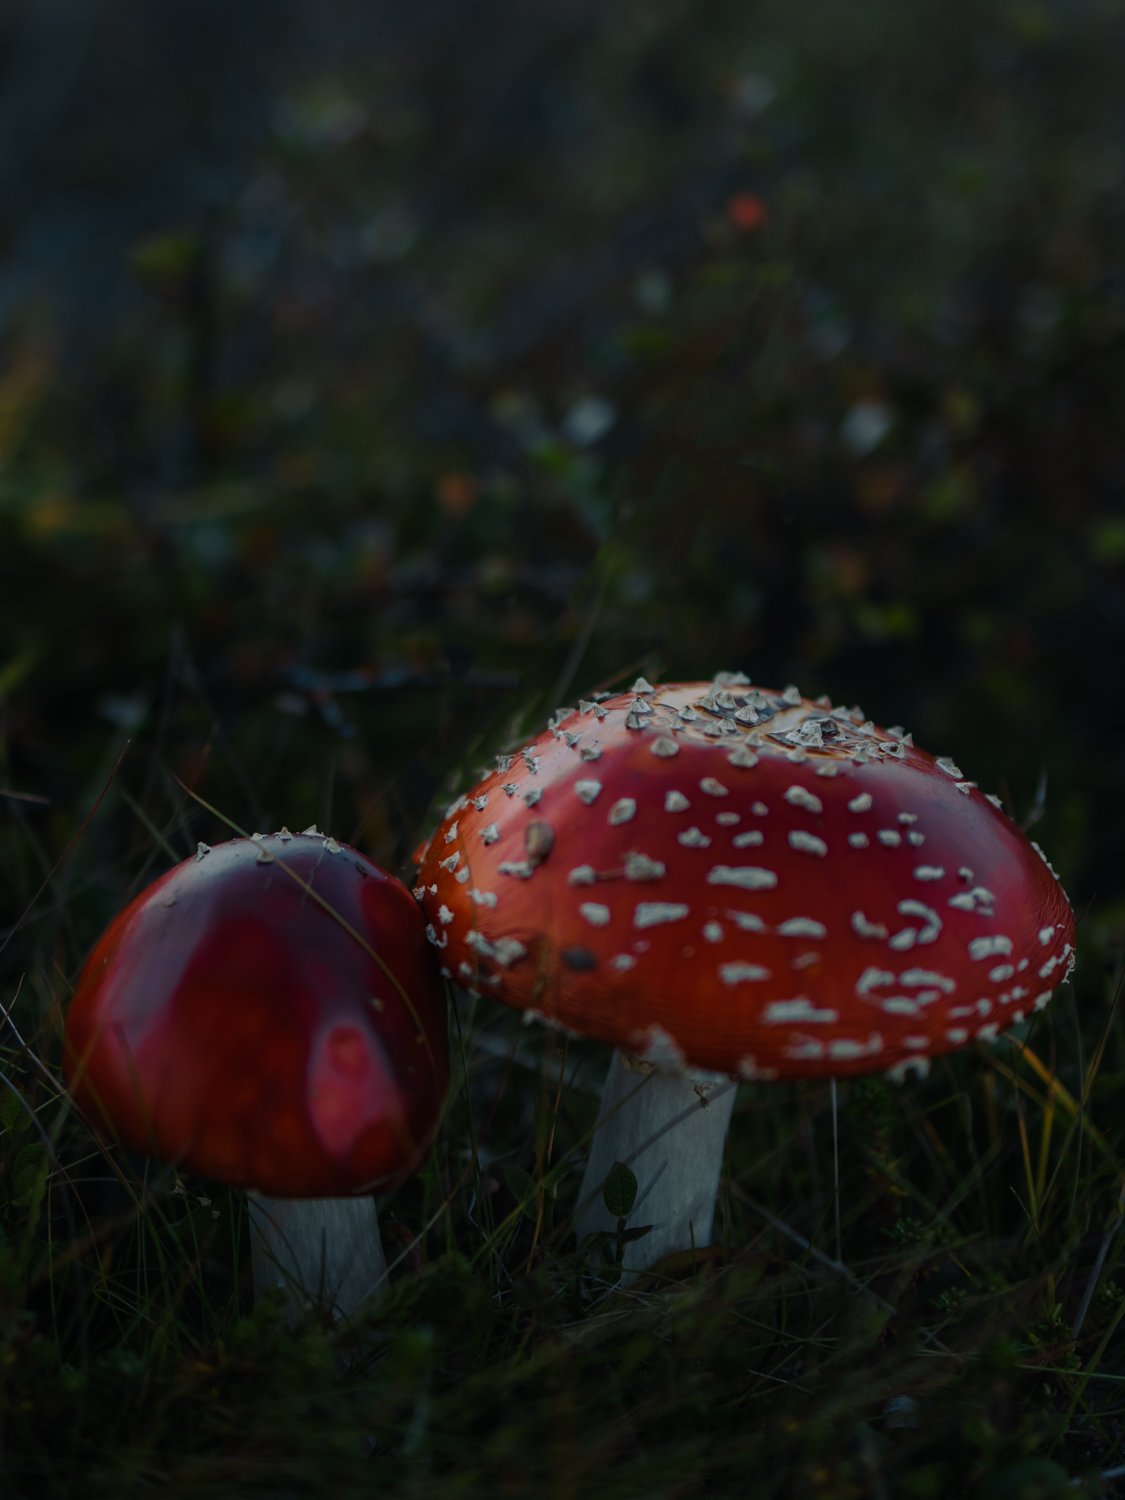
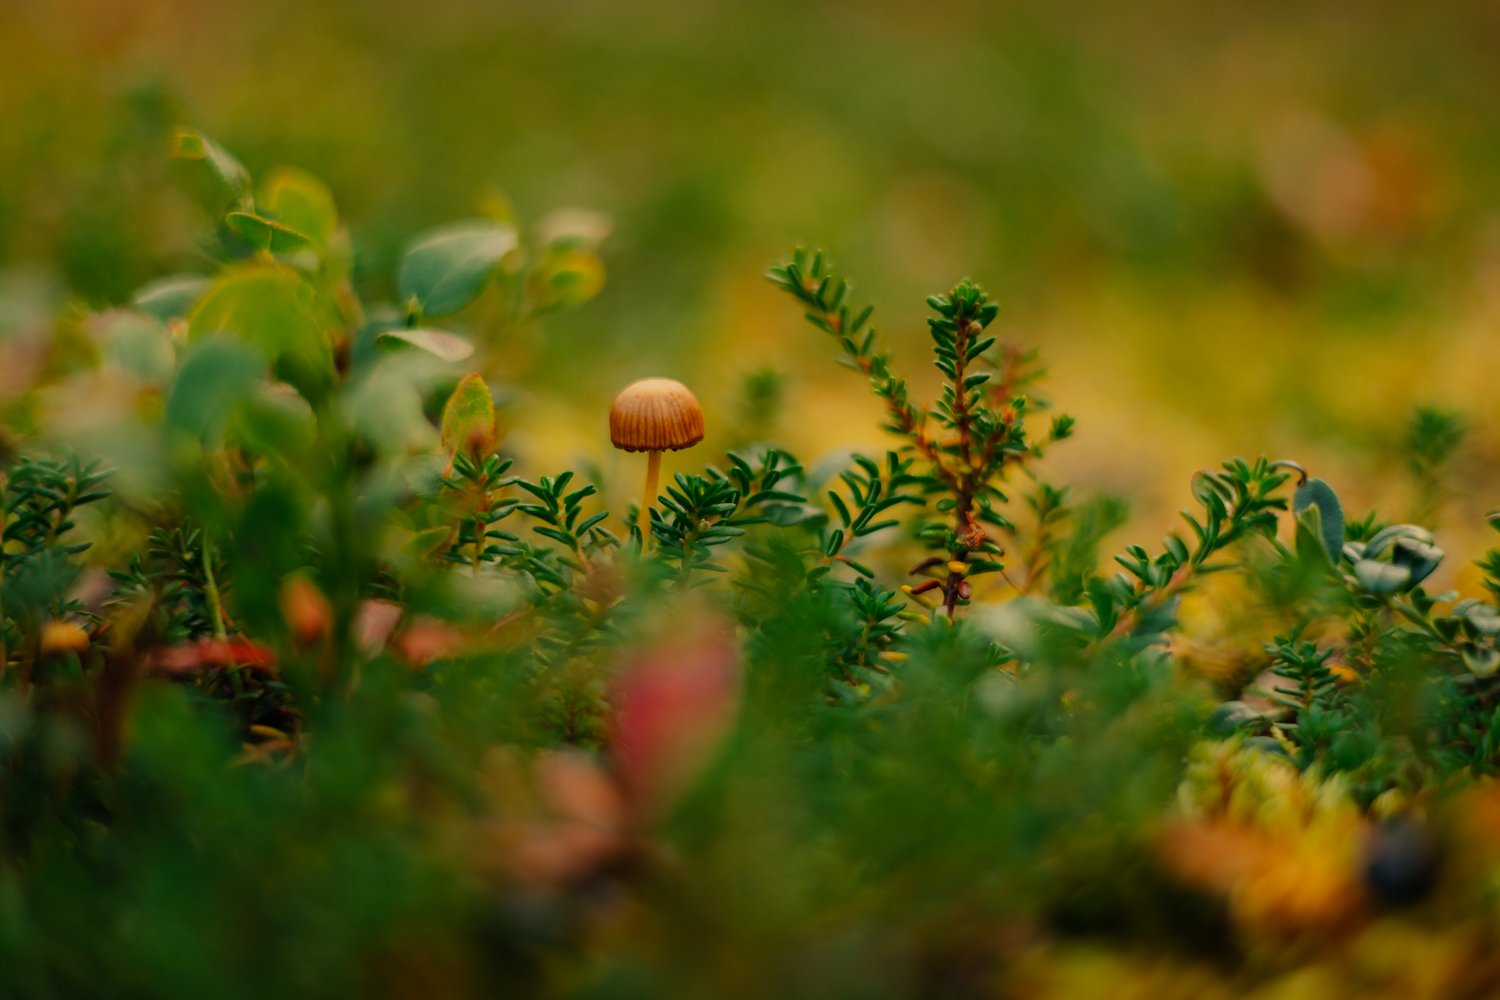
pros: colors in general, northern lights, reindeer encounters, no mosquitoes, picking berries, blooming flora, mushrooms, empty trails, less struggles to find camping spots, seeing and feeling the changing seasons,…
cons: thought about this a lot and except for the freezing nights I cannot think of anything else haha.
OTHER SEASONS
I once talked to a ranger who said the following: “Up here we also have four seasons: Summer, Autumn, Winter 1 and Winter 2”. So you can imagine that the span to hike along the trail isn't very long. It takes until summer until the snow melting is done. With “normal” hiking equipment the trail is only accessible and fun to do from summer to late autumn, I’d say. And it’s highly depending on the weather.
Winter out there is very harsh and it's not really possible to hike along most routes without any special snow shoes. Fun alternative would be driving along the lonely landscapes with dog sleds or snow mobiles. Till late spring or early summer the access must be close to impossible due to the melting snow and partly floodings. As so often, summer is the peak season. You should be aware of the huts being fully booked well in advance. If you prefer sleeping in a cozy bed I’d recommend to check the dates & routes for the yearly + very busy fjällraven classic! A lovely elderly hiker who did the whole Kungsleden told us, that he depended on the food in the kiosks but the participants emptied a lot of the stocks. Also: mosquitoes, busy trails, mosquitoes and mosquitoes. Besides that I can imagine summer being very beautiful, especially thanks to the midnight sun!

EQUIPMENT & PACKING LIST
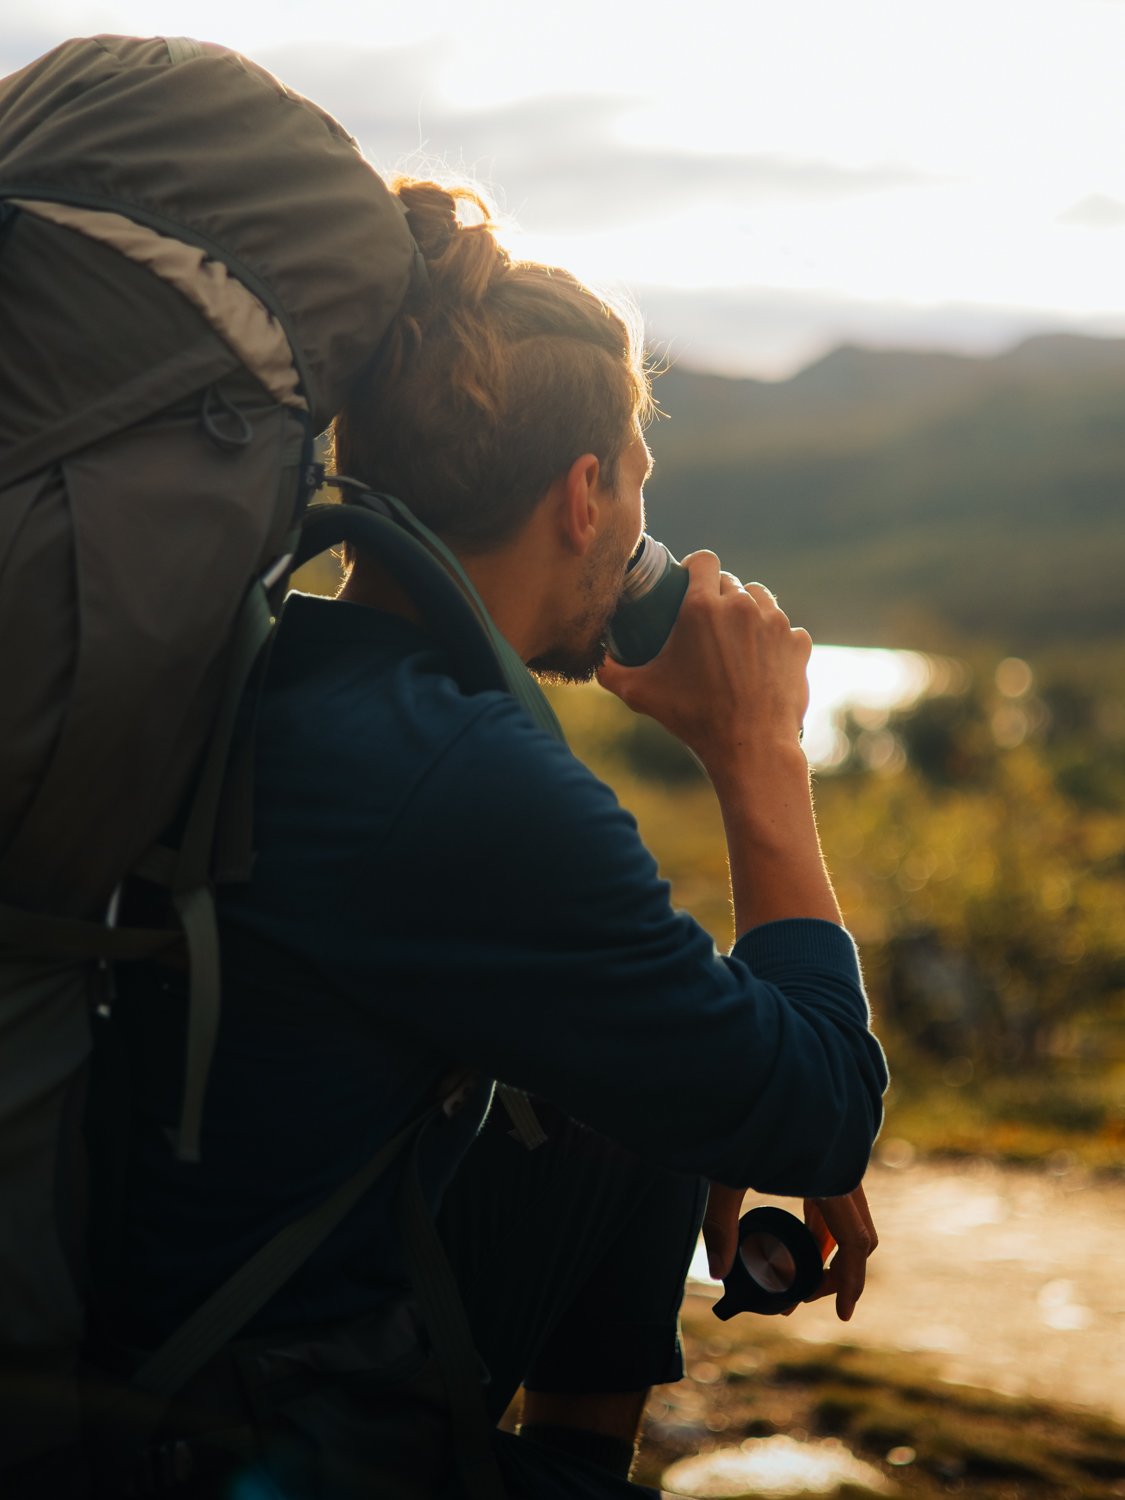
I’m definitely not the best person to give any advice here — my backpack was almost half my weight hahaha. And of course you can do this all a more minimalistic way…but yeah, in the end we needed all of it. So maybe this is helpful for some of you. The additions in italic are things I didn't brought could be useful :)
CLOTHES & CO
2x fleece
2x hiking trousers/leggins
2x long merino leggins
2x merino long sleeves
I preferred to bring two pairs of everything because I was afraid of getting soaked in heavy rain haha.
down jacket
rain jacket (+ trousers)
tshirts & shorts
underwear & socks haha
thicker socks for the night
beanie, gloves, scarf/buff
hiking boots (make sure they fit perfectly!)
slippers (my feet were super happy ‘bout them)
mosquito-net for your face, if you go there in summer
micro fiber towel
packing cubes help to organize your chaos
BACKPACK
I had my Lundhags Gnaur 60L with me
My friend used the same model with 70L
HYGIENE STUFF
this is super individual so here are just a few tipps:
CAMPING & HIKING
tent — the lighter & more stable, the better
comfy sleeping mat with good thermal function
sleeping bag (mine had a comfort temperature of -4°C)
compression sack for the sleeping bag, saves space
inlay for the sleeping bag (adds to the comfort temperature)
inflatable pillow & sleeping mask for good sleep
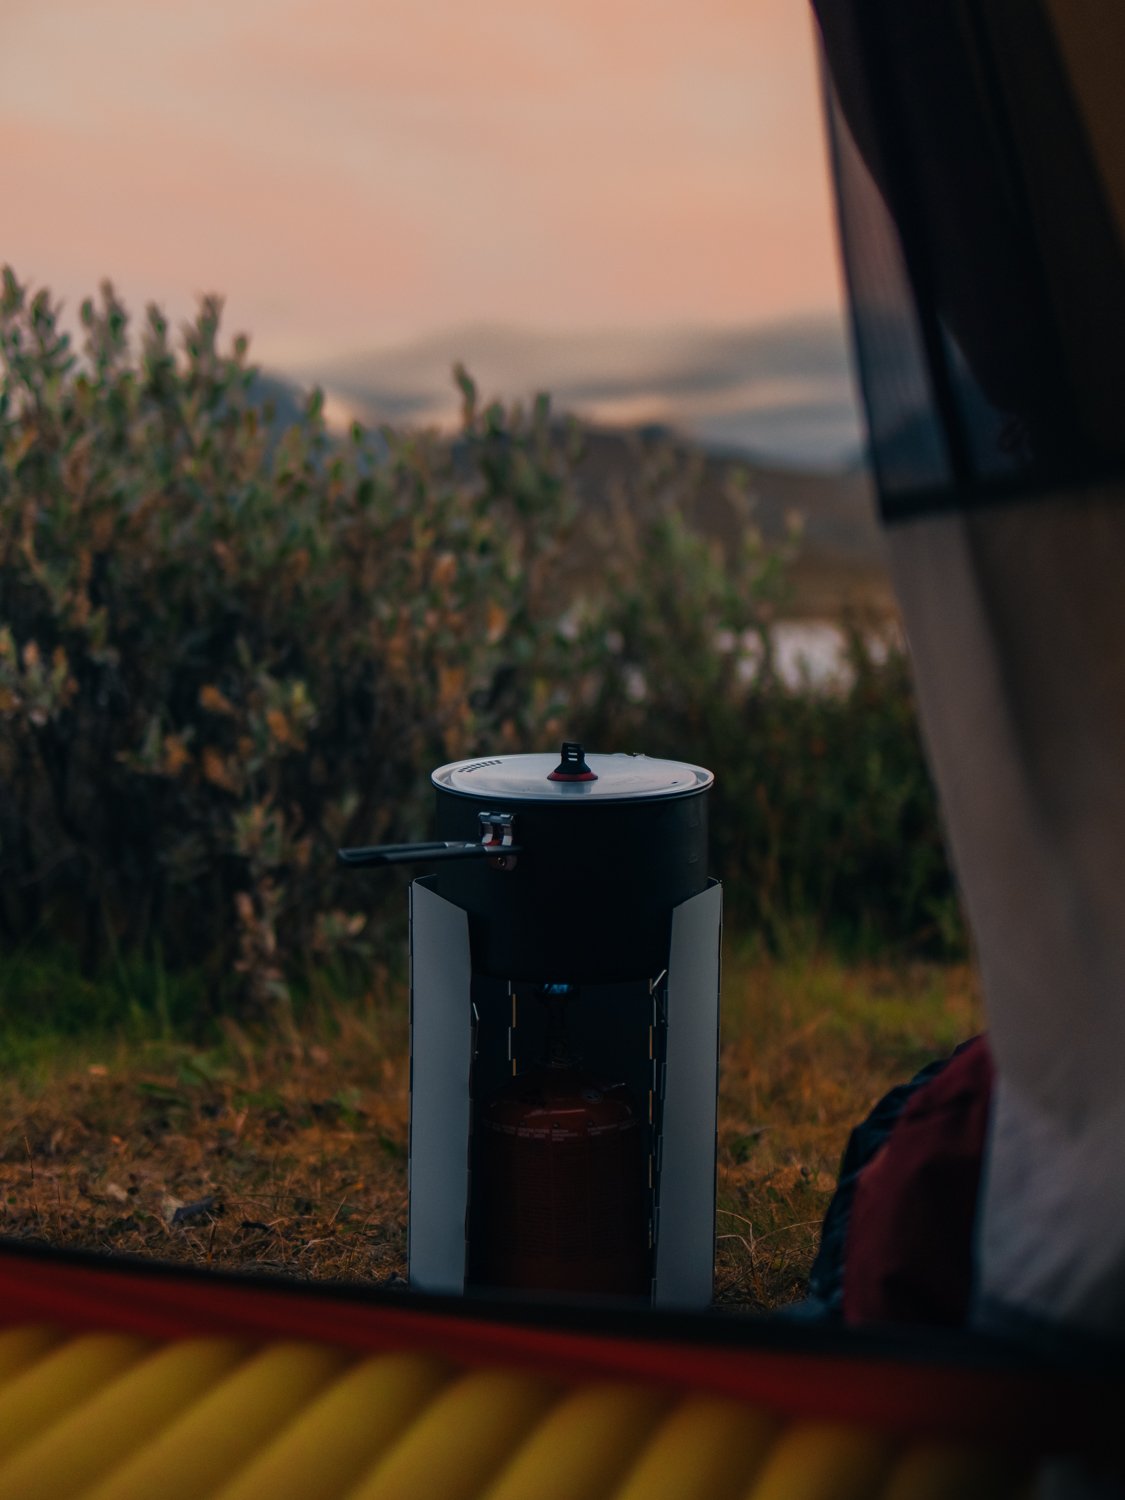
pot + lid
camping cooker + wind blocker
gas + lighter
cutlery & sharp knife
2 water bottles (thermo is nice for warm tea along the way)
water filter (not really needed tho)
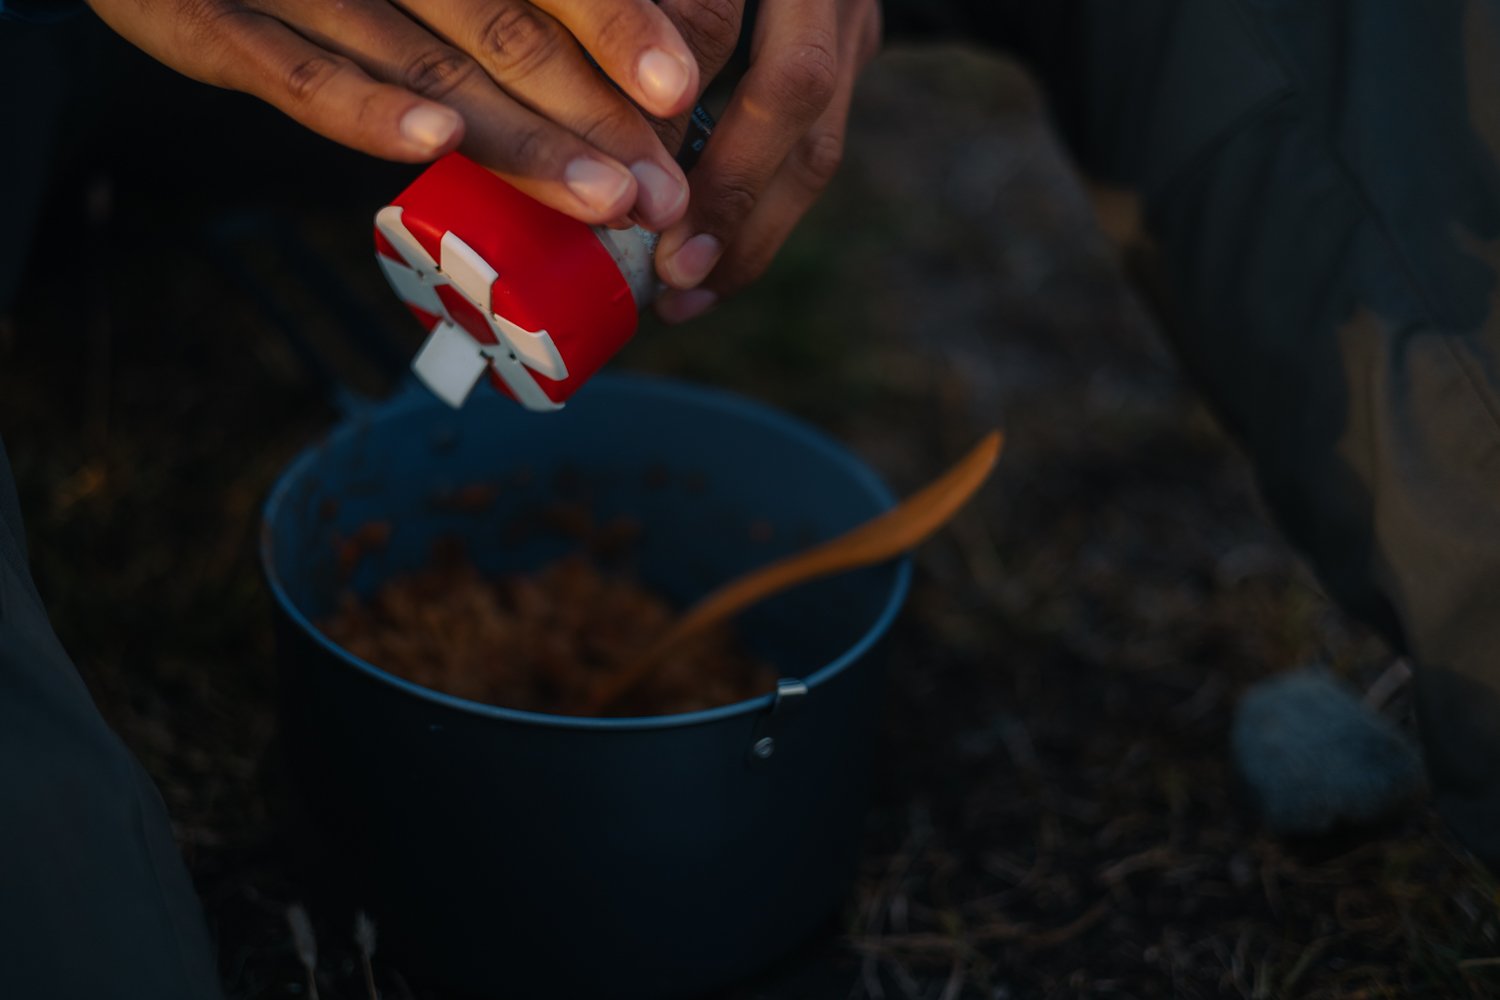
spices (favorites: cinnamon & garlic)
cleaning kit (eco-friendly & biodegradable!)
isolated seat cushion
hiking poles (can help to change/regulate your posture)
trash bags (remember you have to take everything you bring. we filled one middle sized one)
dry bags in different sizes (transported the trash within one + attached it outside our backpacks)
tooth paste / tabs (make sure it’s biodegradable & eco friendly if you plan to do it in the great outdoors)
dry shampoo
anti-odorant (best thing for exhausting & warm hiking days without a proper shower for days)
sunscreen — don’t underestimate the sun up there!
first aid kit, tape & blister plasters
hand desinfection
stuff to prevent mosquito bites & aftercare
tissues or handkerchiefs
toilet paper (pls no usage of wet wipes in nature)
a little shovel can be helpful :)
ELECTRONICS
camera (I used my Canon R5…)
batteries (…& fully emptied 4)
lenses (had 35, 50 & 100-400mm with me)
I used a tiny camera bag to keep my equipment safe — almost had my camera around my neck for the whole trail tho
powerbank(s)
head light (at least for autumn)
gps tracker with sos function — there’s no connection so the only way to get help is either to hope for another hiker with one or to head towards the next hut.
FINANCES & DOCUMENTS
credit card (even in the huts they prefer cashless)
map
apps:
e.g.: komoot with offline maps
interrail app (don’t forget your reservations)

FOOD
or: what we ate in 7 days (vegan edition)
I didn't take that many pictures of our food haha. Ended up being too tired and too hungry in the end of the day. But here’s a little list of what we brought & ate. It turned out to be the perfect amount for seven days — everything we carried along with us ended up in our tummies.
BREAKFAST
After waking up we always had different variations of the one and only hiking breaky: Porridge. So in total we had:
400gr oatmilk powder (game changer for real, 200gr would have been enough tho)
500gr oats
600gr müsli
some apples during the first few days
fresh berries whenever we found some
additional: 6 packages of dehydrated smoothie bowls
SNACKS
Our breakfast portions weren't that big to be honest haha. So after hiking a few kilometers we mostly stopped for a second breakfast — or during the midday to have a proper snack.
protein & energy bars (about 1 or rather 2 each day)
2 small loafs of bread
2 spreads
bought some crispbread at one of the huts
chocolate
cookies
nuts
DINNER
Added a little tomato paste to one or the other. Also bringing spices was a very good idea.
noodles with pesto
noodles with lentil bolognese
rice with beans
miso soup
2 packages of turmat
mashed potatoes with vegan mince + tomato paste
mashed potatoes with beans + tomato paste

Sooo, I hope this was helpful in any way and my words maybe inspired you to go there as well. If so, I’m happy to answer any further questions. Even tho this experience ended up quite hurtful for me, I already see myself ticking different stages of this trail off my bucket list. Swedish lapland just hits different.