Tipsy Planter Fairy Garden


ADC_4841 - Copy1 - Copy

It’s been quite a while since I paired creativity with the use of my green thumb. Several years ago, I created a Primitive Tipsy Pot Planter and I felt like it was time to do something similar, but this time, I wanted to give it a little bit of a twist. Although we are now moving into the colder time of year here in Wisconsin, I thought it would be a good time to share a fun project that you can complete indoors or out, regardless of weather!

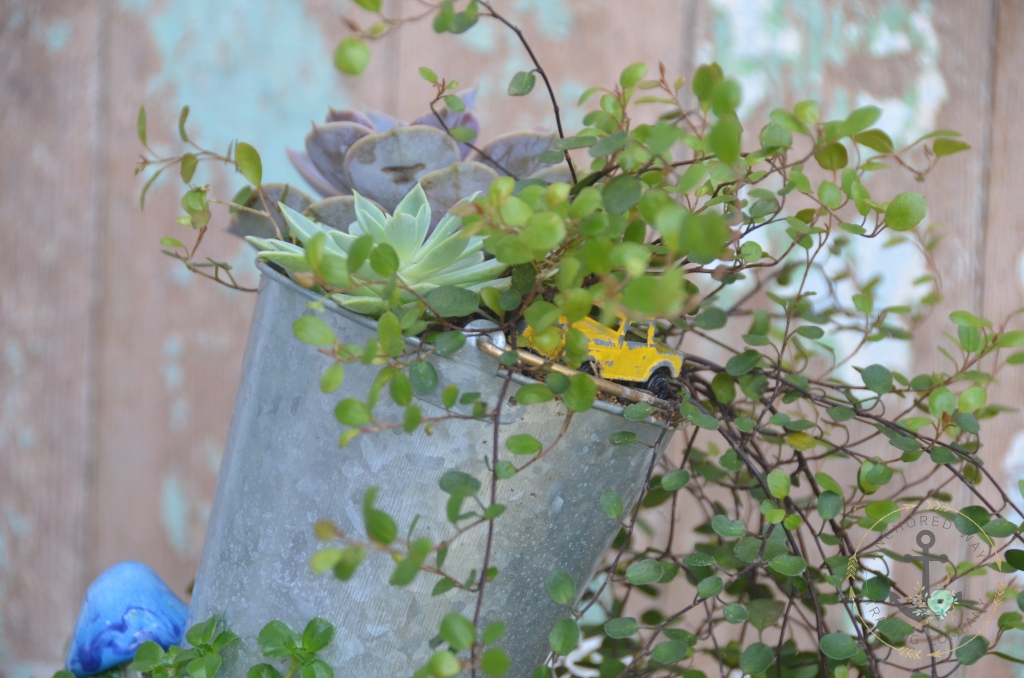
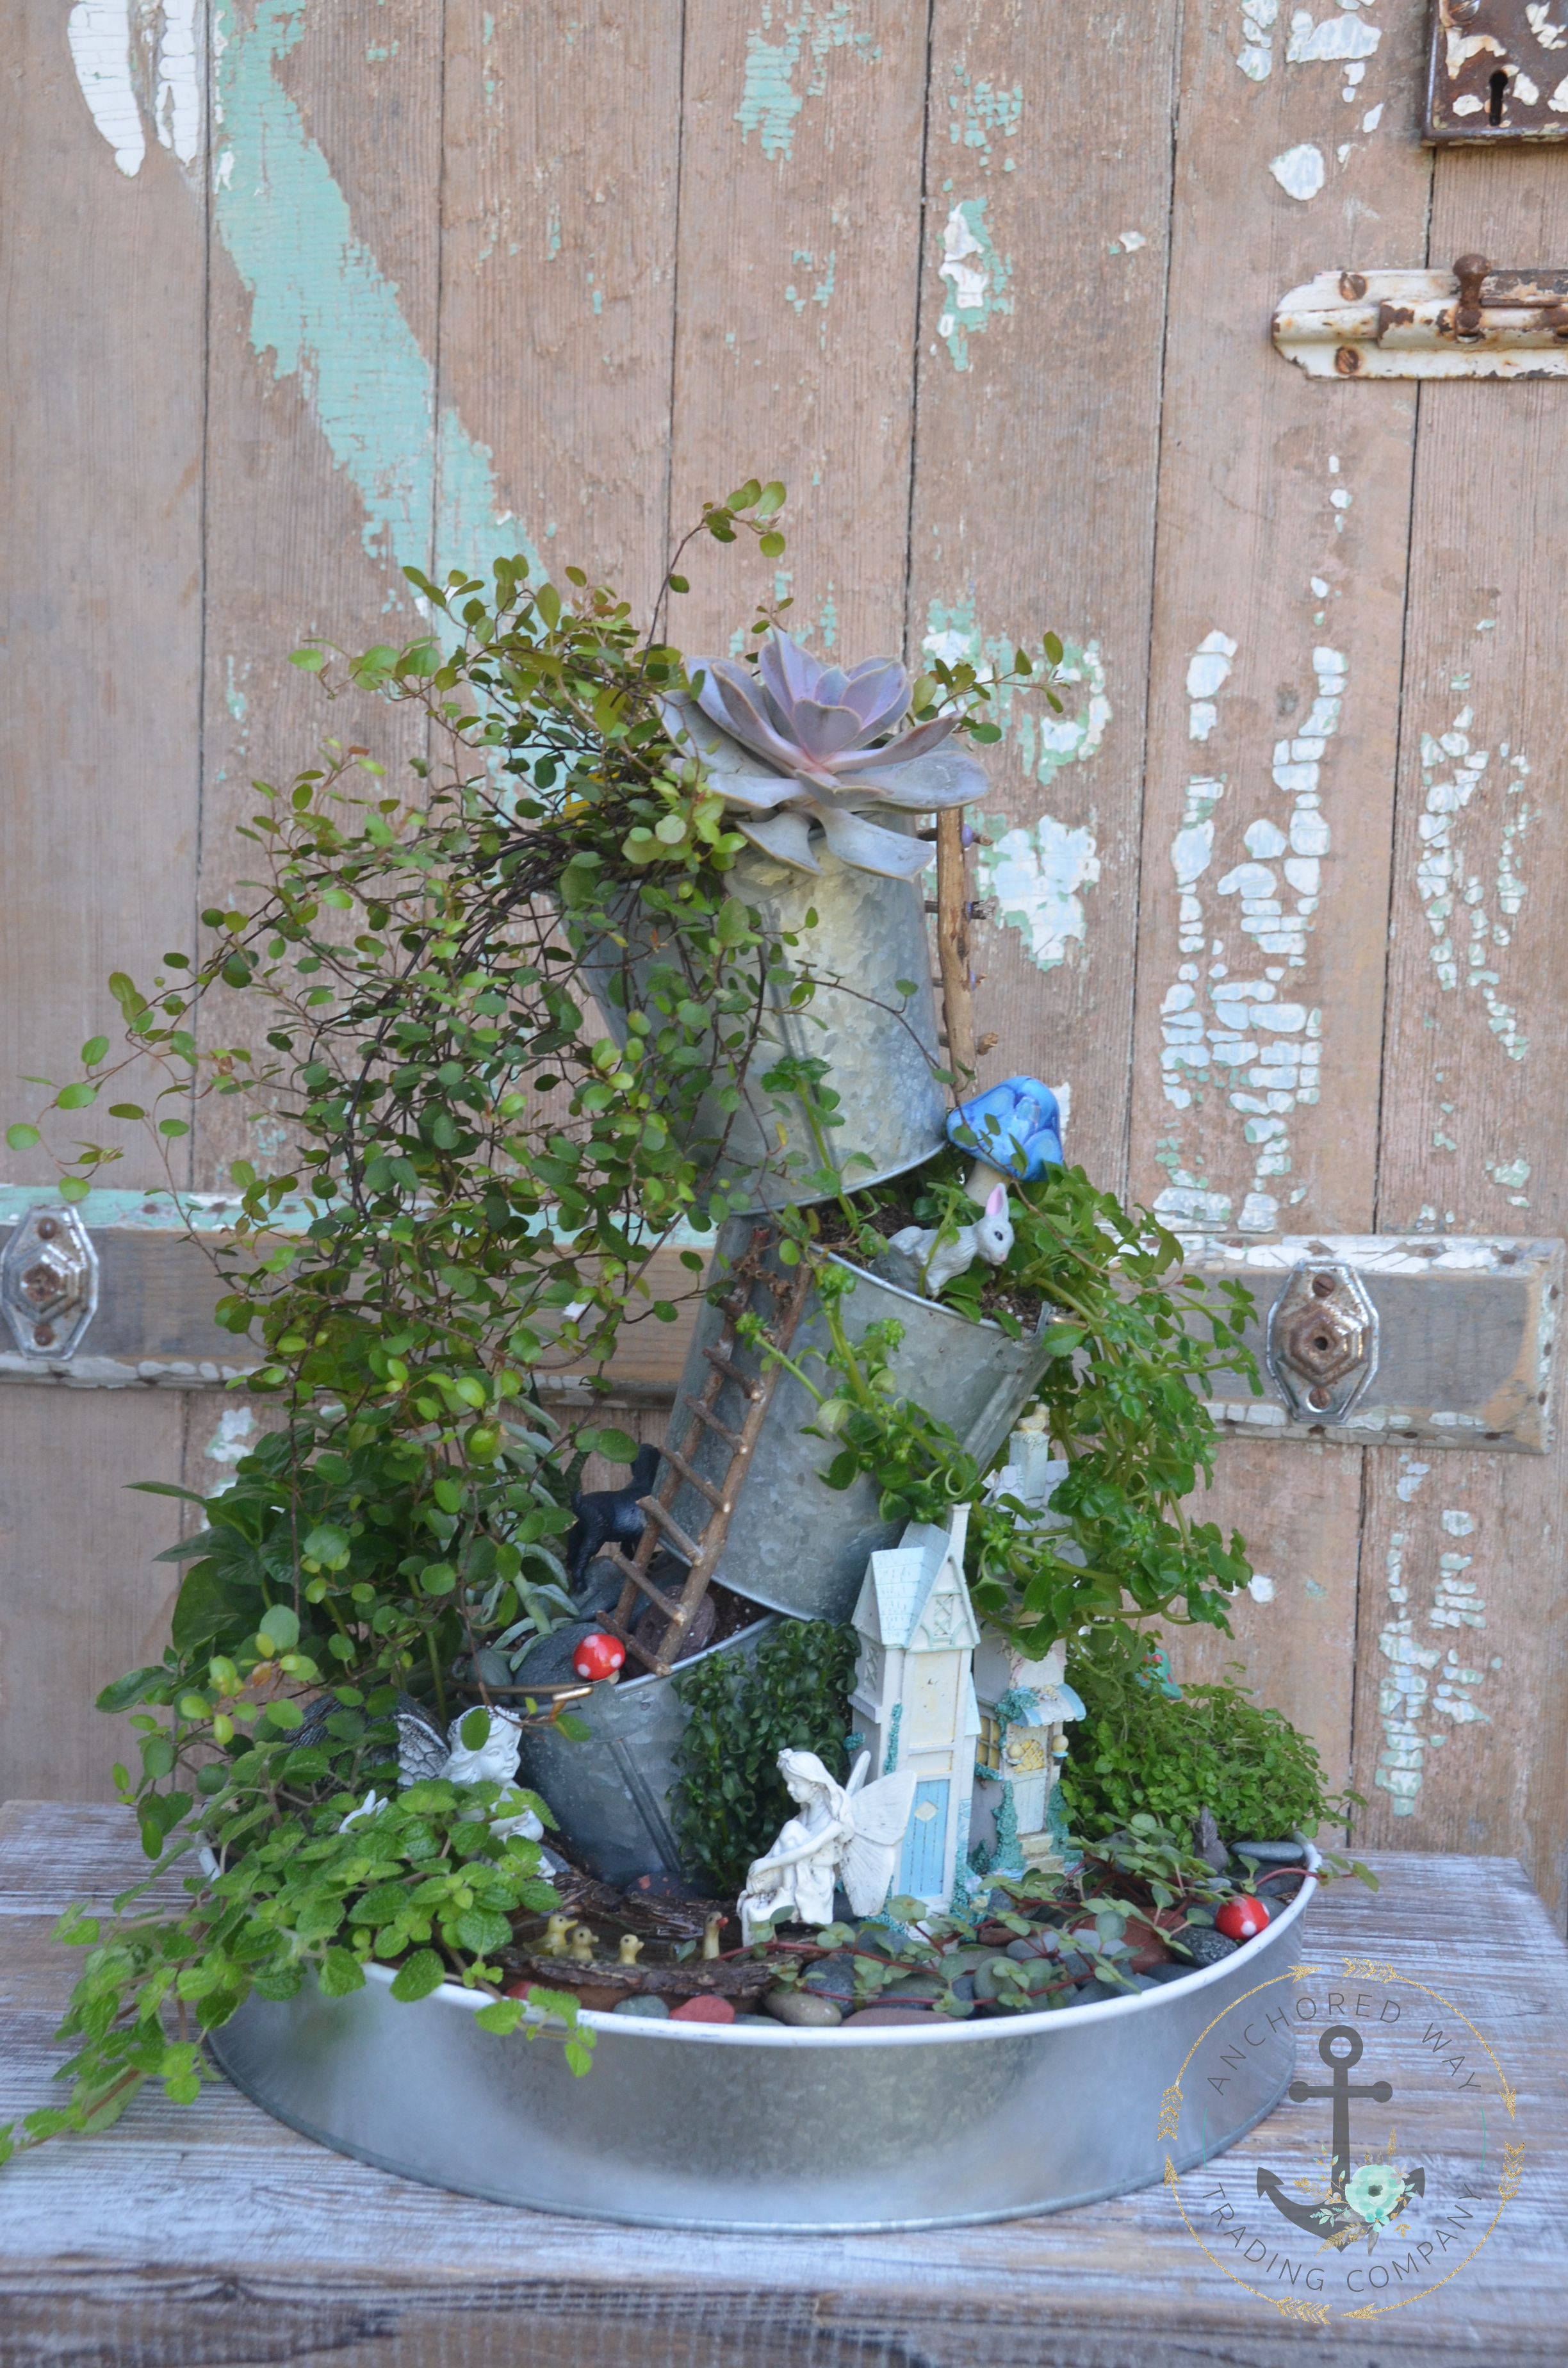
I have had a 2 tiered stand laying around for quite a while. Unsure what to do with it, I just let it lay in my workshop, knowing that one day I’d come up with some use for it. About a month ago, my daughter saw it while we were cleaning the garage and told me that we should turn it into a fairy garden. I absolutely loved her idea, so we ran with the thought, changing up a few things as we went, and created our very own mini Tipsy Planter Fairy Garden! This could be a great project for anyone, and especially for kiddos to help an adult with! You may not have exactly what we used, but look around your home, garage, sheds, thrift stores and see what you can find! Be creative! Most importantly, have fun!

Read below to see how we accomplished our latest little indoor garden of fun.

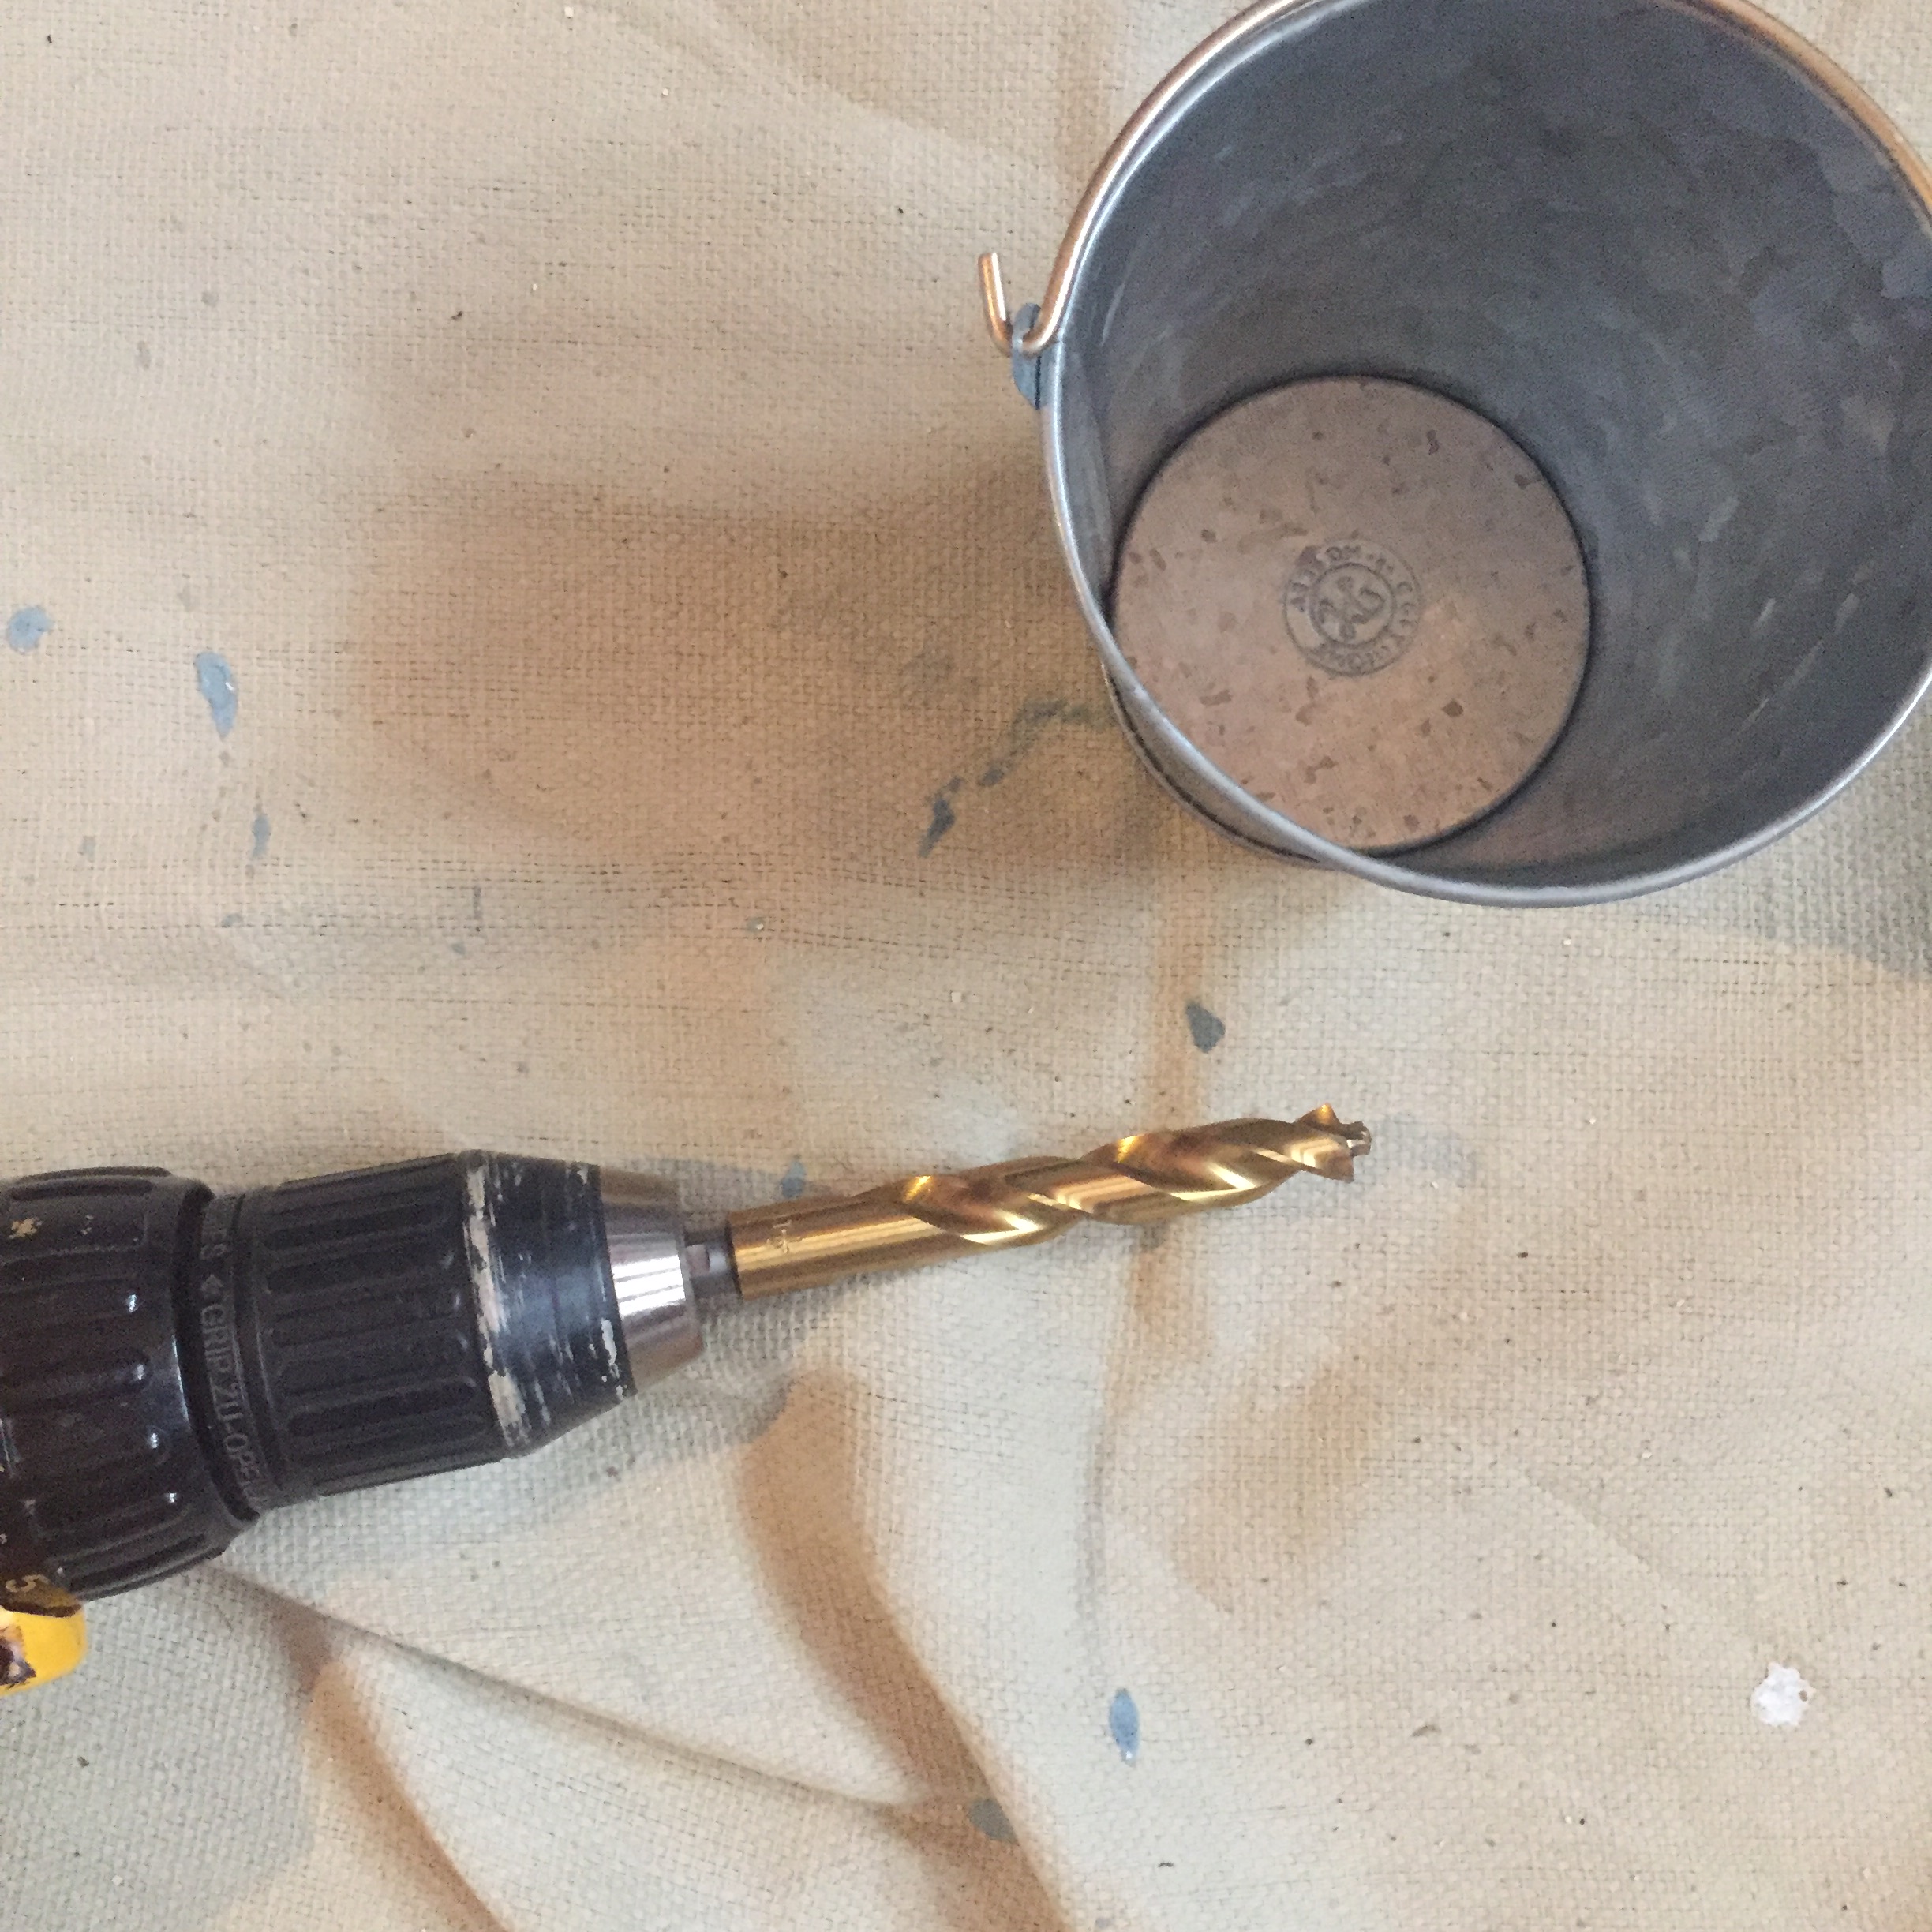
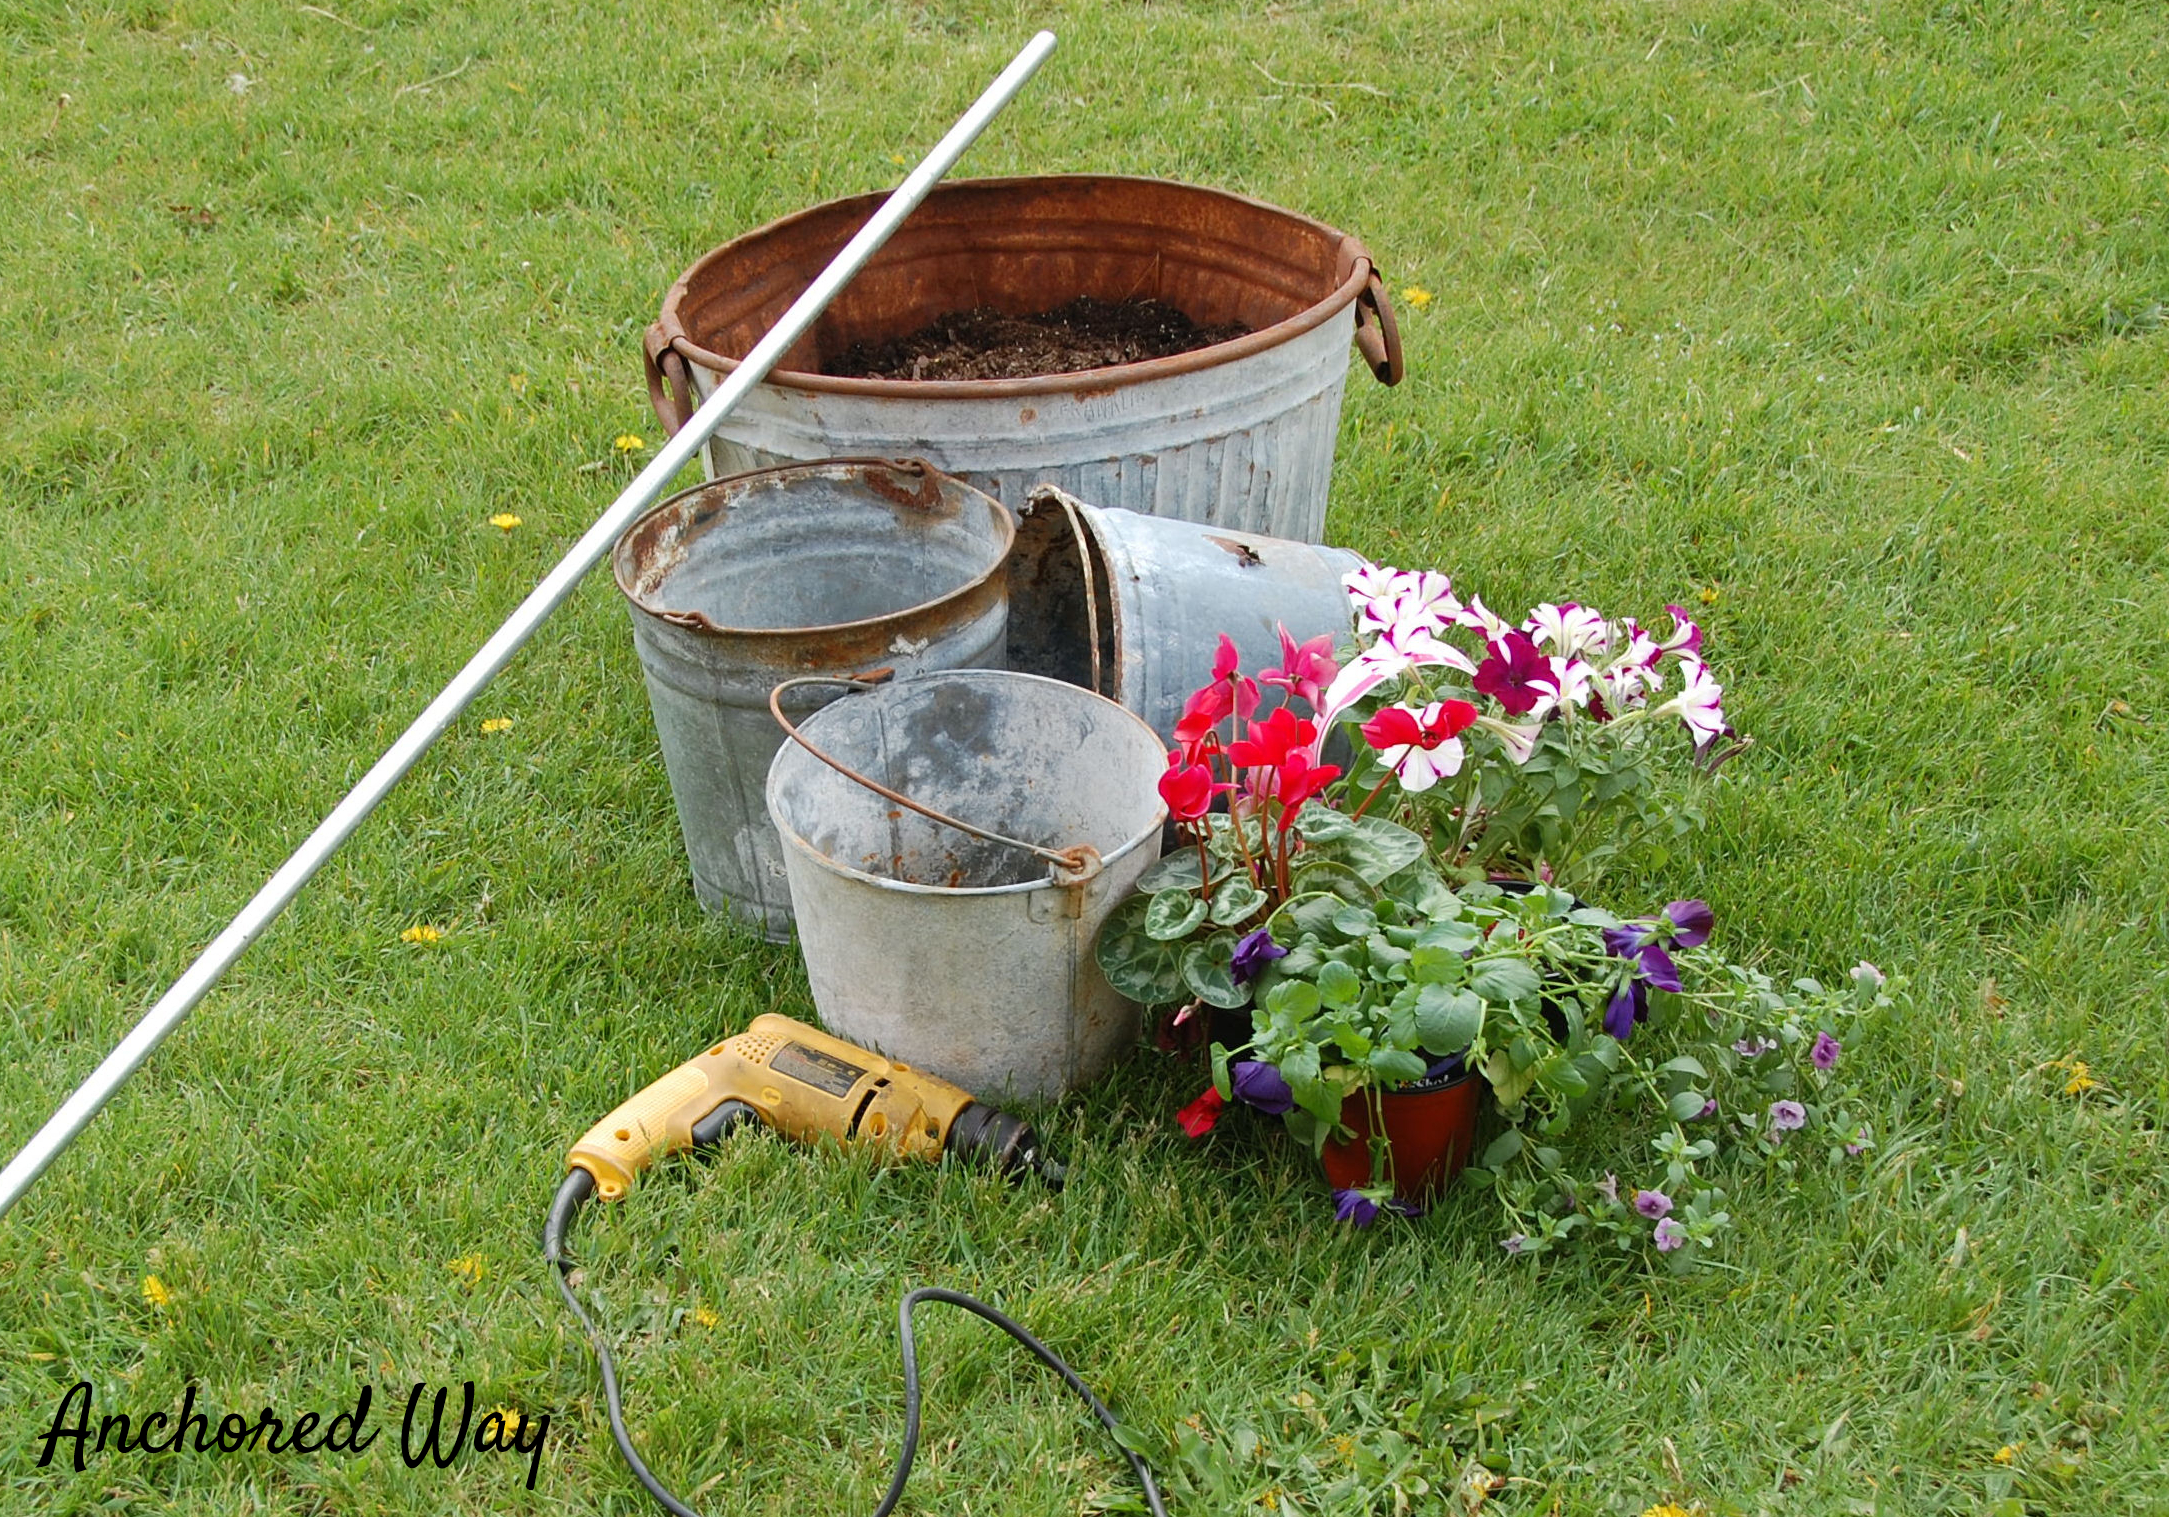
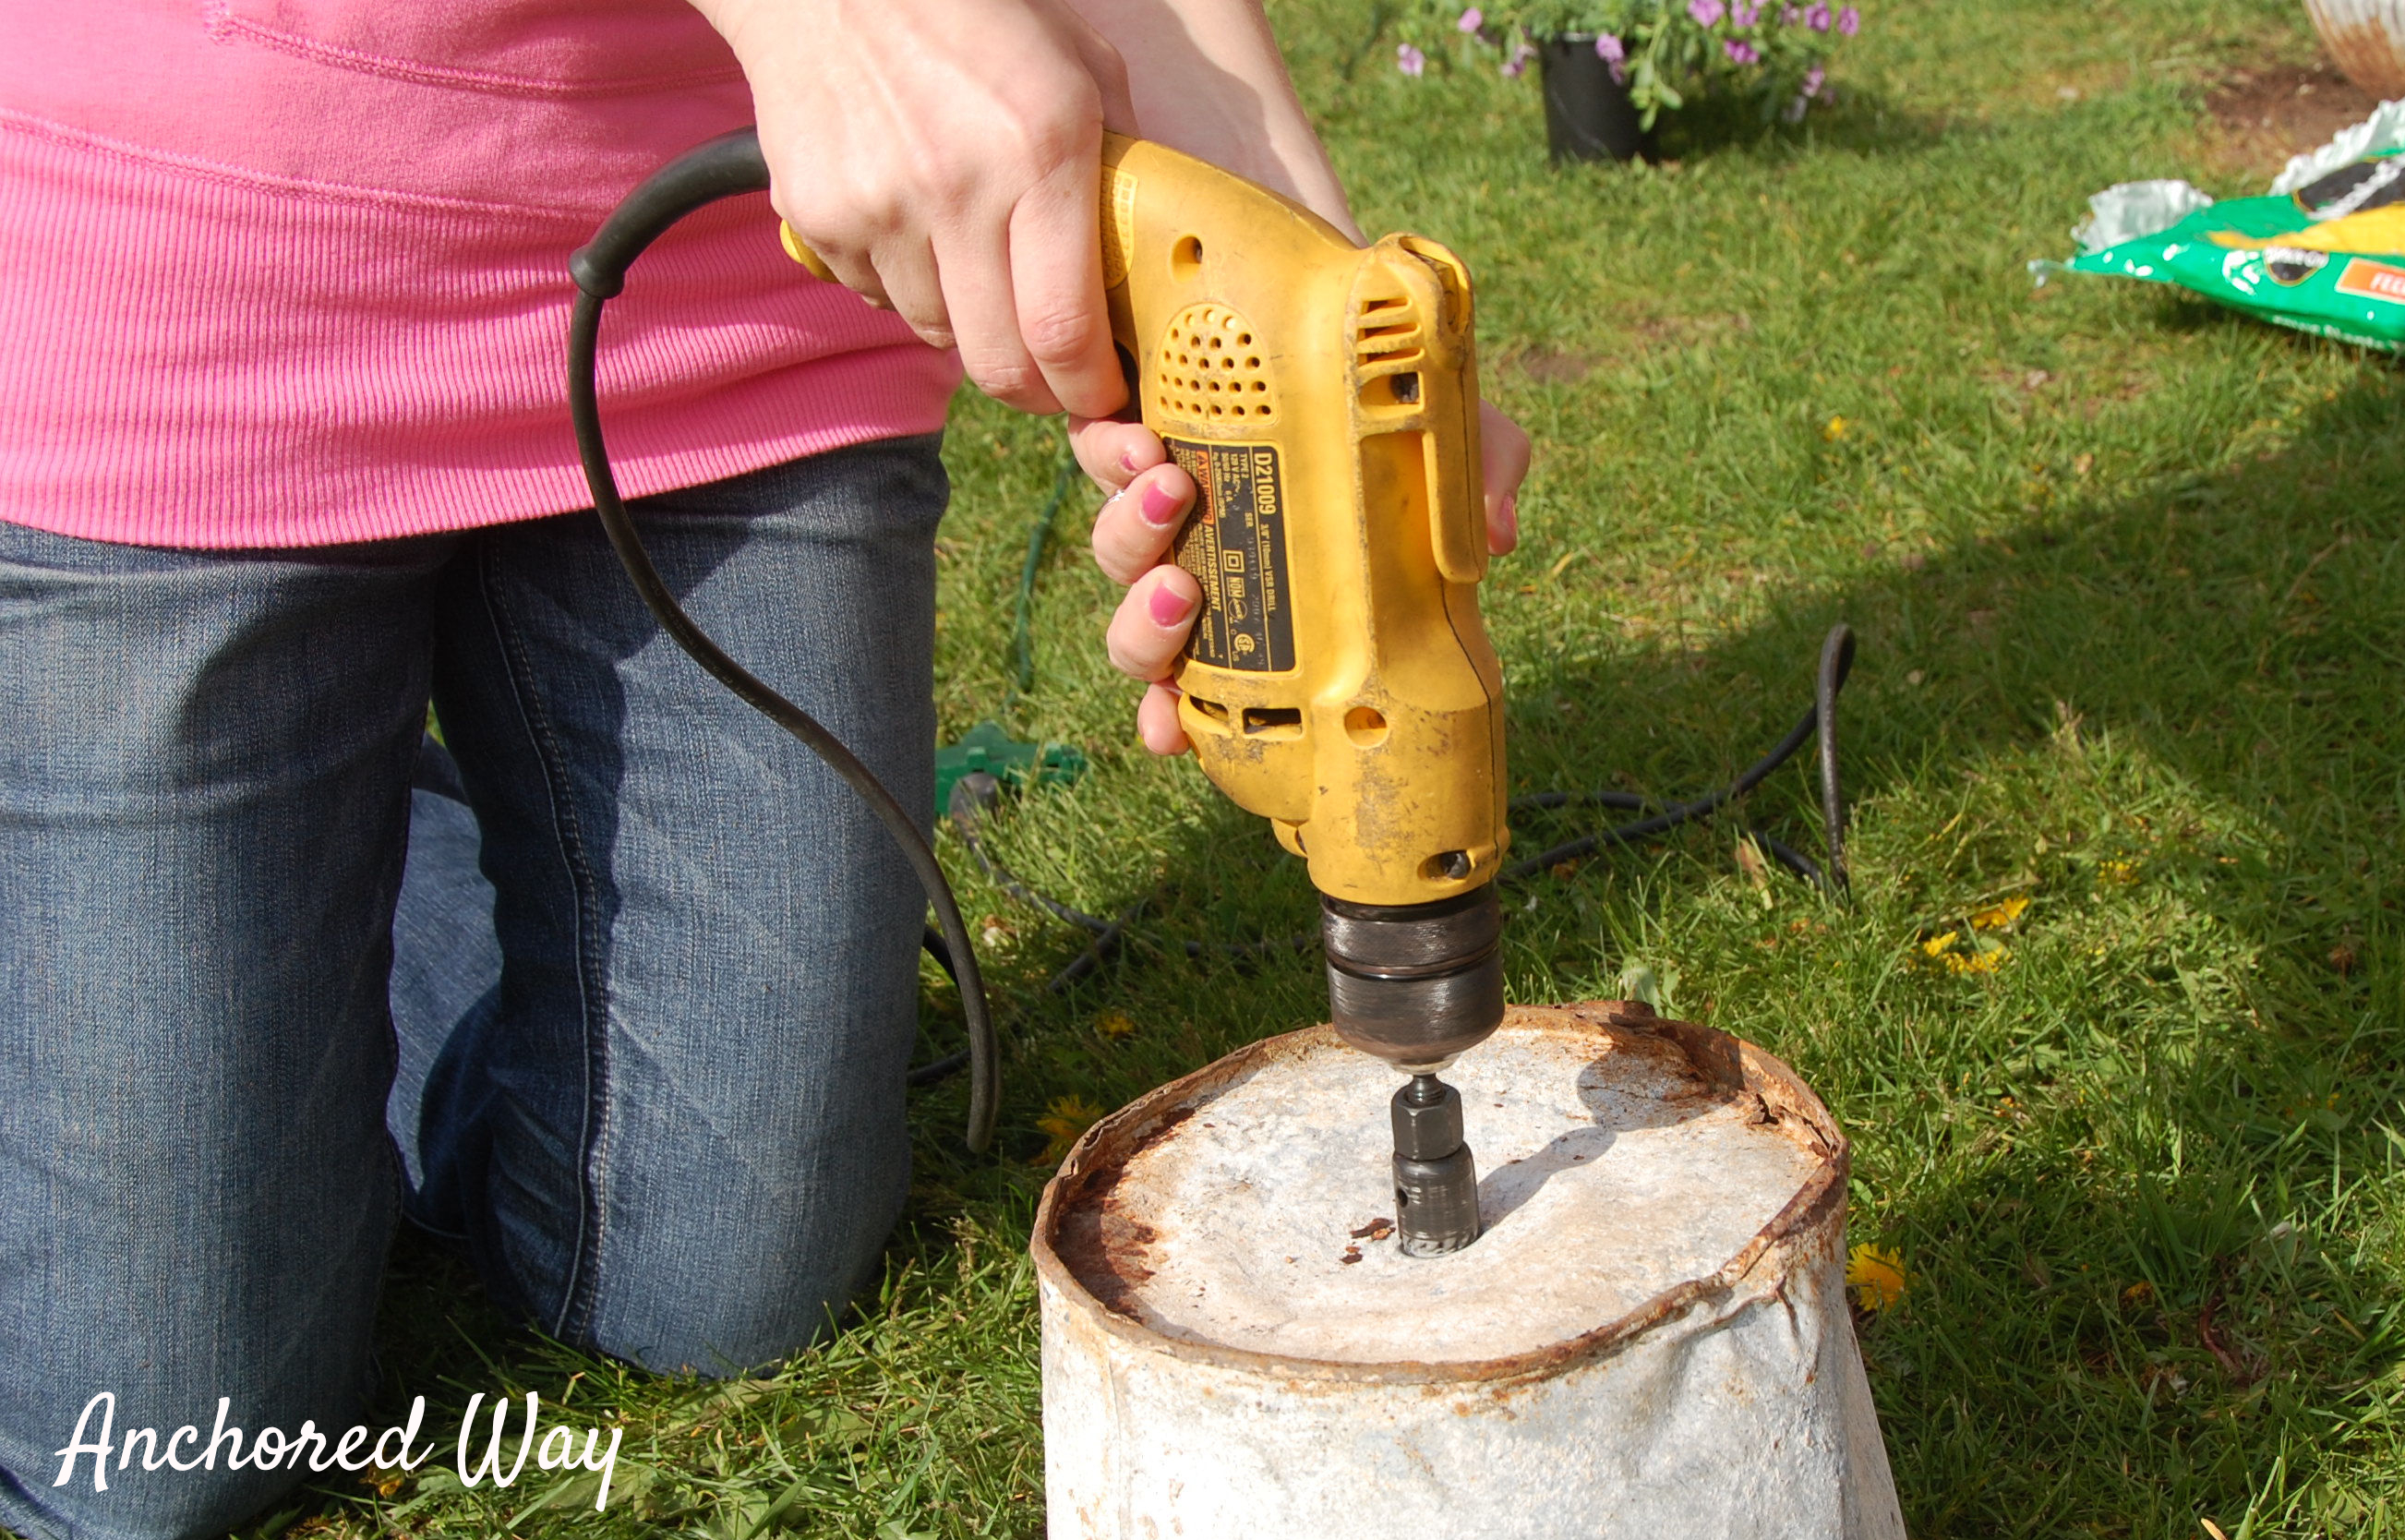
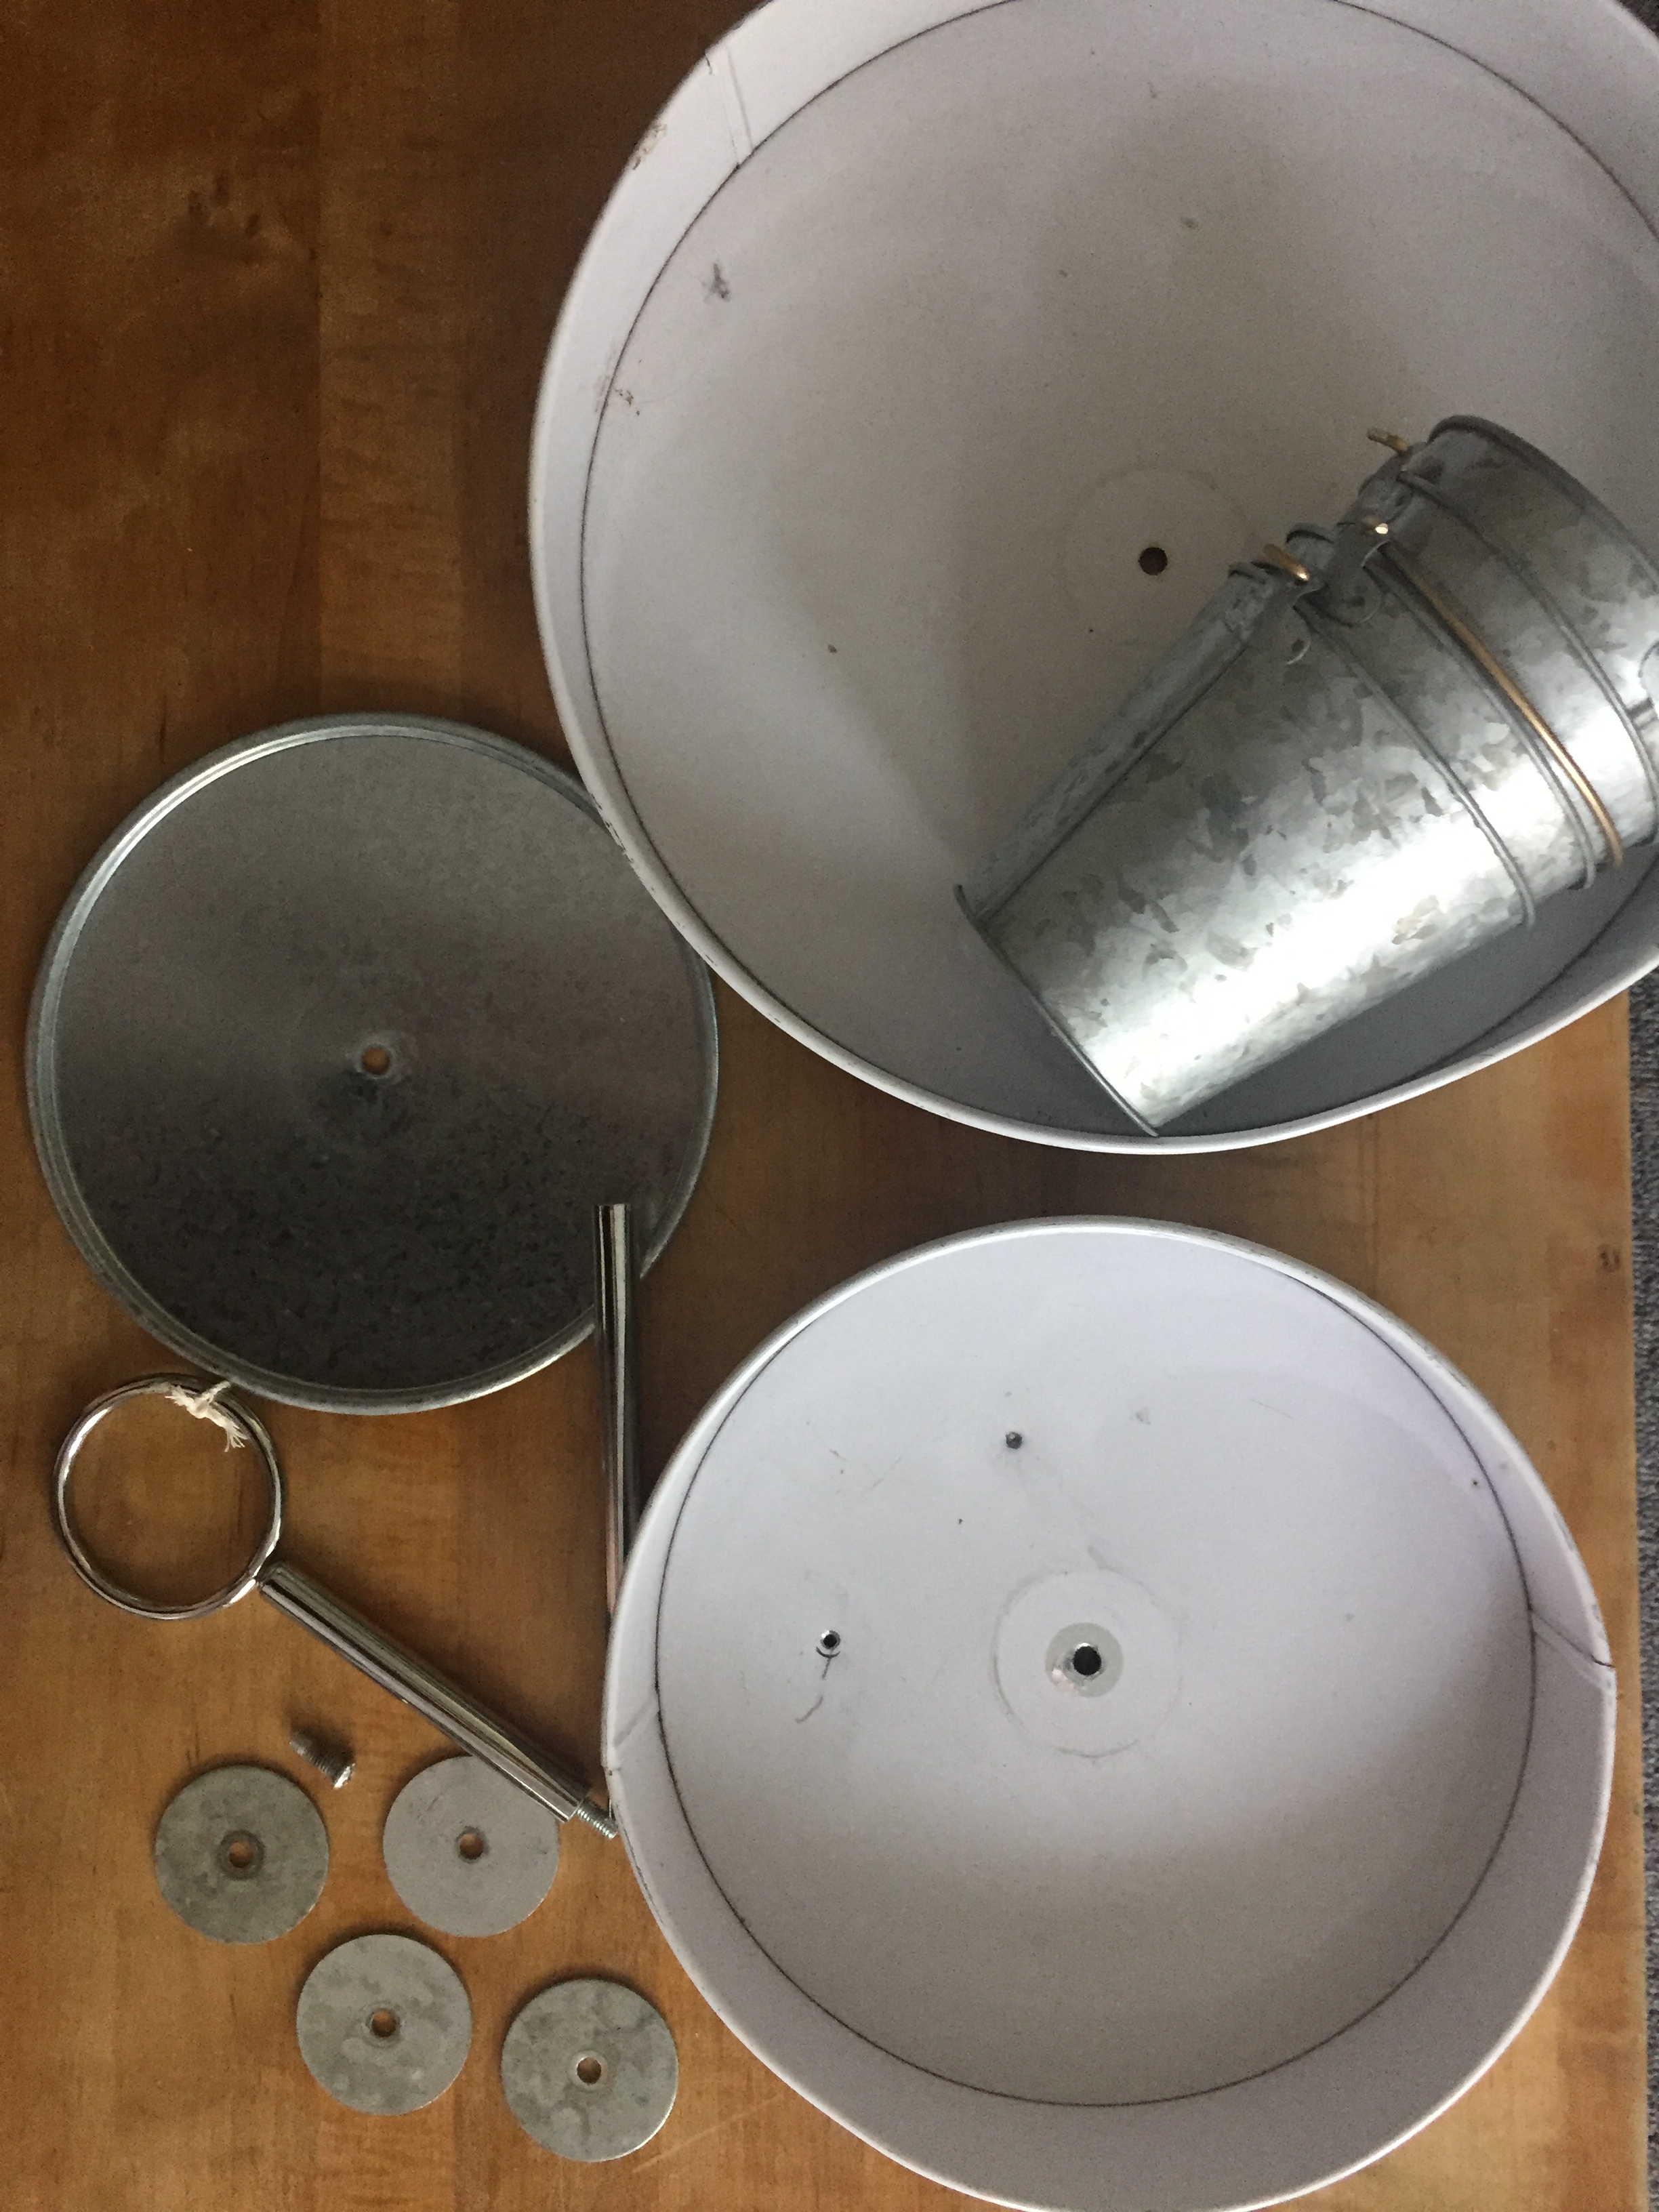
Starting with a disassembled tray, we discarded the top portion, but kept the larger bottom portion, as well as the center support and handle.  I chose a drill bit that was slightly larger than the support piece, and drilled one hole into the center each of the three buckets. I also drilled several smaller hole into the bottom tray for drainage.

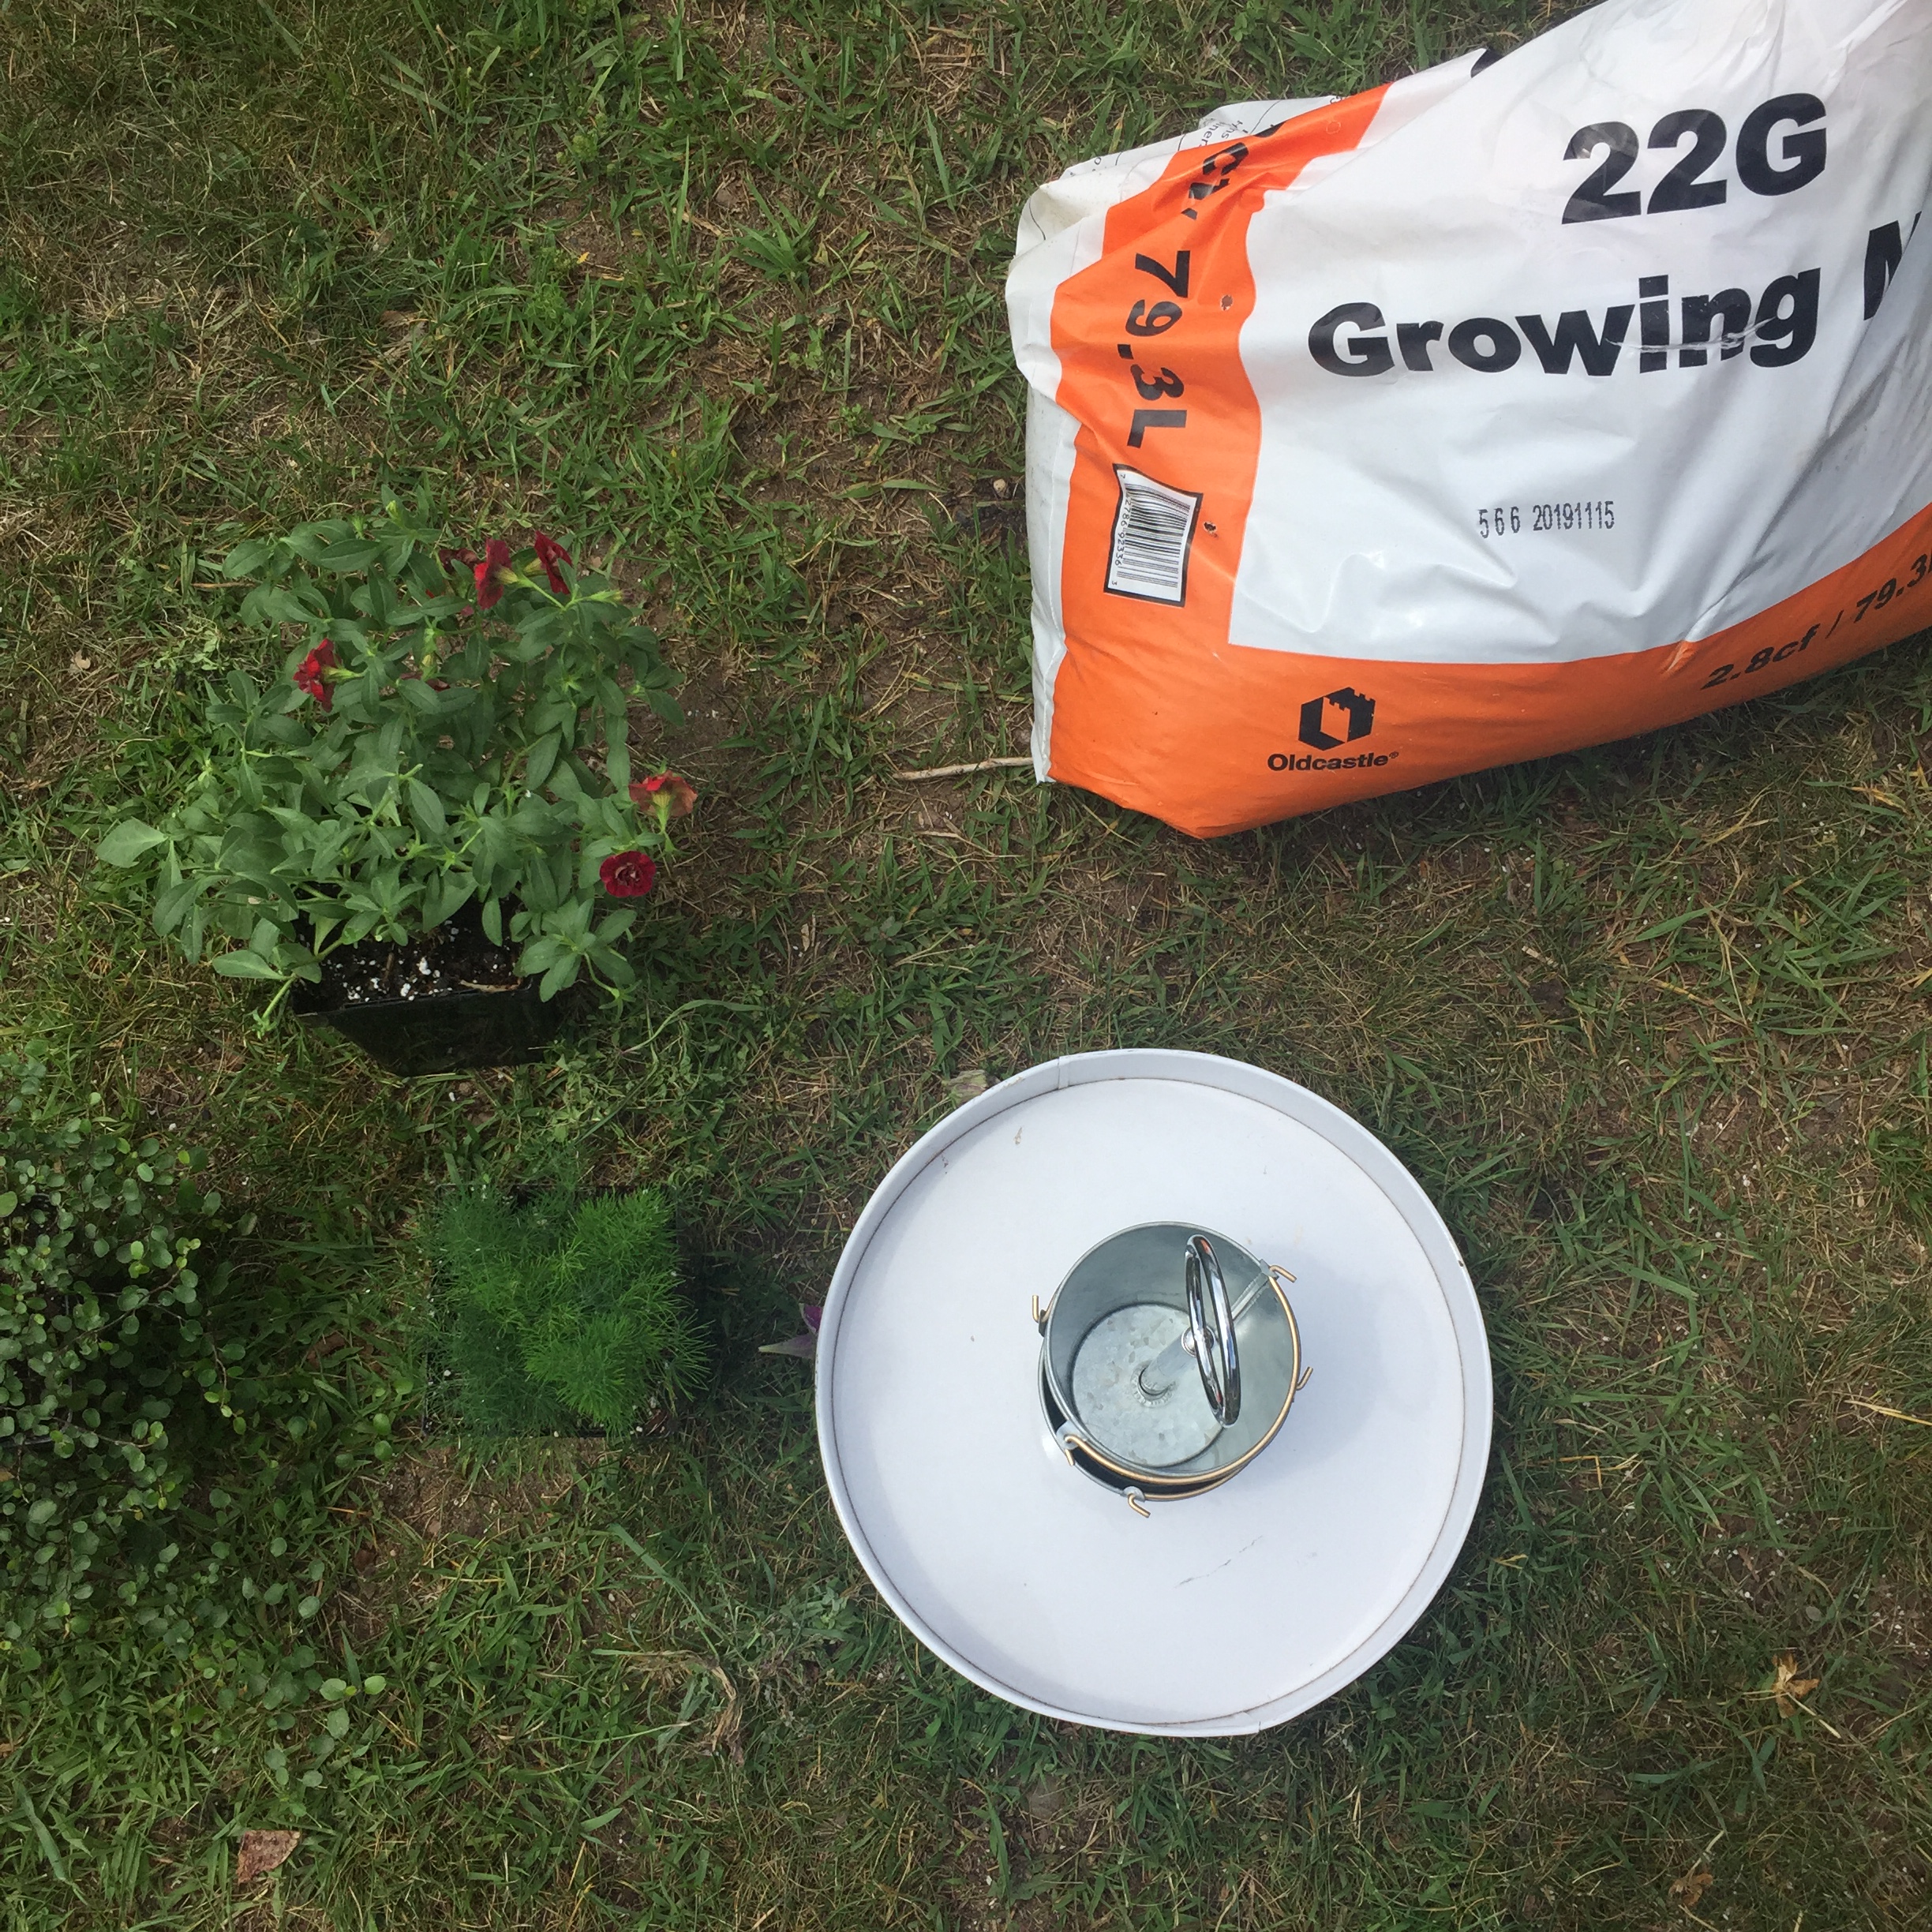
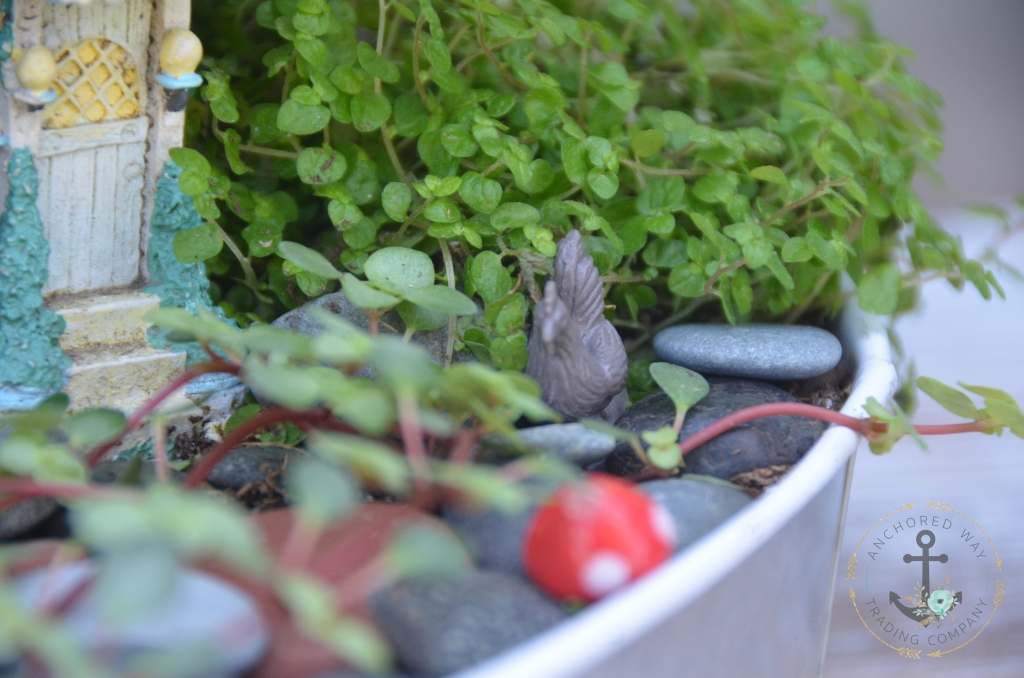
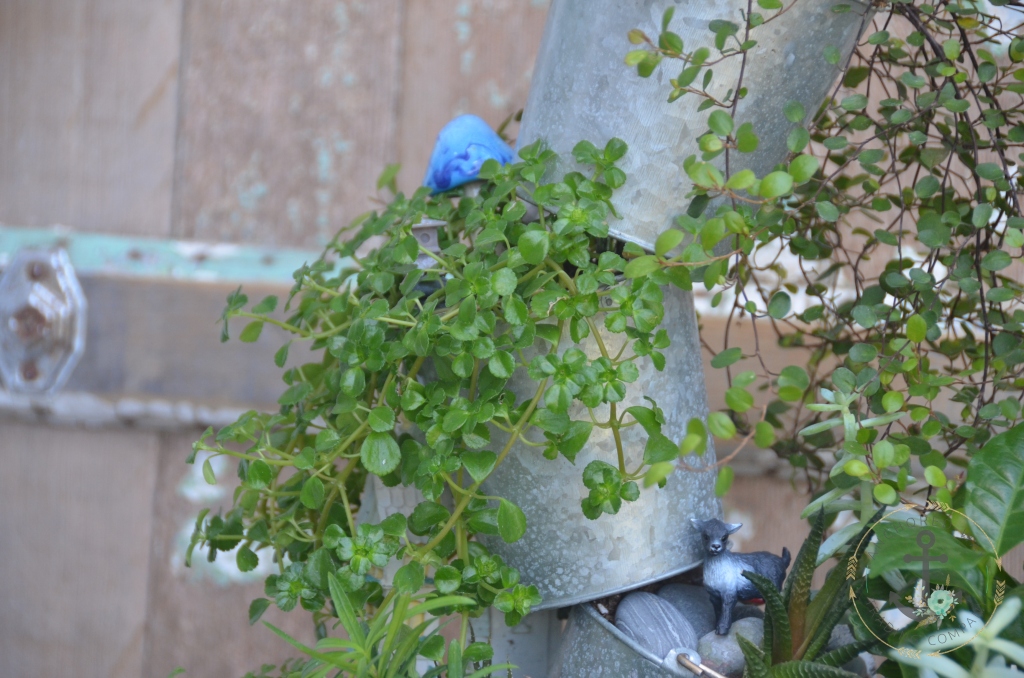
We added potting soil into the bottom tray + the three buckets, then put each bucket onto the ‘handle’ through the hole that we drilled. At this point, you can tip the pots whichever way you feel looks best. Next C. got to planting! All of the plants were purchased locally in Eau Claire, Wisconsin. We worked a while on getting plants put into the spots where we felt that they fit best, and then went around the garage, house and C’s bedroom and gathered found items to place into the fairy garden! This is the fun part! Use what you have and don’t be afraid to give something else a new purpose, like turning an old jar lid into a fairy pond! As time goes on, you can change things up, put in different plants as well as different accessories. Don’t be afraid to be a little weird and little whimsy with your design, it’s a fairy garden after all!

Below you can see more photos as well as steps that we took to complete our Tipsy Planter Fairy Garden!

IMG_9265
The two tiered tray before we disassembled it.
IMG_9268
The tray disassembled. + The Small buckets we purchase online at Wal Mart.
IMG_9272
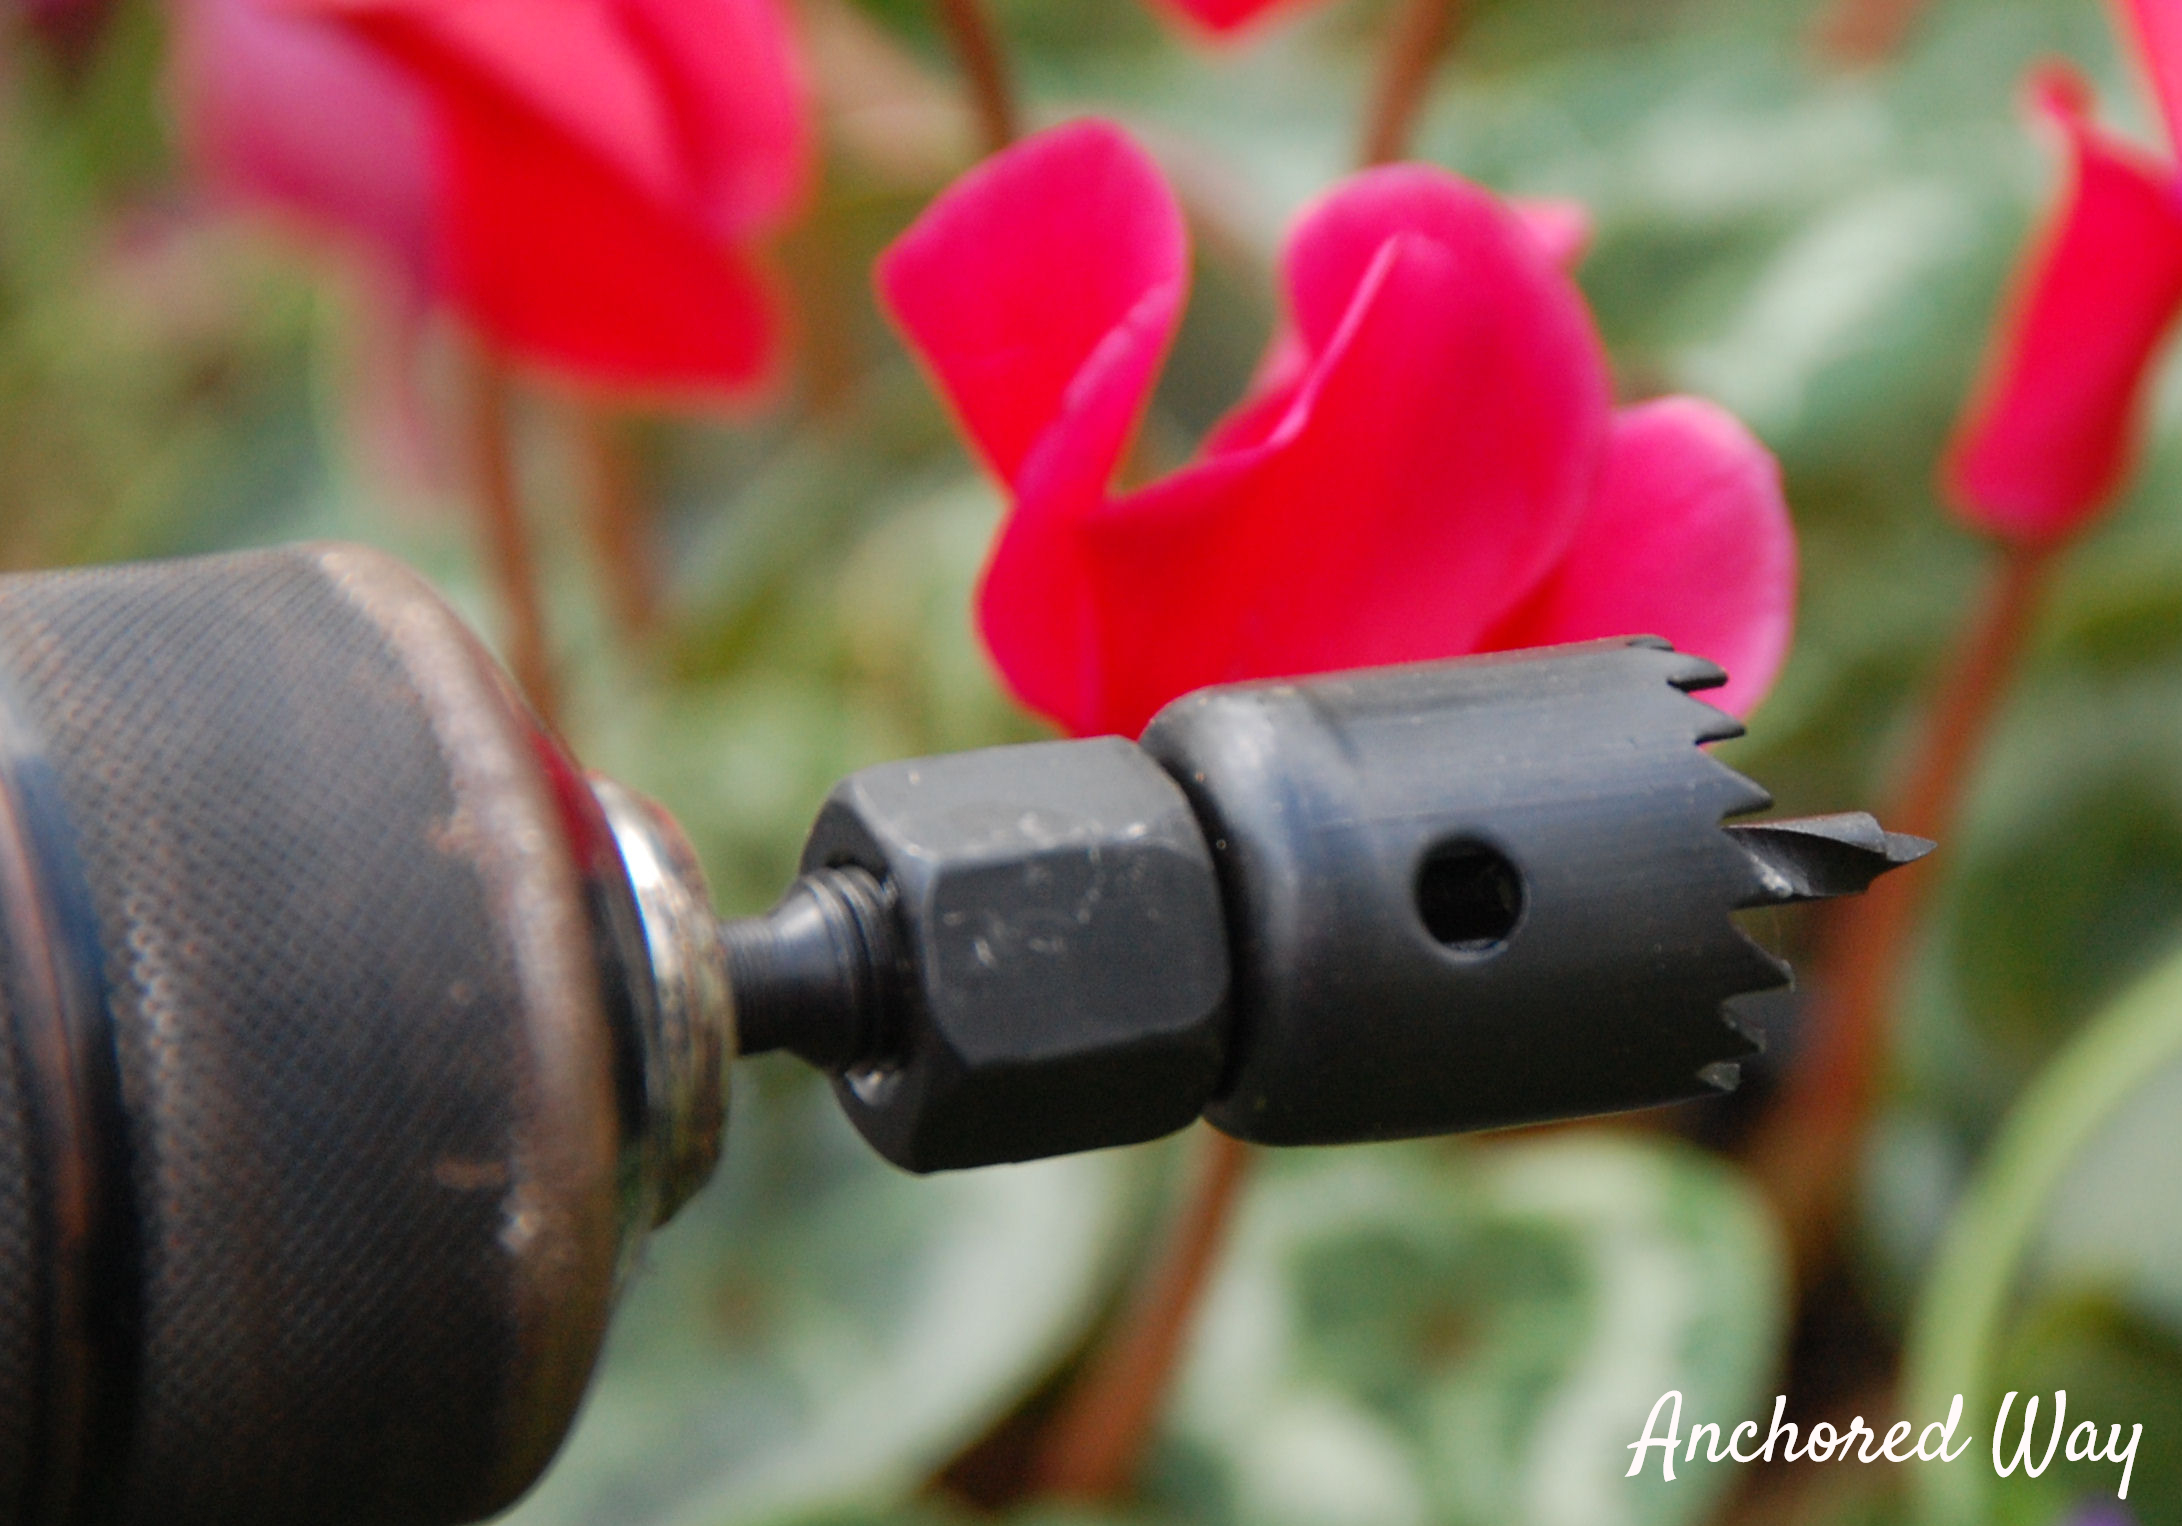
The small metal bucket before drilling. For this part, I used Dewalt Titanium Pilot Point Drill Bits.
IMG_9273
Small metal bucket after drilling hole.
IMG_9275
Assembled, getting ready for adding potting soil and plants! (Plants shown on the left side were used in a different project!)

After:

Click images above to enlarge or view a slideshow.

This was such a fun project and I am so thankful that my daughter wanted to join me and use her creativity as well. I hope this gives you some inspiration to get out in your garage or your workshop and create something beautiful out of something ordinary!

View this project over on Hometalk!

Follow Anchored Way on Facebook here!

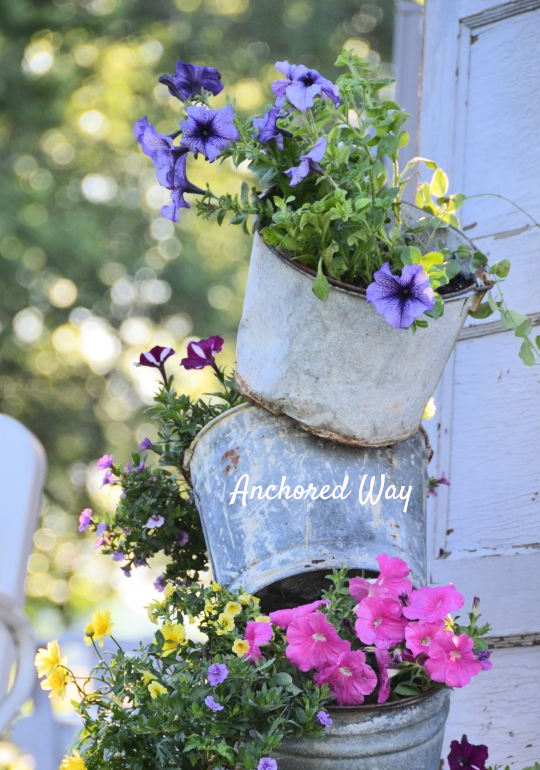
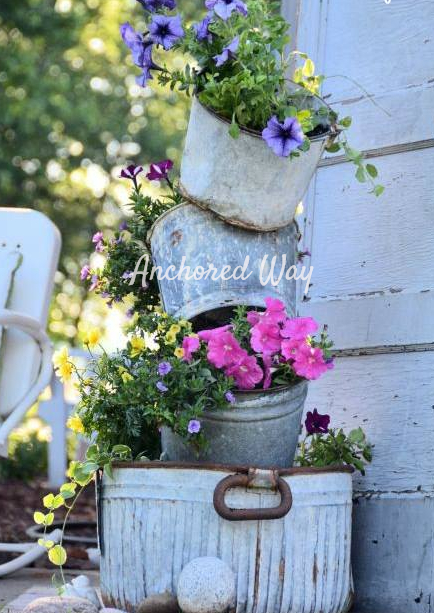
Primitive tipsy pot planter.

“In my garden there is a large place for sentiment.  My garden of flowers is also my garden of thoughts and dreams.  The thoughts grow as freely as the flowers, and the dreams are as beautiful. ” ~Abram L. Urban

Oh, sweet Summer time.  The sounds of bees buzzing around the yard and the laughter of children fill the air, the grass is warm on your toes and you are ready to plant some flowers, but aren’t sure what to plant to be different from every other garden on your block.

The tipsy pot planter is a great Do It Yourself project anyone can do, with just a few supplies and a bit of a green thumb.

Using these simple steps below, you can create your own primitive tipsy pot planter!

Primitive Tipsy Pot Planter

Project Cost: Under $60.00
Project Level: Medium
Project Supplies: Flowers, Potting soil, Primitive pots, 1/2″ steel conduit |Project Tools: Drill, 1″ hole saw.

tipsypot1


1.) Pick the location where you want your tipsy pot planter.  I chose to place mine in a place where the grass has never really grown well, right near my main entrance, which makes a great way to greet guests as they come for a visit.

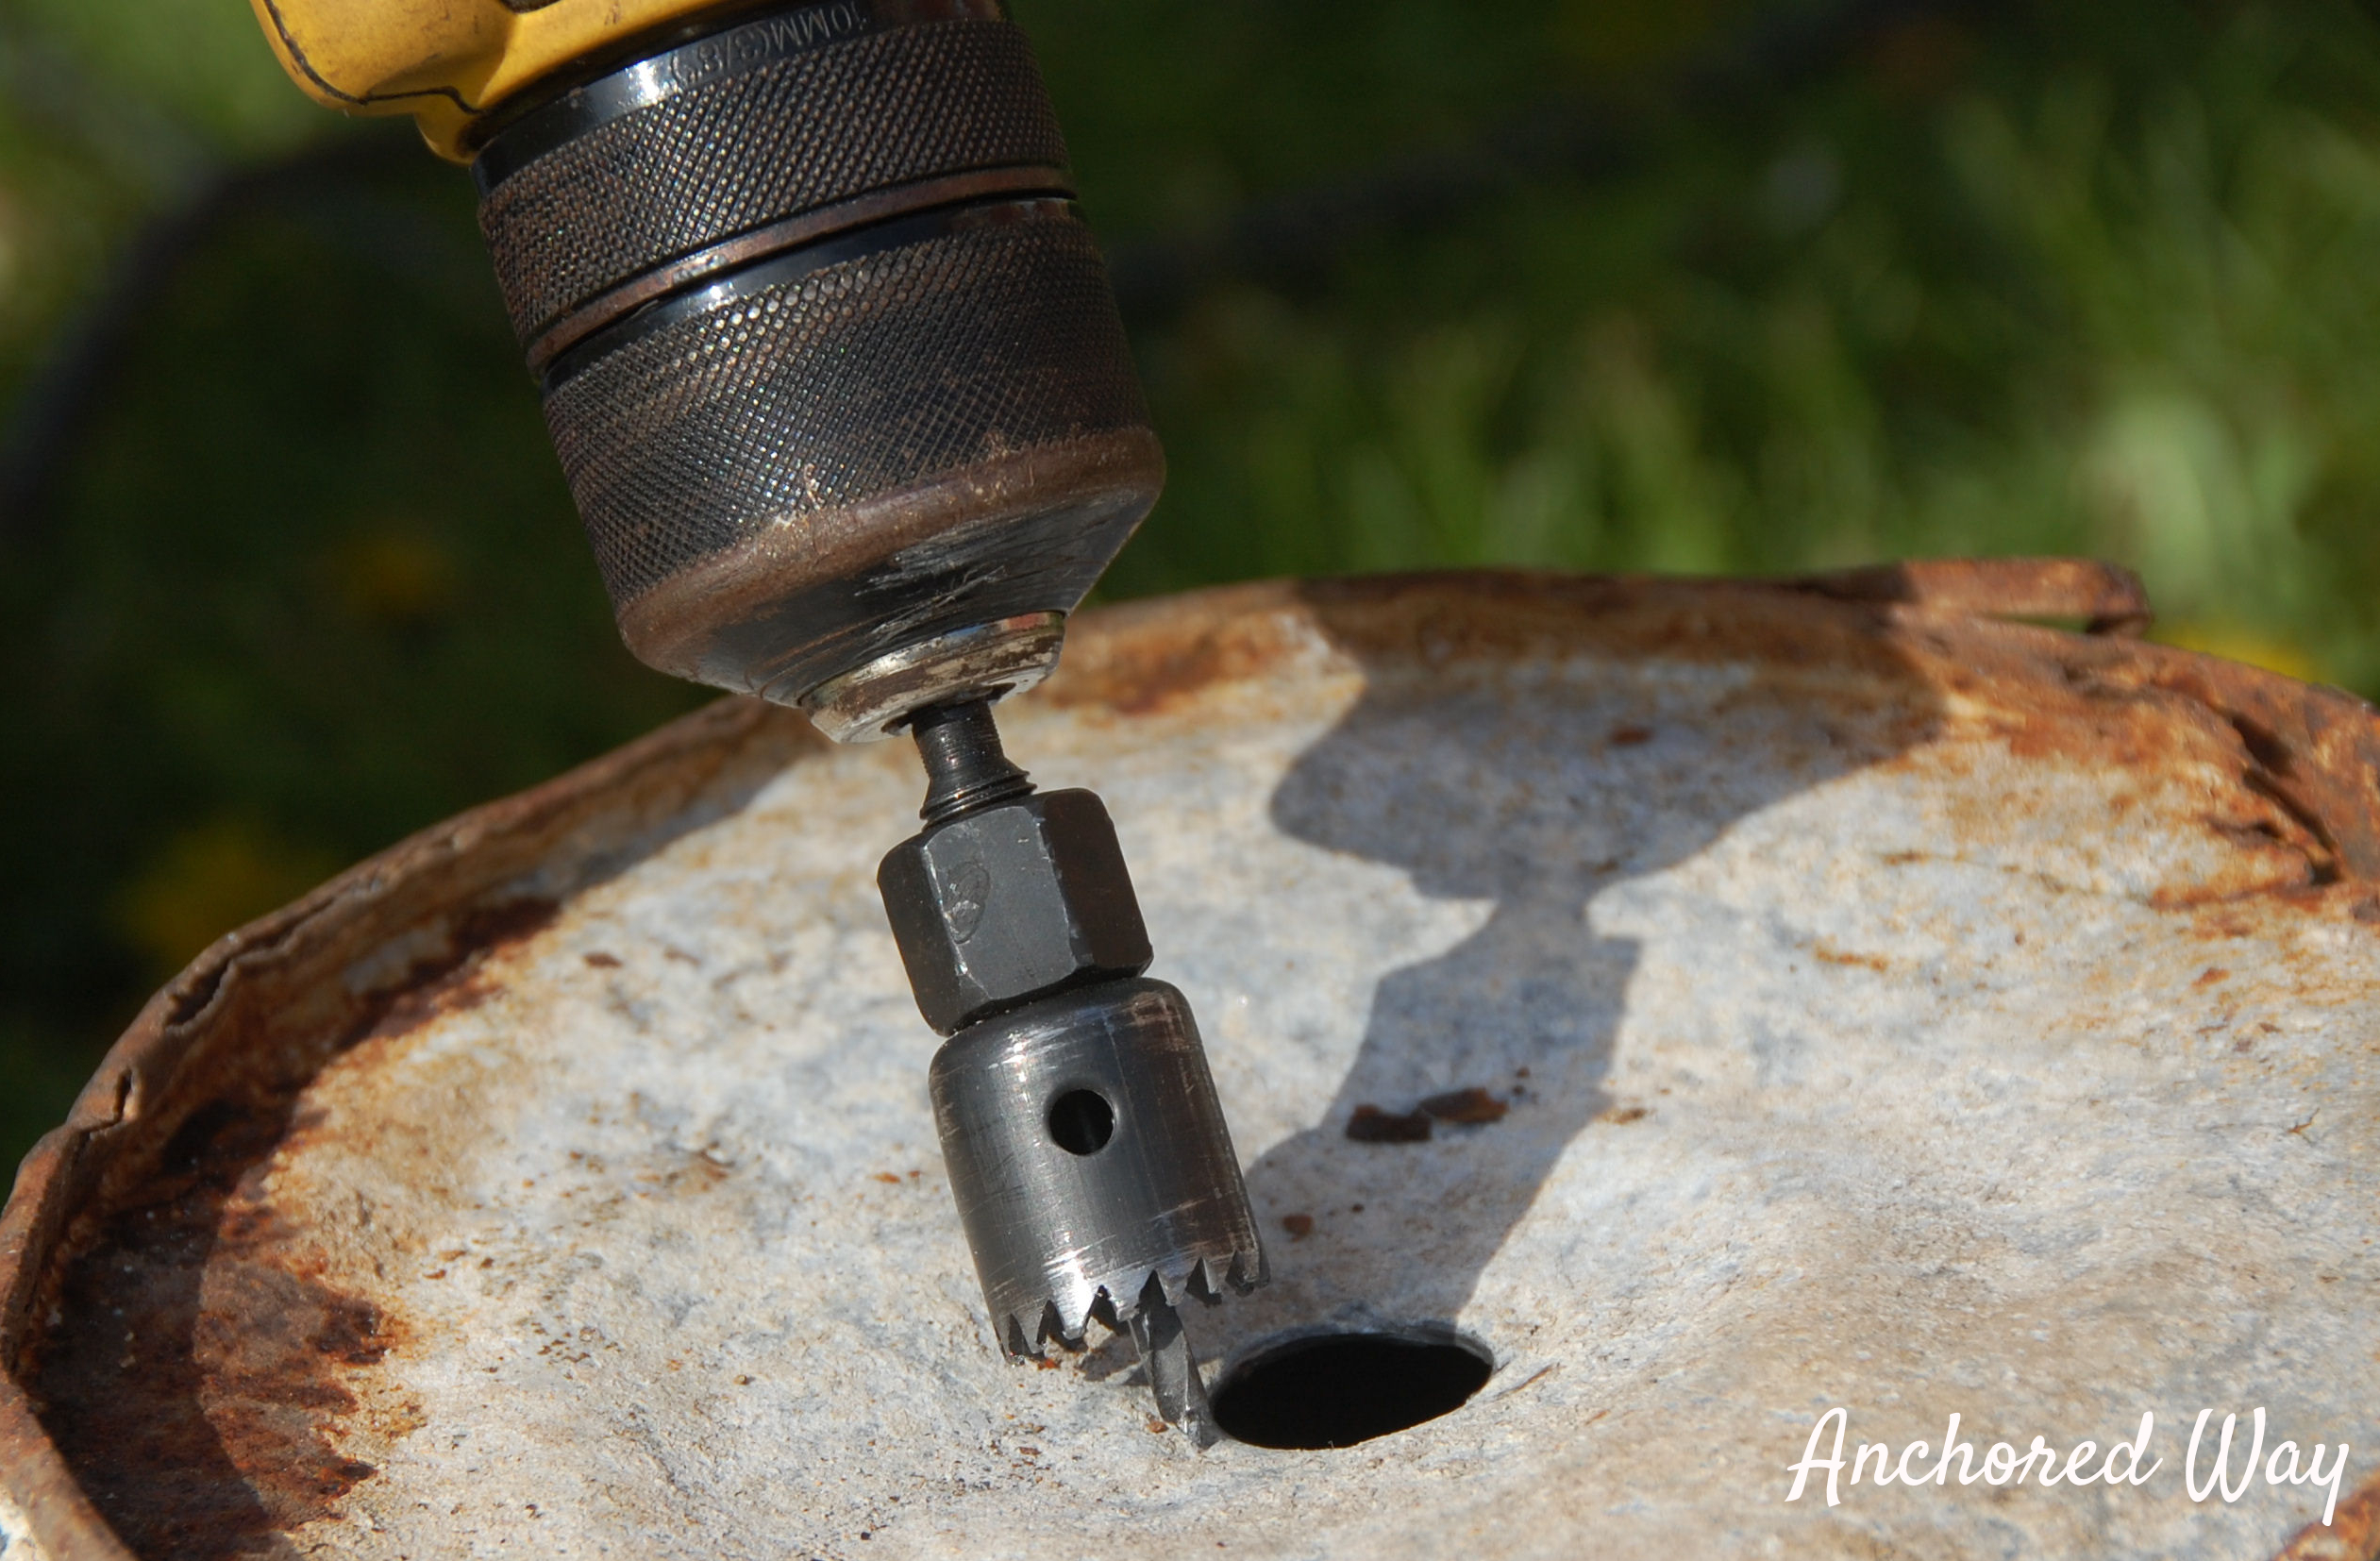
2.) Drill holes into the bottom of each pot.  If you are using the 1/2″ conduit, you will need to drill a 1″ hole in each pot.  This is what allows the pots to tip from side to side.

tipsypot9

I used a drill with a 1″ hole saw attached.

tipsypot2

tipsypot10

tipsypot4

3.) Place your first, larger pot in the location you desire.

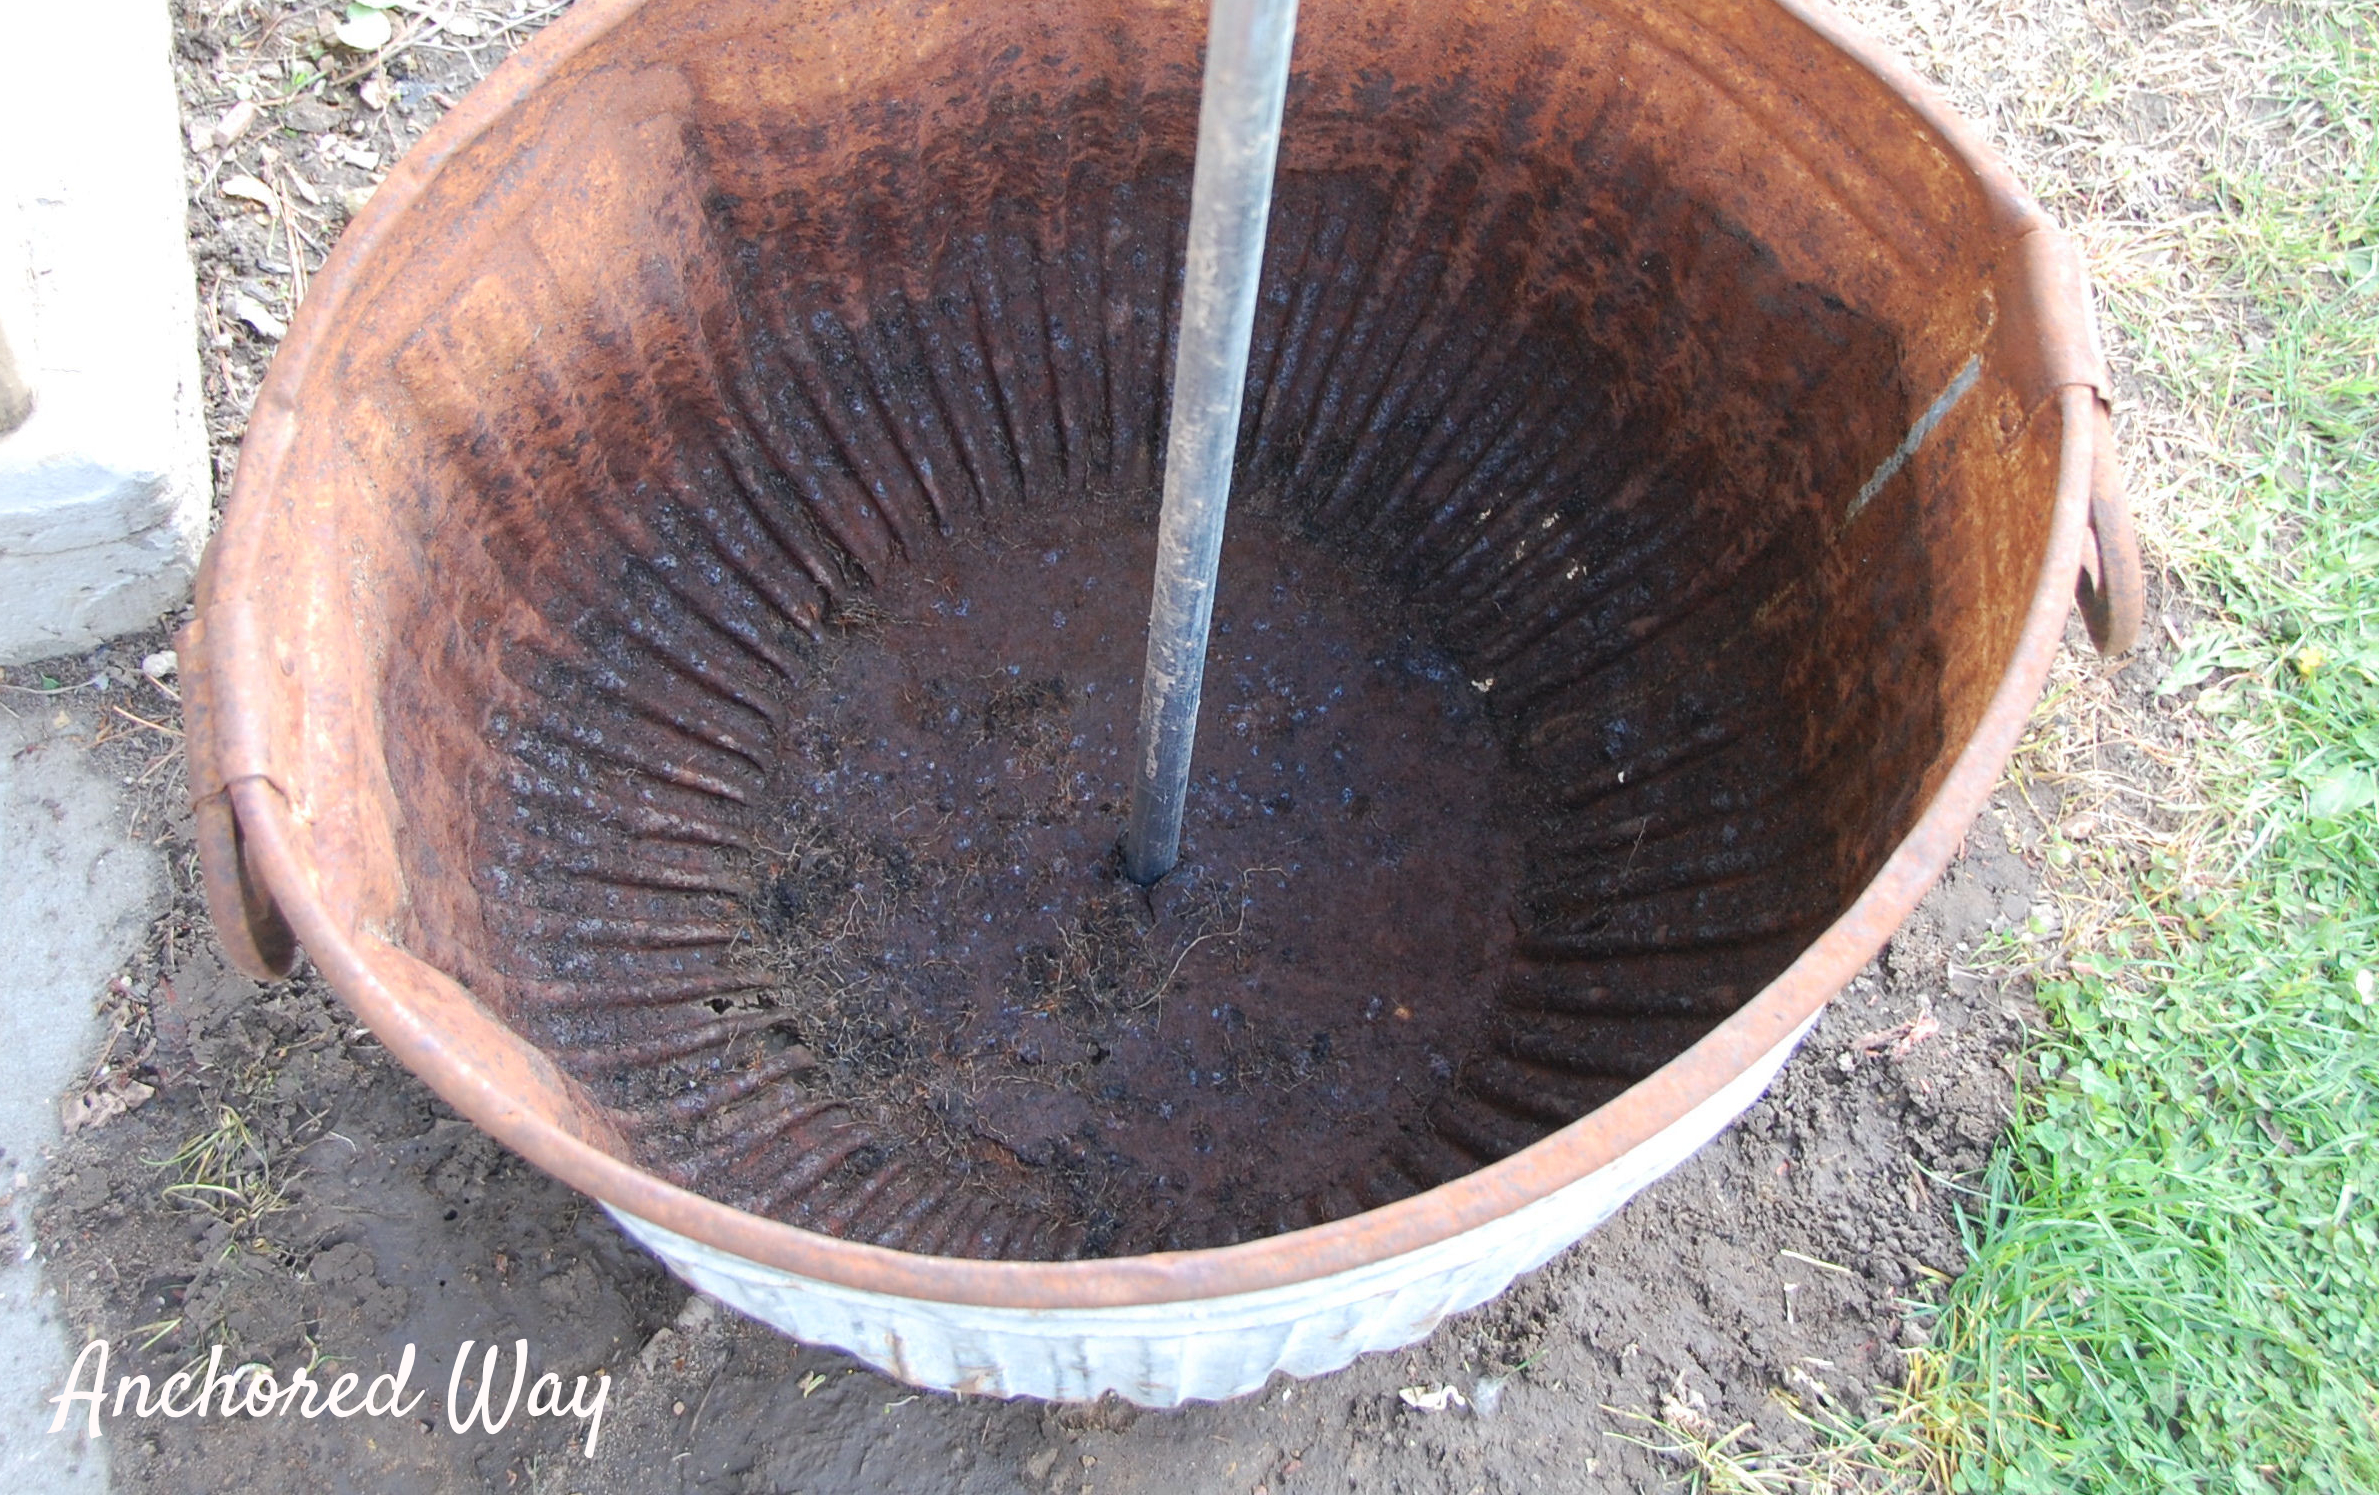
4.) Push your conduit into the ground,  through the hole you drilled in the larger pot & fill your pot with potting soil.

tipsypot5

tp6

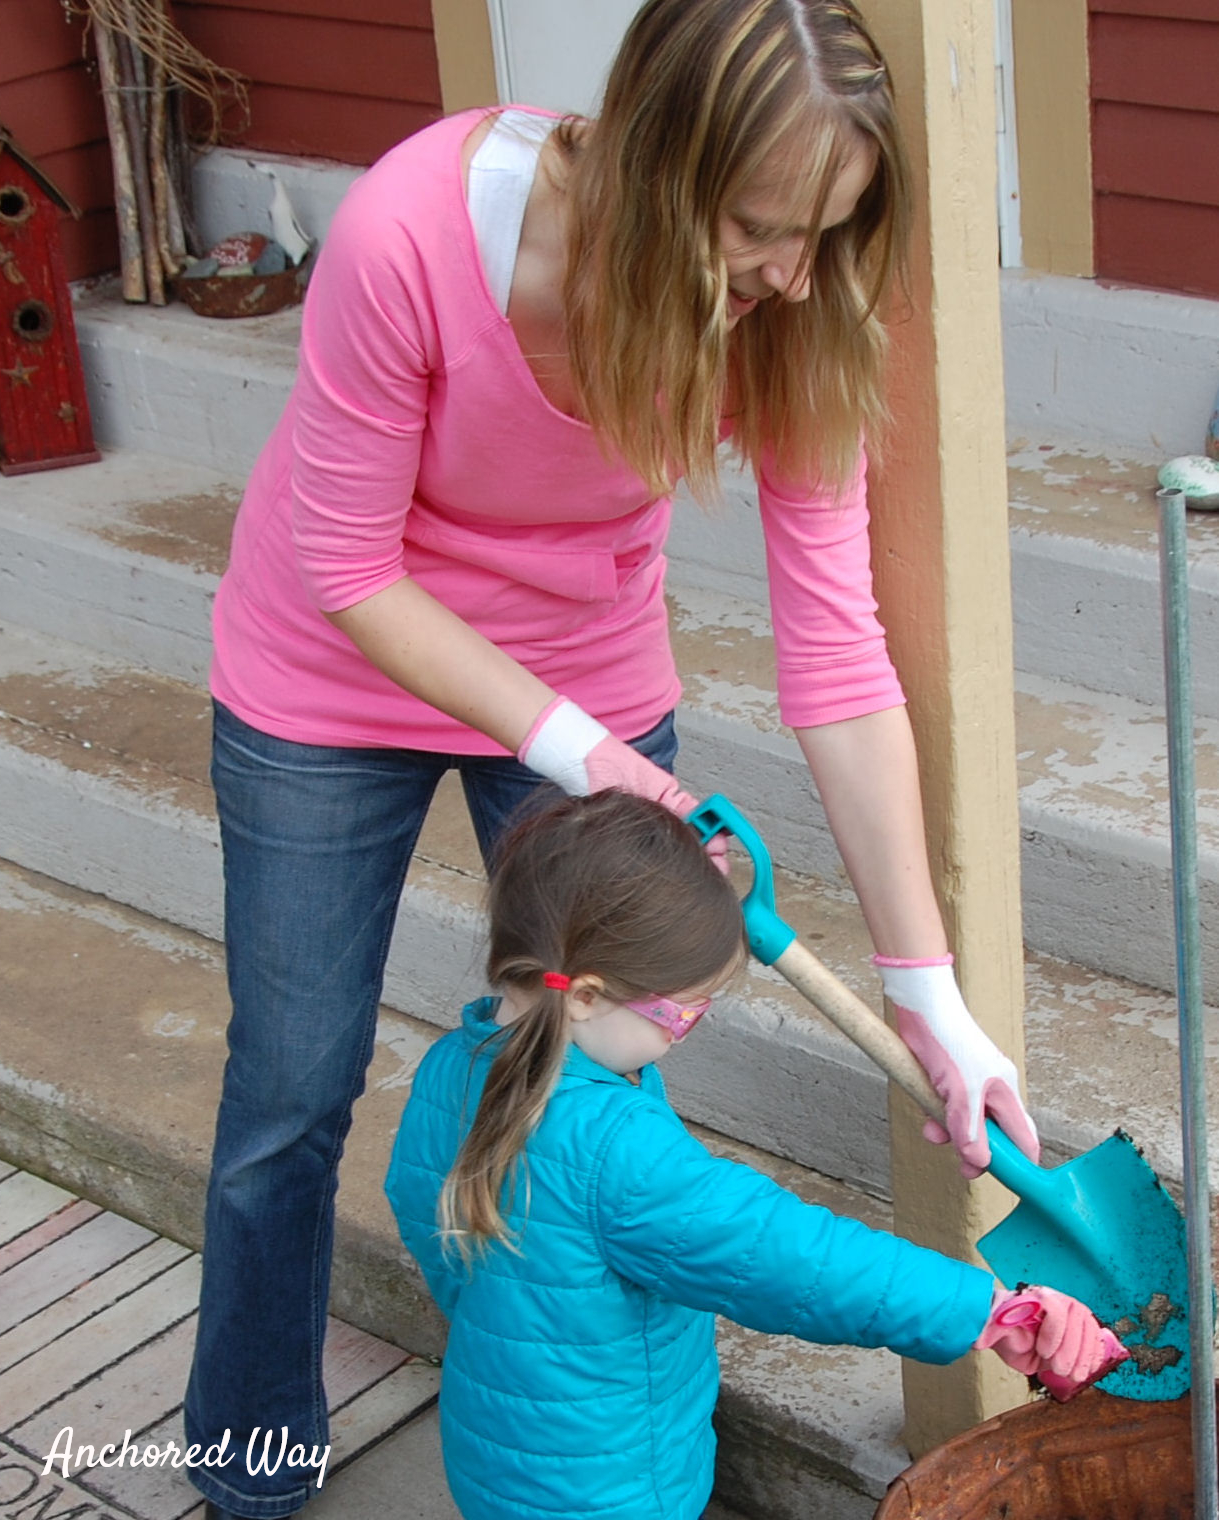
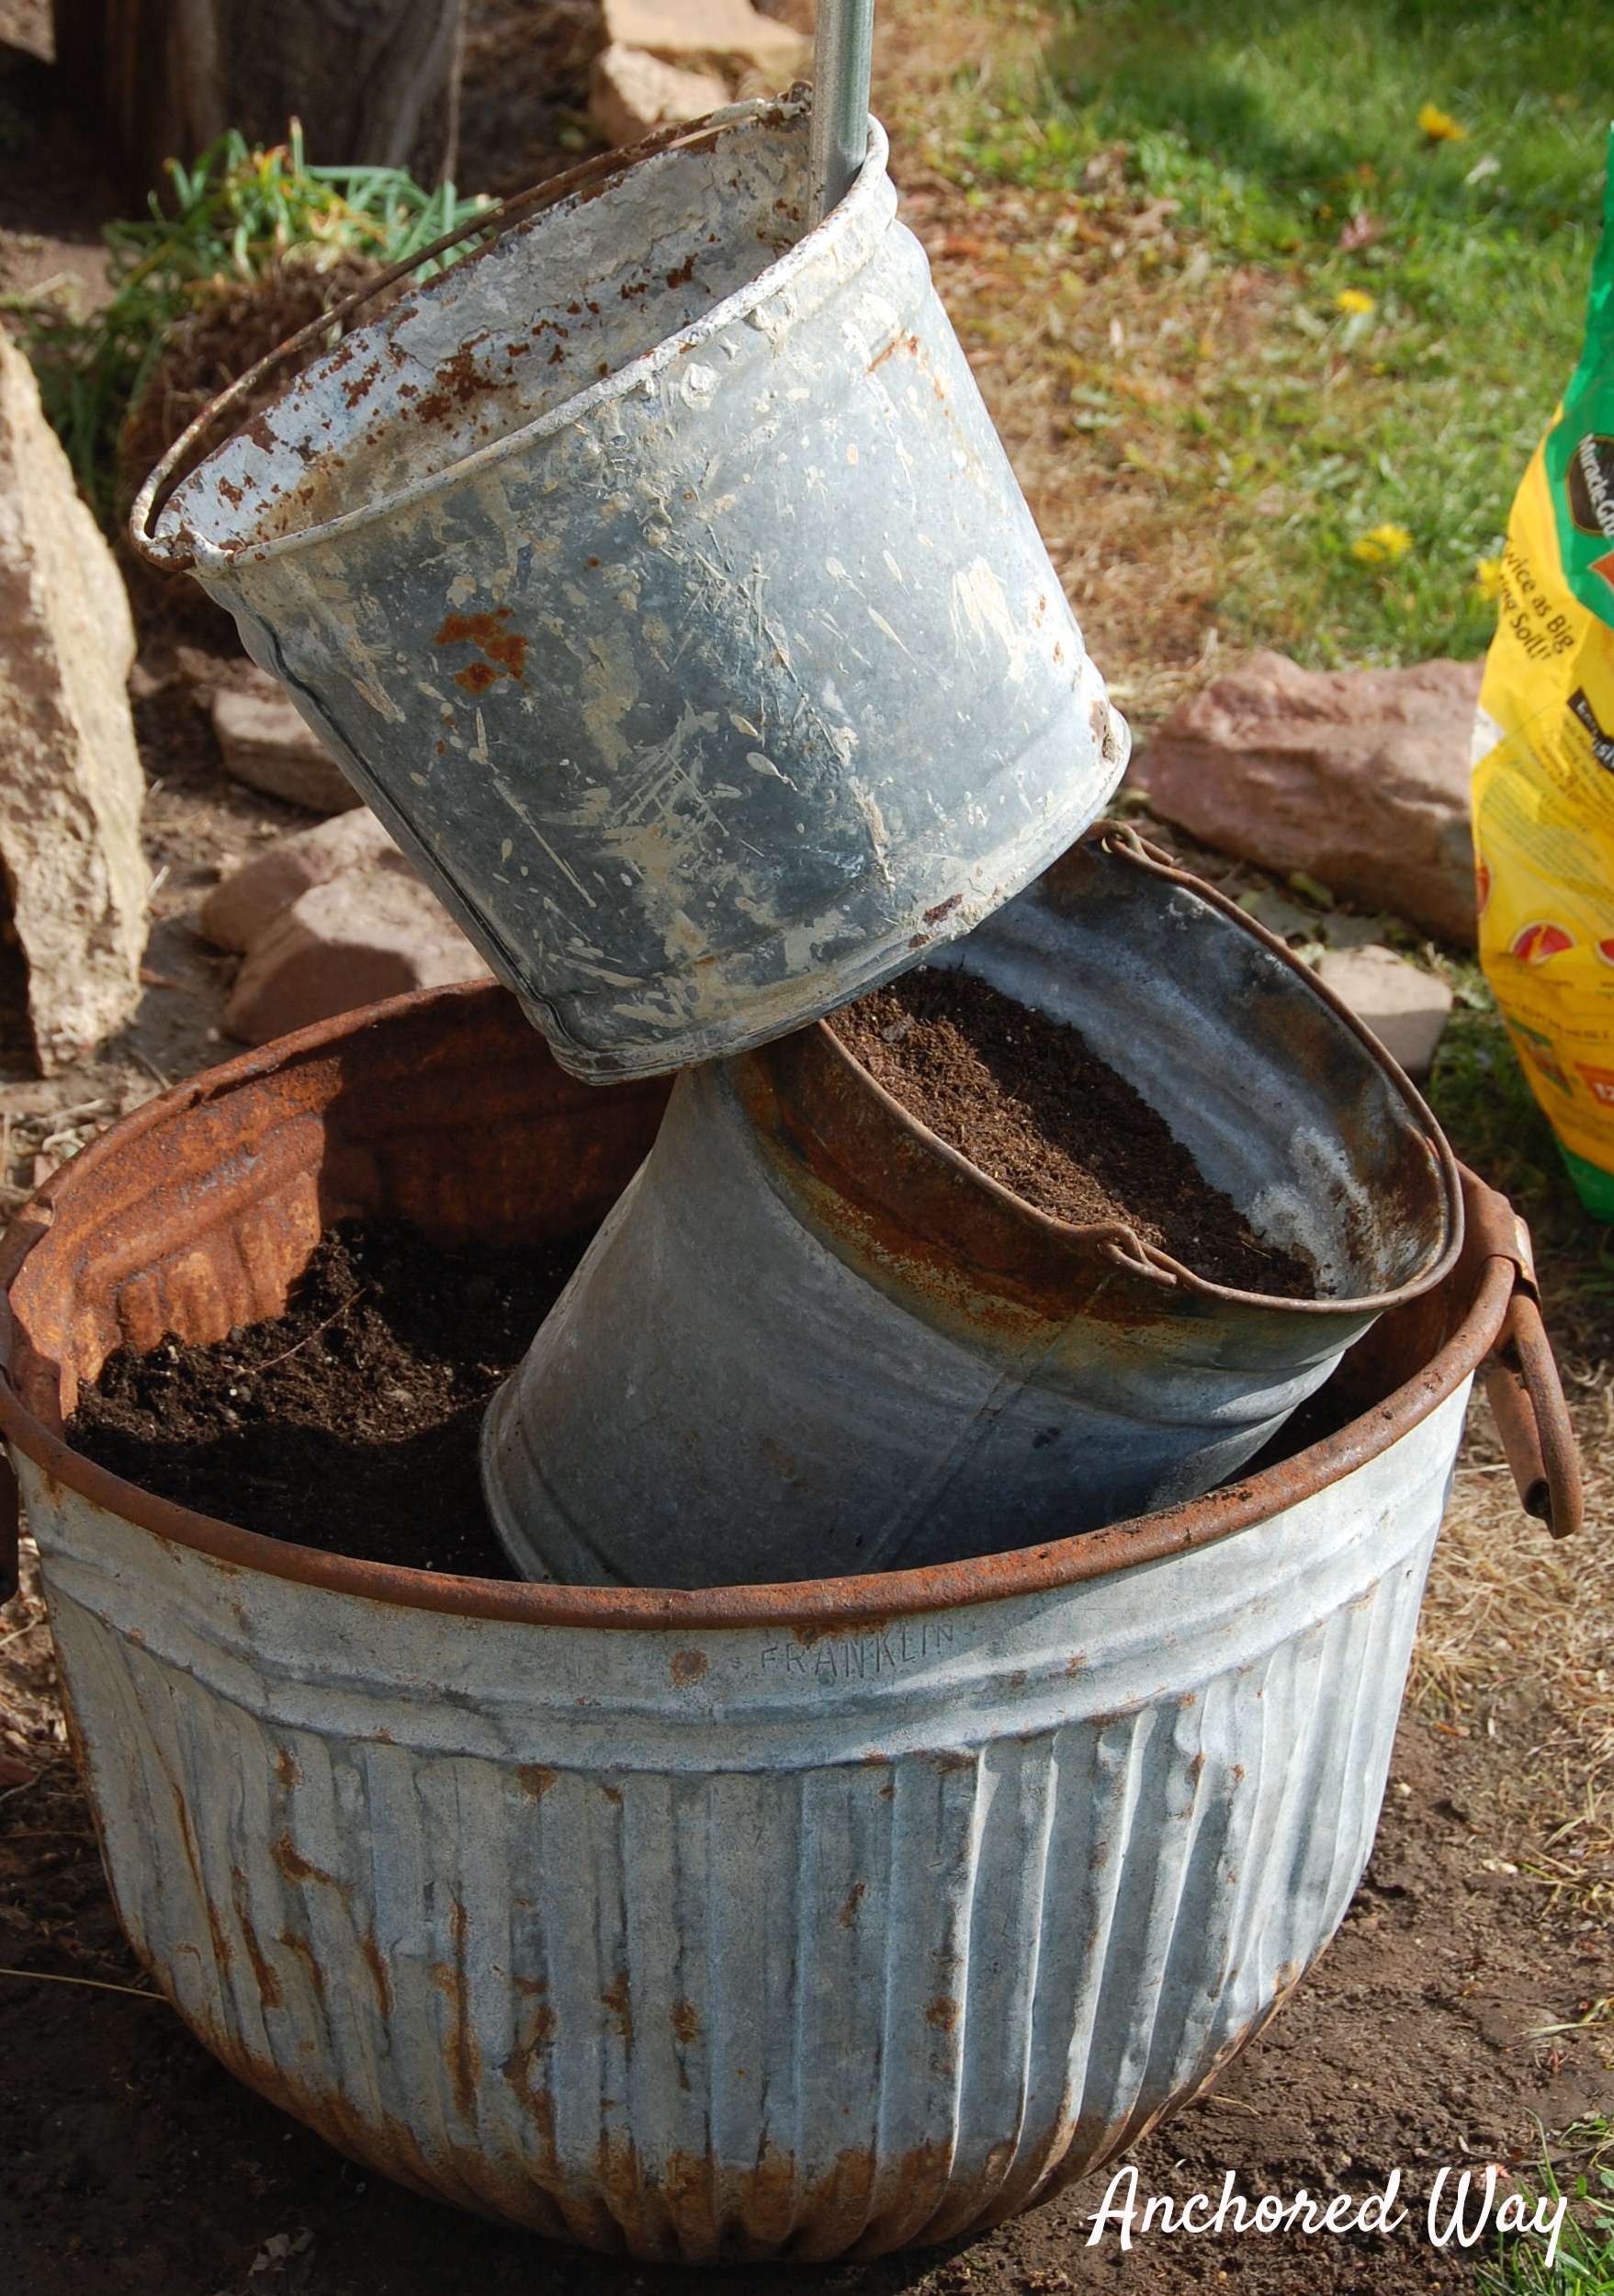
5.) Continue stacking your pots, tipping them as you go, along the way.  Fill them with dirt and whatever flowers your little heart desires. I mainly use flowers that will grow and eventually drape over the edge of the buckets (ivy, vinca vine, petunias, Calibrachoa etc).

tipsypot8

Finished Project:

tp

tp4

Tipsy Pot

tp5

Your guests (and you) will LOVE walking up to your door and being greeted by such beauty and character, and don’t forget to add a sweet little sign to personalize your new tipsy pot planter :

tp2

Tips:

Your steel conduit should be even or below the top tipsy pot, if needed, give it a few good pounds to push it down into the ground farther.

Pack your soil nice and tight into the first pot, as the rest of your pots will be resting right in the larger of all the pots.

The more rust your bucket has, the easier it will be to drill through.

A primitive tipsy pot planter  is a great way to up-cycle ,(be creative and design your own with whatever you have laying around or find for a good deal at an antique store) and will add beauty and character to your garden and yard, and leave your guests asking ‘How did you do that!?’

You can follow Anchored Way Trading Co. on Facebook as well to see more great ideas like this one!

Thanks for reading,

~Kelly

diy-contest-home-depot


(Please note this was originally posted when I had ‘The Pink Hammer blog’ on June 1st of 2012, this is the new and only location of this DIY Tutorial by Kelly Whitman /Endless Acres Farmtiques – previously The Pink Hammer blog )